 Adding a Submit Button to Forms
When forms have been completed they are often submitted to a web server. Therefore, when you are creating forms, it may be useful to add a "submit" button to your forms. You can do that as follows:
1. Click the Form tab, then click Button:
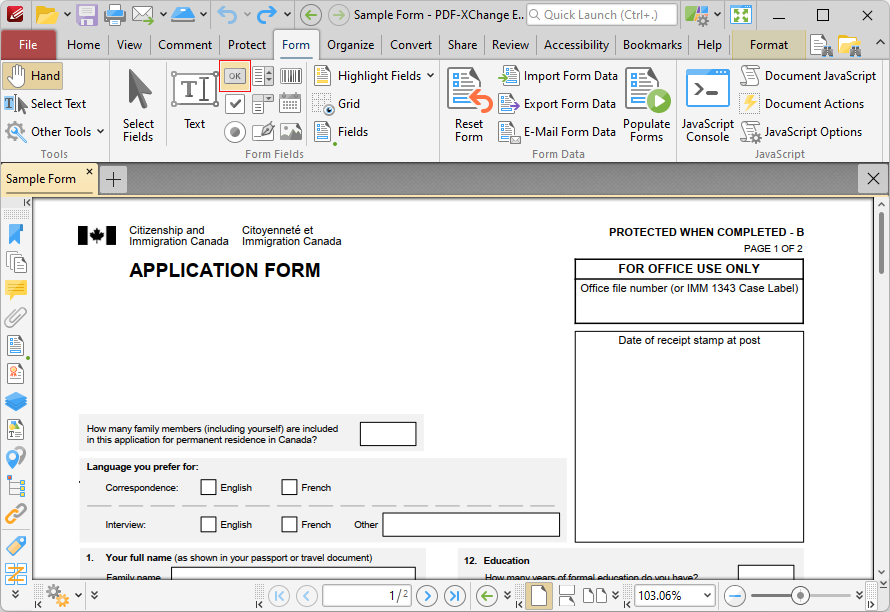
Figure 1. Form Tab, Button Highlighted
A blue rectangle will be displayed beneath the pointer. This rectangle represents the button field.
2. Move the rectangle to the desired location for the submit button:
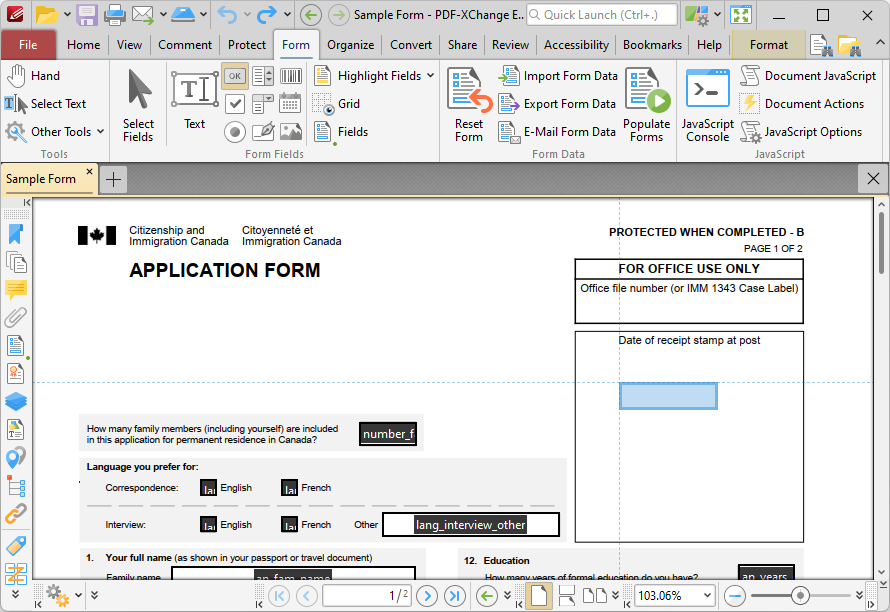
Figure 2. Positioning Submit Button
3. Click to add the button to the document.
It is then necessary to customize the button:
4. Click Select Fields in the Form Tab, then right-click the button and click Properties in the shortcut menu to open the Properties pane:
Figure 3. Right-Click Shortcut Menu for Buttons, Push Button Properties Pane Open
5. Scroll down the Properties pane to the Actions properties, and click the ellipsis icon adjacent to the type of action that you want to activate the button. Please note:
•Mouse Down initiates an action when the left mouse button is pressed (without being released) on the button.
•Mouse Up initiates an action when the left mouse button is clicked (pressed and released) on the button.
•Mouse Enter initiates an action when the pointer moves into the button.
•Mouse Leave initiates an action when the pointer moves out of the button.
•On Focus initiates an action when the button is selected.
•On Blur initiates an action when the button is deselected.
The Edit Action List dialog box will open.
6. Click Add in the Edit Action List dialog box, then click Submit a Form:
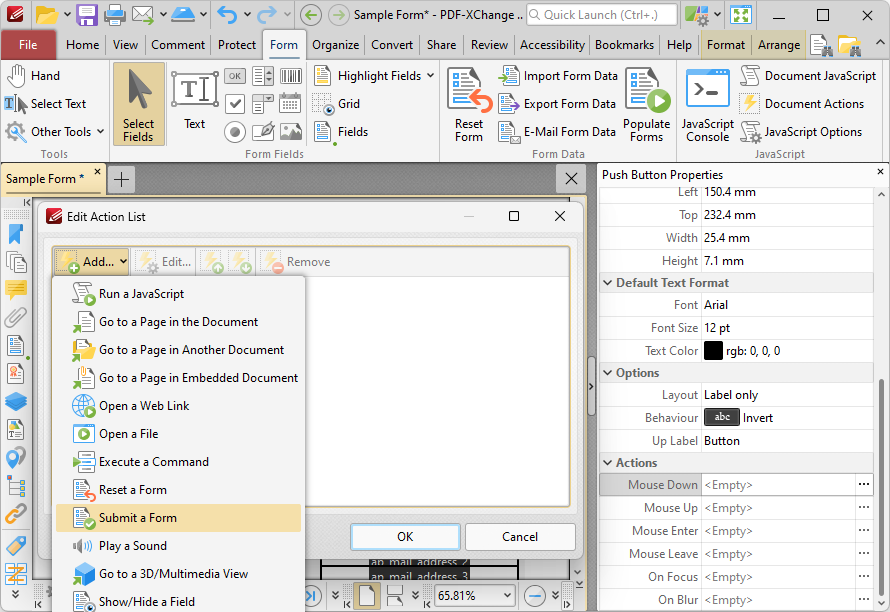
Figure 4. Edit Action List Dialog Box
The Add Action: "Submit a Form" dialog box will open:
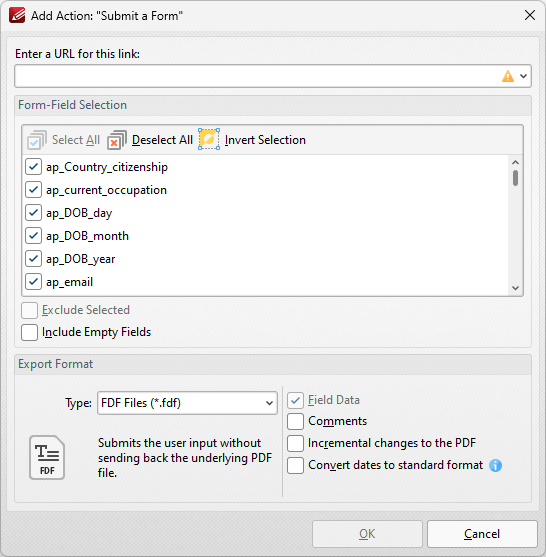
Figure 5. Add Action: "Submit a Form" Dialog Box
•Enter the desired URL in the text box. The specified form data will be sent to this address when the button is pressed.
•All document forms are detailed in the Form-Field Selection pane. Use the check boxes to select forms to be sent when the button is pressed.
•Click Select All to select all forms.
•Click Deselect All to deselect all forms.
•Click Invert Selection to invert the current form selection.
•Select the Exclude Selected and Include Empty Fields boxes as desired.
•Use the Export Format options to determine export format options:
•Use the Type dropdown menu to determine the format of submitted content.
•Select the Convert dates to standard format box as desired.
•Select the Field Data, Comments and/or Incremental changes boxes as desired. Selected elements will be included in the submitted content.
7. Click OK to save settings, then click OK in the Edit Action List dialog box. The button is then complete and will submit the form to the specified URL when it is pressed:
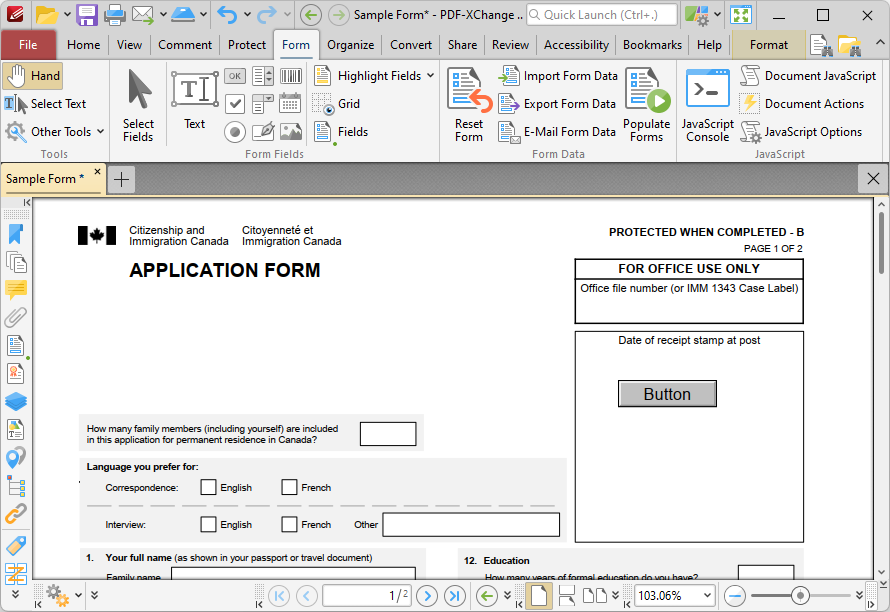
Figure 6. Completed Button Creation
Note that you can use the Properties pane to customize the style, position, text label and other properties of buttons, as detailed here.
Alternatively, you can also use the process detailed above to add a "reset form" button to forms that will clear any data entered into the form when it is pressed. Follow the steps detailed above and select "Reset a Form" at step six to do this.