 Creating and Editing Fillable Forms
Forms are a dynamic component of PDF documents. A range of form field options are available and these can be used to create interactive, fillable forms for many purposes. You can scan any paper form into PDF format and then use the forms features to add form fields to the document at the appropriate places, thus converting paper-based forms into PDF forms. The default form fields available in PDF-XChange Editor are barcodes, buttons, check boxes, date fields, digital signature fields, dropdown menus, image fields, list boxes, radio buttons and text fields. Each type of form field contains a range of editable properties that can be viewed/edited in the Properties pane. It is also possible to add JavaScript to forms and use forms to calculate/validate values, such as the sum or product of other form fields in the same document. Note that the functionality used to create fillable forms is available only with the PDF-XChange Editor Plus license. You can use the forms features with the normal PDF-XChange Editor license, but watermarks will be added to documents when the forms features are used in that case.
The form field functionality in PDF-XChange Editor is available in the Form tab:
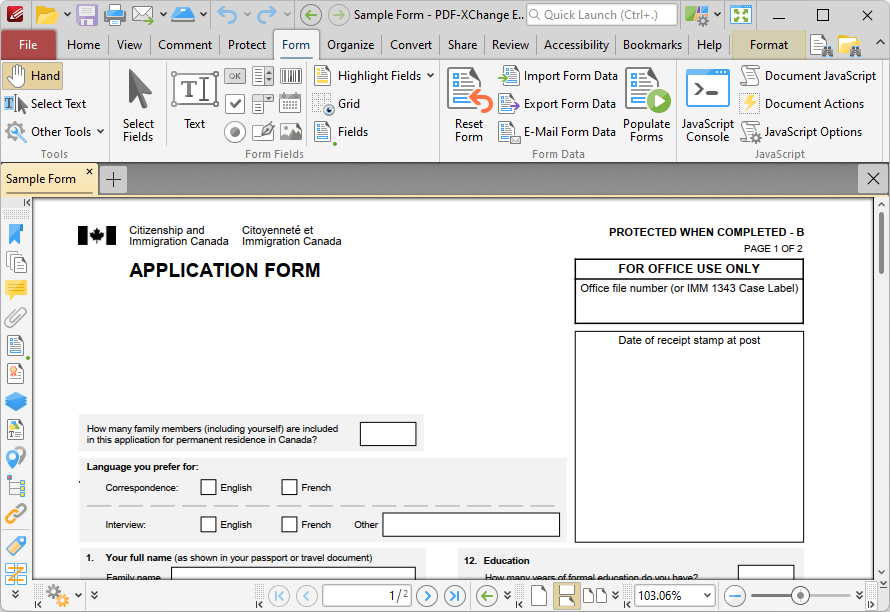
Figure 1. Form Tab
Converting Paper-Based or Non-PDF Forms into PDF Forms
If you want to convert paper-based forms into PDF forms, then click the File tab and click New Document. Click From Scanner in the list of available options:
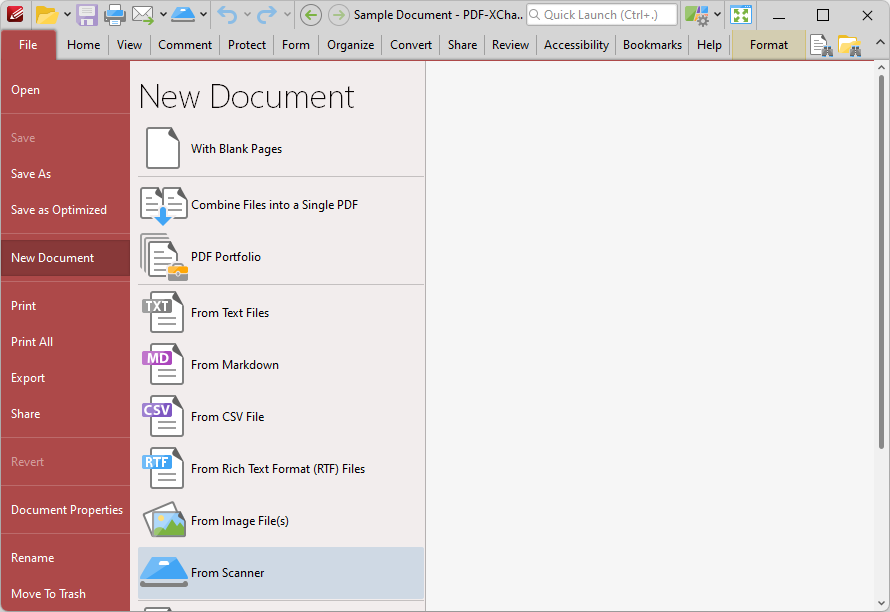
Figure 2. File Tab, New Document Options, From Scanner Highlighted
Select a preset scanning mode or click Custom Scan as desired. The Scan Properties dialog box will open. Set parameters as desired for the scan, place the paper document into your scanner and then click Scan. The document will then scan and a PDF version of the paper document will open in PDF-XChange Editor. You can use the form field options detailed below to add form fields to the scanned document.
Adding Form Fields to Documents
If you want to add a form field to a document, then click the desired form field type in the Form Fields group:
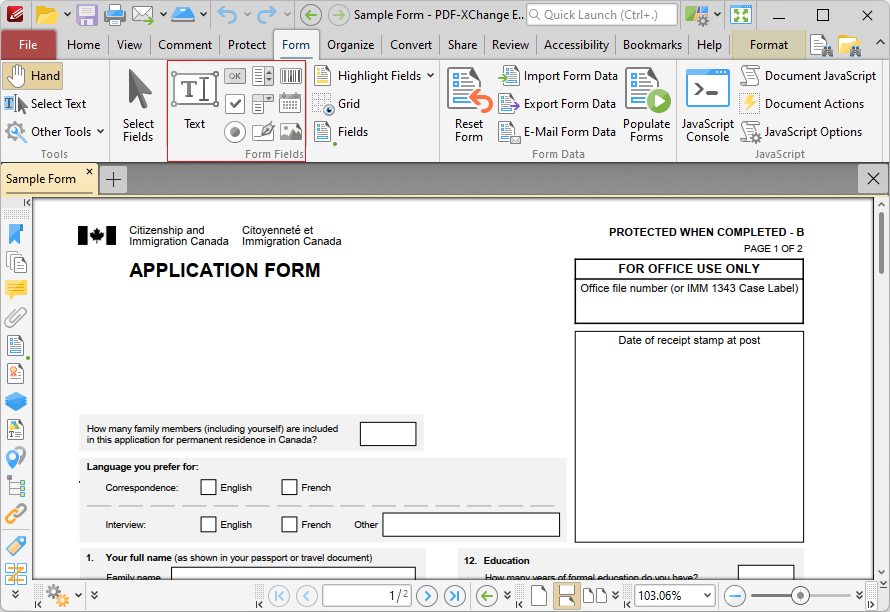
Figure 3. Form Tab, Form Fields Group Highlighted
The following form field formats are available:
•Text Fields are used to denote a space in which users can enter form information such as their name, password and date of birth.
•Check Boxes enable the selection of predefined options.
•Radio Buttons enable the selection of a single choice from several options, such as in answers to multiple choice questions.
•List Boxes enable the selection of one or more options from a fixed list of options.
•Dropdown Menus enable the selection of one option from a fixed list of options.
•Buttons enable the triggering of predefined events.
•Digital Signature Fields are used to sign documents in order to demonstrate their authenticity and increase their security.
•Barcodes enable the encoding of form data and display it as a visual pattern that can be decoded by compatible software/hardware.
•Date Fields are used to add an interactive calendar to documents in order to specify dates.
•Image Fields are used to add form fields that enable the submission of images as form data.
When you have clicked a form field format, it will be displayed beneath the pointer:
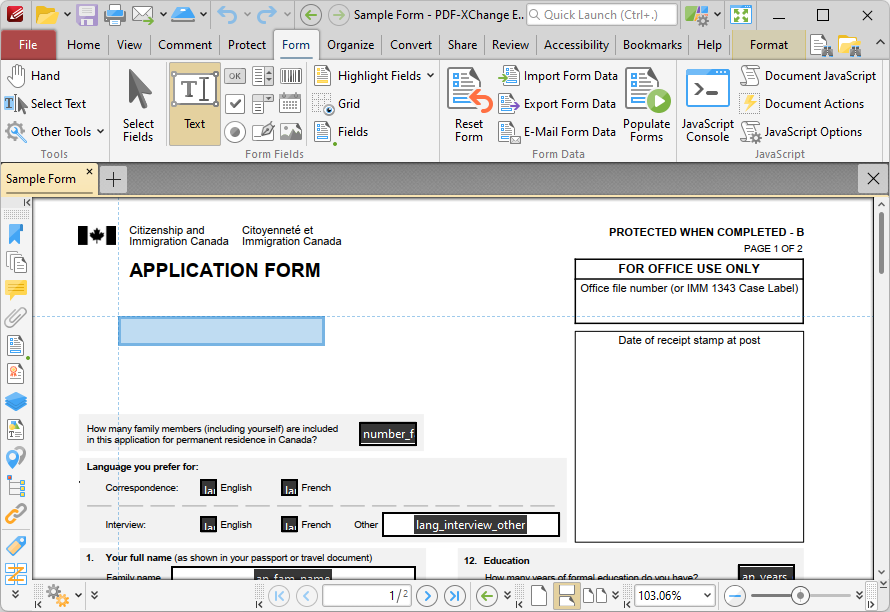
Figure 4. Active Text Box Form Field Tool
Move the form field to the desired location and then click to add it to the document. You may find it useful to use the grid (Ctrl+#) and the Snapping feature (available in the Measurement category of the Preferences dialog box, via the File tab) in order to place form fields accurately.
Formatting Forms
You can use the Format tab to format selected forms. Click Select Fields in the Form tab, then click the field to select it. The Format tab will then be available:
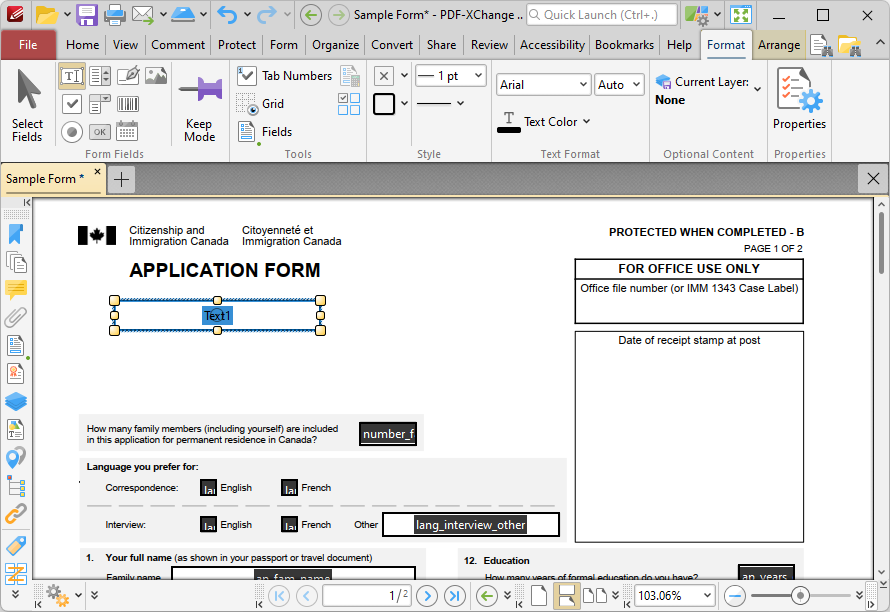
Figure 5. Format Tab
•Click Fill Color to determine the fill color of the form field.
•Click Stroke Color to determine the border color of the form field.
•Click Border Width to determine the border width of the form field.
•Click Border Style to determine the border style of the form field.
•Select an option in the Font and Font Size dropdown menus to determine the font style and size used in text fields.
•Use the Text Color dropdown menu to determine the color of fonts used in text fields.
•Click Properties to open the Properties pane, which is used to view/edit the properties of form fields. Note that there is some difference between available properties for different form field formats, as detailed here.
Additionally, you can click and drag the yellow control points around selected form fields to resize them. Use the arrow keys to reposition selected form fields. When you are using the arrow keys to reposition form fields, you can hold down Shift to move them at an increased increment, or Ctrl+Shift to move them at a decreased increment. This is the Nudge feature, and the distance that form fields move when the nudge feature is used can be determined in the Measurement category of the Preferences dialog box, which is available via the File tab.
Arranging Forms
When you group-select multiple fields, additional editing options are available in the Arrange tab:
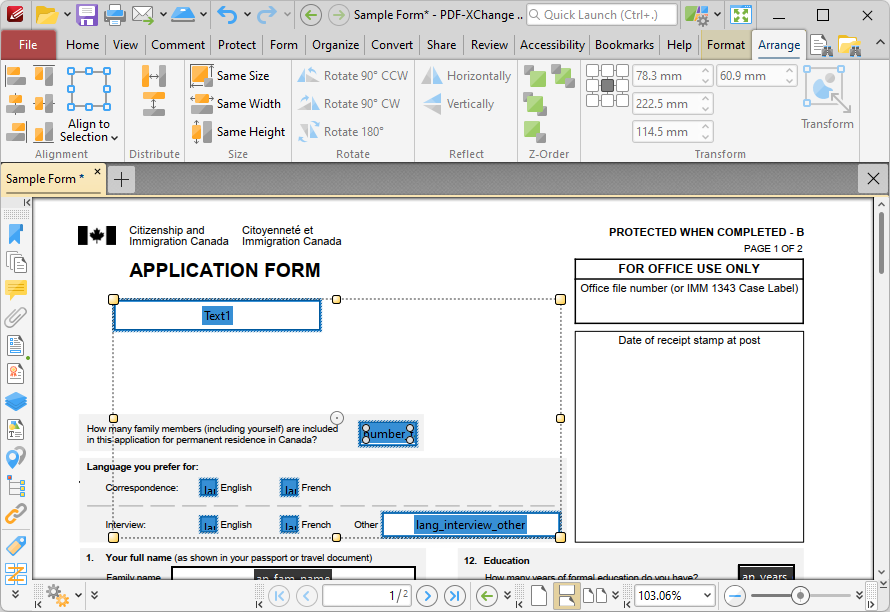
Figure 6. Arrange Tab Options for Forms
•Click Left, Center, Right, Top, Middle or Bottom to align all select fields to these locations.
•Click Horizontally/Vertically to distribute selected fields horizontally/vertically.
•Click Same Size/Width/Height to make all selected fields the same size/width/height
The options in the Z-Order group determine the Z-Order of selected fields:
•Click Bring Forward to bring the selected field up a step in cases where multiple fields overlap.
•Click Send Backward to send the selected field back a step in cases where multiple fields overlap.
•Click Bring to Front to bring the selected field to the top in cases where multiple fields overlap.
•Click Send to Back to send the selected field to the back in cases where multiple fields overlap.
The options in the Transform group are used to reposition/resize selected fields:
•Click the boxes in the grid to view the current location of the corresponding points of the selected content.
•Use the X and Y number boxes to determine the new positioning of the selected content. The X value is the horizontal plane and the Y value is the vertical plane.
•Use the Width and Height boxes to adjust the size of the selected content.
Creating Multiple Copies of Form Fields
If you want to create multiple copies of form fields across subsequent pages of your document, then click the Form tab and then click the Select Fields tool. Select the form field(s) that you want to copy, and click Create Multiple Copies in the Format tab:
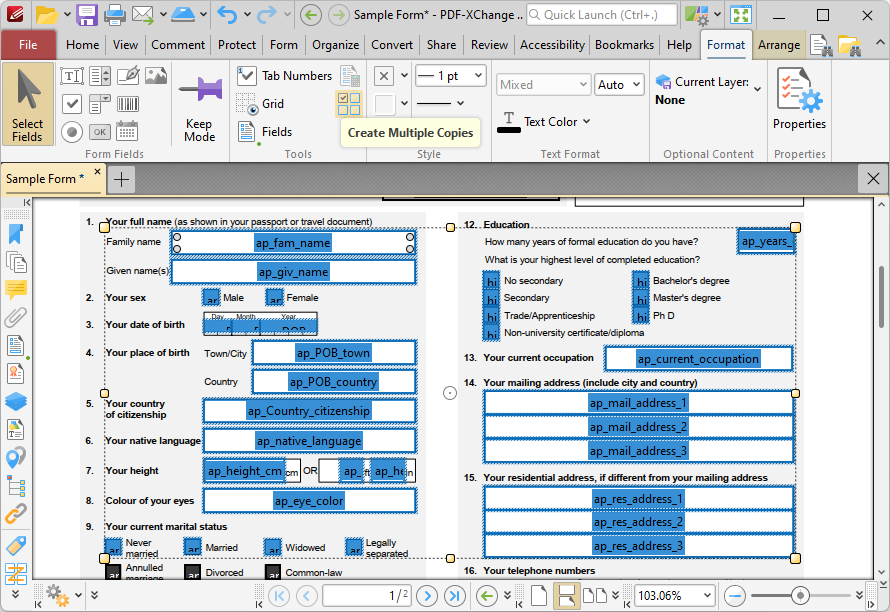
Figure 7. Format Tab, Create Multiple Copies Highlighted
The Create Multiple Copies of Fields dialog box will open:

Figure 8. Create Multiple Copies of Fields Dialog Box
•The figure entered in the the Copy selected fields down number box determines the amount of copies placed vertically below source fields.
•The figure entered in the the Copy selected fields across number box determines the amount of copies placed horizontally from source fields.
•Select Specify distance between fields to determine the distance between copies. Enter the desired distances in the Horizontal space and Vertical space number boxes.
•Select a unit of measurement from the Units menu.
•Select Specify overall size of all fields to determine the size of the area in which fields are multiplied. The value entered in the Overall width and Overall height number boxes determines the overall width and height of the area in which the selected field is multiplied. Select the desired units of measurement from the Units menu.
•The Overall Position settings can be used to determine the overall position of copied fields. Edit the X and Y values as desired. The position selected in the grid determines the starting point for measurements when multiple copies of form fields are created.
•Select the Preview box to place a preview before the creation of copied fields.
•Select the Use the same names box as desired. This is useful for fields that require the same user data or other elements such as the current date. Copies will feature the same name as source fields, followed by a unique number.
When you have entered the desired parameters, click OK to create multiple copies of form fields.
Resetting, Importing, Exporting and Emailing Form Data
You can use the options in the Form Data group of the Form tab to reset, import, export and email form data:
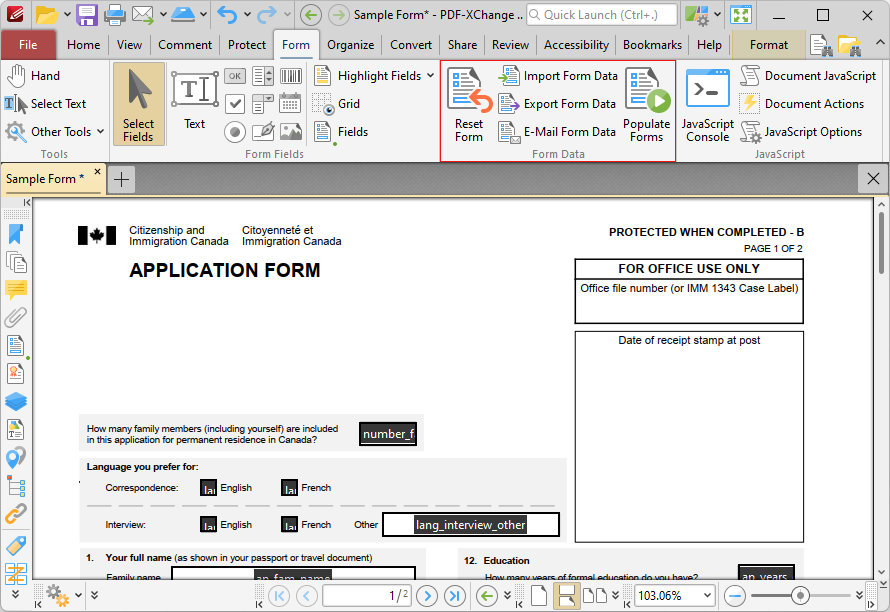
Figure 9. Form Tab, Form Data Group Highlighted
•Click Reset Form to reset all form data in the form.
•Click Import Form Data to import data into the forms of the current document. The Open Files dialog box will open. Select the desired file and click OK to import form data. Please note that the field names of forms must match in order for form data to be imported. For example, if there are three forms in the file from which data is imported that have the field names 'Text1', 'Text2' and 'Text3' respectively, then the current document must feature forms with the same field names in order for form data to import. The field name property can be viewed/edited in the Properties pane for forms, as detailed here.
•Click Export Form Data to export all data from the forms of the current document. The Save File dialog box will open. Enter a name for the new file in the text box, then select a file format from the Save as type dropdown menu and click Save to export the form data. Note that you can use the Options button in the dialog box to specify options for the export.
•Click Email Form Data to email the current document form data. The PDF-XChange Editor dialog box will open. Select the desired file format and then click OK to email the form data. PDF-XChange Editor will use the current email method as defined in the Send Mail preferences to email the form data. Please note that only the form data is sent, and not the form itself. Recipients of these emails can use the Import Form Data option detailed above to import the form data.
Forms Preferences
If you want to view/edit the application preferences for forms, then click the File tab and click Preferences to open the Preferences dialog box. The Forms category is available in the list on the left. Click it to view/edit preferences for forms:
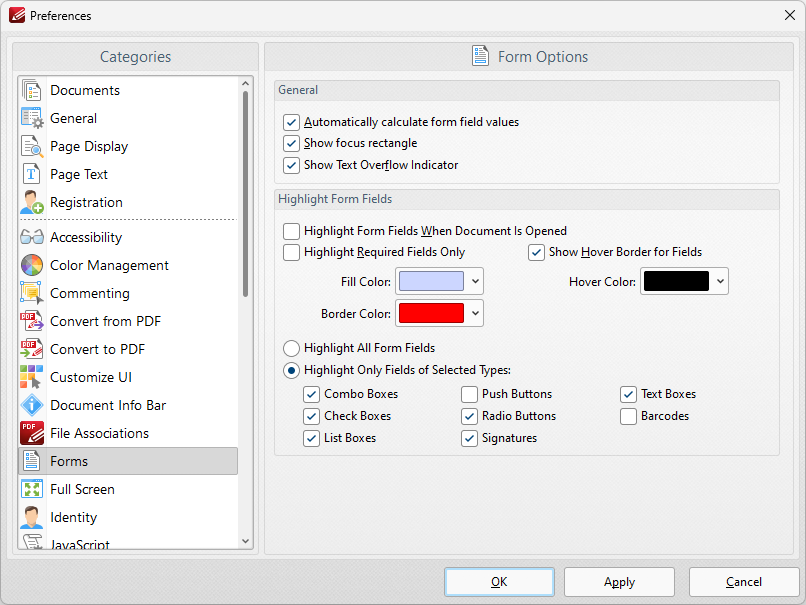
Figure 10. Preferences Dialog Box, Form Category Selected
The options in the General section are as follows:
•Select the Automatically calculate form field values box to perform form field calculations automatically in forms that have been set up to perform calculations. Further information on this process is available here.
•Select the Show focus rectangle box to enable the focus rectangle, which indicates the form field that has focus when multiple fields are selected.
•Select the Show Text Overflow Indicator box to enable the text overflow indicator, which is an icon that appears when text exceeds the bounds specified when form fields are created.
The options in the Highlight Form Fields section are as follows:
•Select the Highlight Form Fields When Document Is Opened box as desired.
•Select the Highlight Required Fields Only box as desired. Fields designated as required must be filled before documents can be submitted. See here for information on how to designate forms as required forms.
•Select the Show Hover Border for Fields box as desired.
•Use the dropdown menus to select the Fill Color, Border Color and Hover Color for highlighted forms.
•Select the Highlight All Form Fields option button as desired.
•Alternatively, select the Highlight Only Fields of Selected Types option button and then select the desired forms to be highlighted when documents are opened.
Click Apply to apply changes and OK to save changes.