 Editing Selected Items
A range of options are available for selected items in PDF-XChange Editor. It is first necessary to select content, which you can do using the options in the Edit Content dropdown menu in the Home tab. Click the Edit Content dropdown menu, then select the format of the content that you want to edit and select the content in the document:
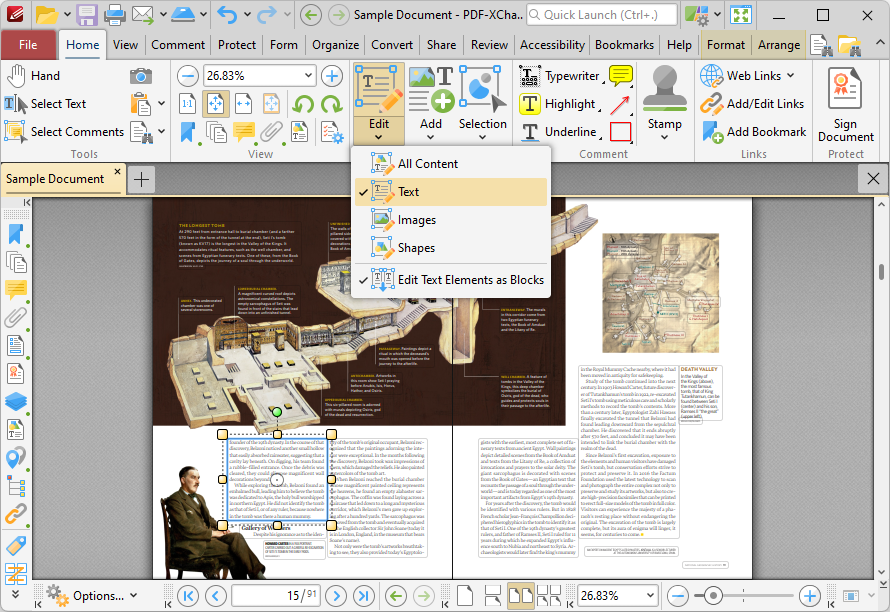
Figure 1. Home Tab, Edit Content Dropdown Menu
•Click and drag the circle at the centre of selected content to move it, or click and drag the yellow control points to resize it. Hold down the Shift key to constrain proportions when you are resizing content.
•Click and drag the green control point at the top to rotate selected content. Hold down Shift to rotate at increments of fifteen degrees.
•You can also use the arrow keys to reposition selected content. Hold down Shift to move at an increased increment. Use the Nudge feature to customize how far content is moved when using the arrow keys to reposition images.
•You may find it useful to enable the grid (Ctrl+#) when repositioning content.
•Click the Selection dropdown menu for additional options:
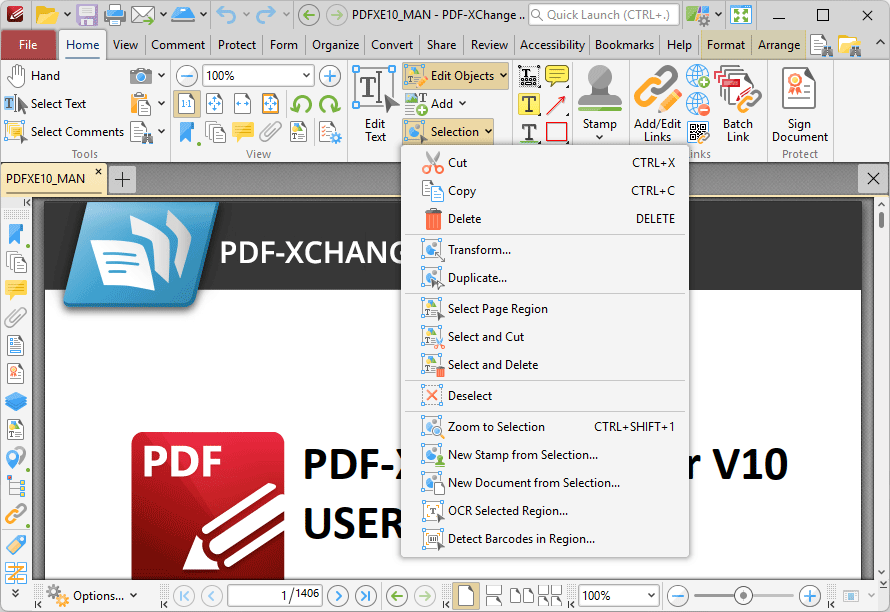
Figure 2. Selection Dropdown Menu Options
•Click Copy, Cut, Delete, Deselect or Zoom To Selection to perform these operations on selected annotations/content items.
•Click Transform to edit the position, size and/or rotation of selected annotations/content items, as detailed below.
•Click Duplicate to duplicate selected annotations/content items, as detailed below.
•Click Select Page Region to specify page regions for editing. You can then use the options in the right-click context menu to edit selected regions as desired.
•Click Select and Cut to specify page regions to cut from the document for pasting purposes.
•Click Select and Delete to specify page regions to delete from documents.
•Click New Stamp from Selection to create a new stamp from selected annotations/content items, as detailed below.
•Click New Document from Selection to create a new document from selected annotations/content items.
•Click OCR Selected Region to perform optical character recognition on the selected region of the document, as detailed here.
•Click Detect Barcodes in Region to detect barcodes in selected regions.
Transform Selected Items
When you click Transform, the Transform Selection dialog box will open:
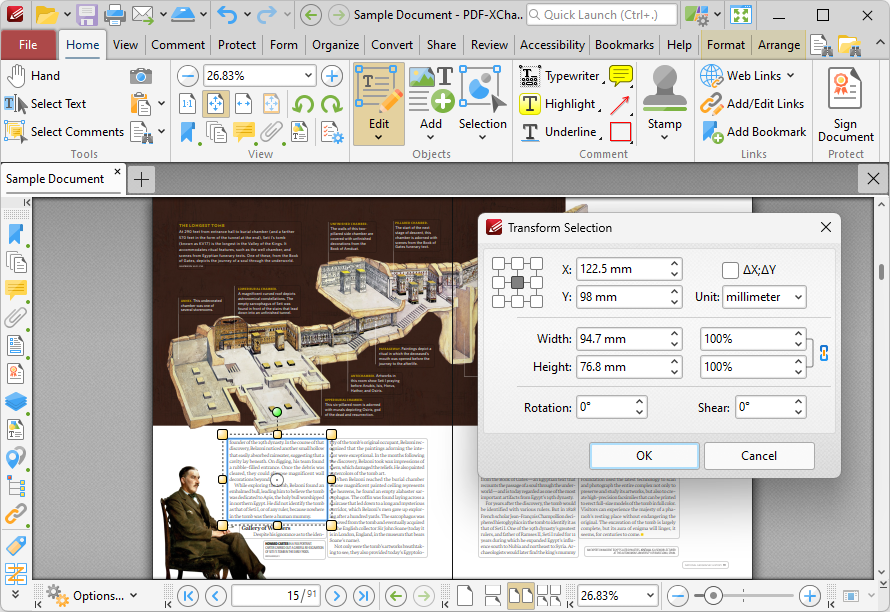
Figure 3. Transform Selection Dialog Box
•Use the X and Y number boxes to determine the new positioning of the selected content. The X value is the horizontal plane and the Y value is the vertical plane.
•Select the ΔX; ΔY box to determine offset values relative to the current position of the object.
•Use the Unit dropdown menu to select the units of measurement.
•Use the Width and Height boxes to adjust the size of the selected object.
•Use the Rotation box to adjust the rotation of the selected object.
•Use the Shear box to determine a shear angle. This will slant the selected object along a horizontal axis.
Click OK to transform selected content.
Duplicate Selected Items
When you click Duplicate, the Duplicate Content Items dialog box will open:
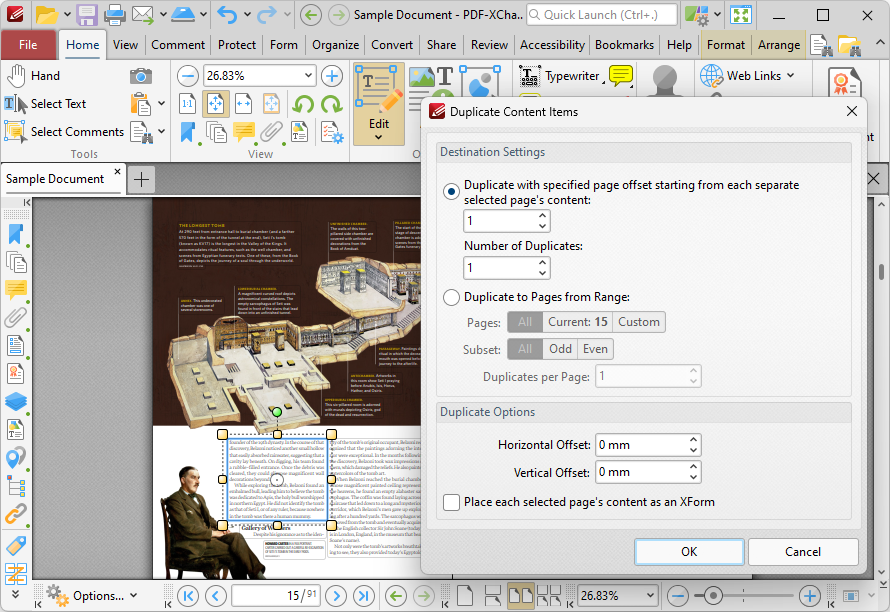
Figure 4. Duplicate Content Items Dialog Box
There are two radio button options:
The first radio button option enables the duplication of selected content items and the creation of a page offset between duplicates. The number entered in the upper number box determines the page offset between the selected content item and duplicates created through the process of duplication. The specified page offset will also be used between duplicates when more than one duplicate is created. Use the lower number box to specify the number of duplicates created.
The second radio button option enables the duplication of selected content items to a specified page range:
•Select All to duplicate the selected items to all pages in the document.
•Select Current Page to duplicate the selected items to only the current page.
•Use the Pages number box to specify a custom page range. The Subset dropdown menu can be used to specify All Pages, Even Pages or Odd Pages as desired. Further information on the specification of page ranges is available here.
•Use the Duplicates per Page dropdown menu to determine the number of duplicates per page.
Use the Duplicate Options settings to determine duplicate parameters:
•Use the Horizontal Offset box to determine the horizontal offset in relation to the duplicated content.
•Use the Vertical Offset box to determine the vertical offset in relation to the duplicated content.
•Select the Place each selected page's content as an XForm box to place duplicated content as an XForm.
Click OK to duplicate content.
Create a New Stamp from Selected Items
When you click New Stamp from Selection, the Add New Stamp dialog box will open:
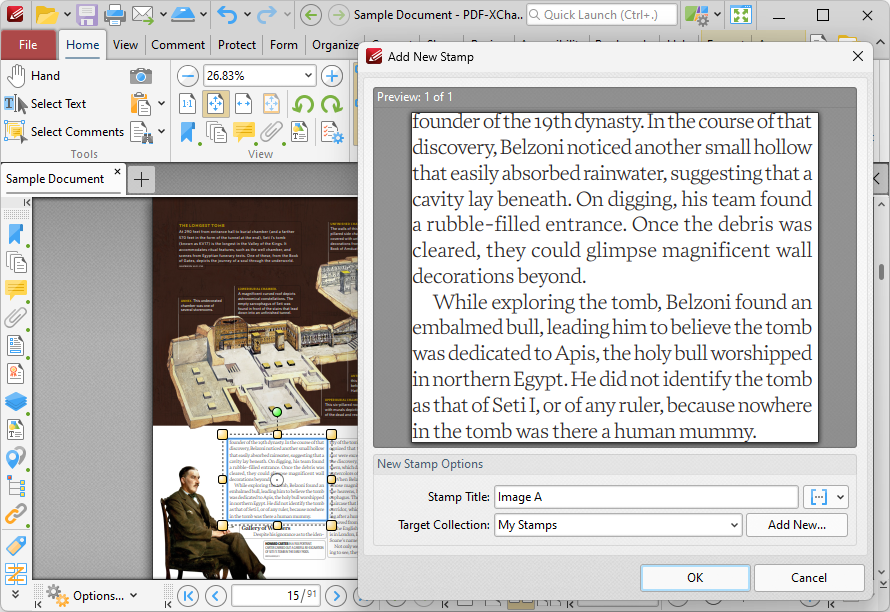
Figure 5. Add New Stamp Dialog Box
•Enter a name for the stamp in the Stamp Title text box. Click the blue icon to add Macros as desired.
•Use the Target Collection dropdown menu to select the stamp collection in which the new stamp will be located. Click Add New to create a new stamp collection.
•Created stamps can be used in conjunction with the Stamp Tool.
Click OK to create the new stamp.