 Performing OCR on PDFs
Note that two OCR engines are available in PDF-XChange Editor - the default OCR engine, which is available to all users, and the Enhanced OCR engine, which is available only with a PDF-XChange Editor Plus license. The Enhanced OCR engine is significantly faster and more accurate than the default OCR engine and it contains several extra features, including the direct conversion of image-based text to standard text. The default OCR engine in PDF-XChange Editor recognizes text in image-based documents and then inserts an invisible layer of duplicate text over it, which makes the image-based text searchable and selectable. Follow the steps below to perform optical character recognition on documents:
Performing OCR with the Default OCR Engine
Click the Convert tab, then click OCR Pages to perform OCR:
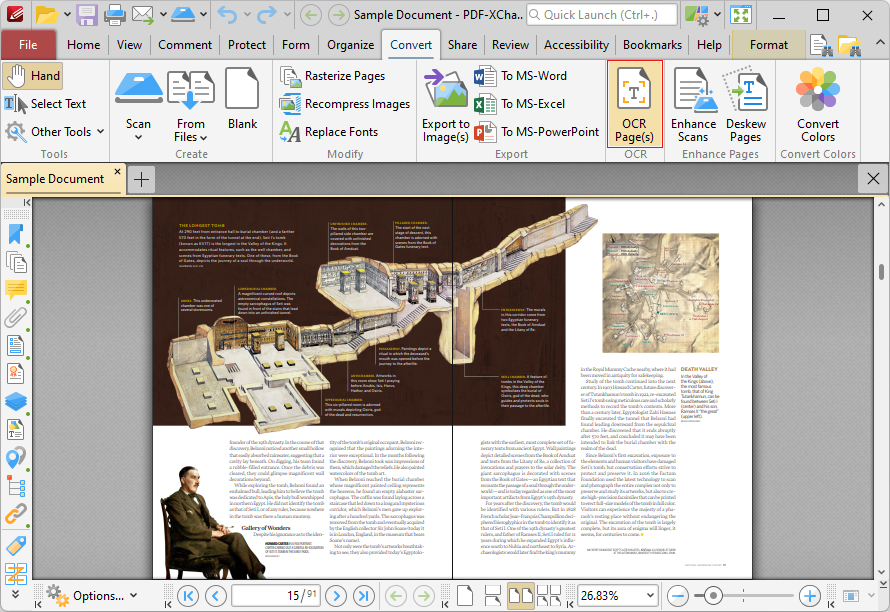
Figure 1. Convert Tab, OCR Pages Highlighted
The OCR Pages dialog box will open:
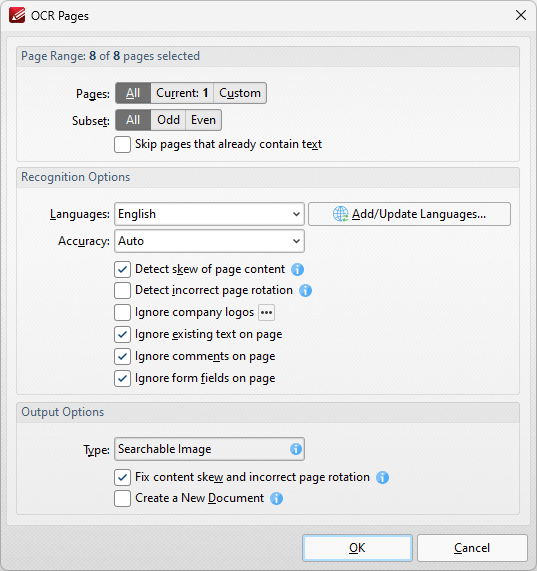
Figure 2. OCR Pages Dialog Box
Use the Page Range settings to determine the page range for OCR:
•Select All to specify all pages.
•Select Current Page to specify the current page.
•Select Pages to specify a custom page range. Further information on defining page ranges is available here. Use the Subset dropdown menu to specify a subset of page ranges. Select All Pages, Odd Pages Only or Even Pages Only as desired.
Use the Recognition Options to determine the language and accuracy of the OCR process. Please note that increasing the accuracy also increases the time that the process takes and vice versa. Additionally, it should be noted that setting the accuracy to high may result in unusual output if the document contains imperfections. This is because the software will search to a greater depth and may attempt to recognize imperfections as text. Click Add/Update Languages to add/update the language packs used for OCR. Note that multiple languages can be used simultaneously for OCR.
•Select the Detect skew of page content box to enable automatic detection of skewed pages, which happens when documents are scanned crookedly.
•Select the Detect incorrect page rotation box to enable the automatic detection of incorrect page rotation in documents.
•Select the Ignore company logos box to omit company logos from OCR. Click the ellipsis icon to add/view/manage logos.
•Select the Ignore existing text on page box to omit existing text from the process of optical character recognition.
•Select the Ignore comments on page box to omit comments from the process of optical character recognition.
•Select the Ignore form fields on page box to omit form fields from the process of optical character recognition.
Use the Output Options to determine the format and quality of output from the OCR process:
•Select the Fix content skew and incorrect page rotation box to deskew pages that are scanned crookedly and auto-correct page rotation issues.
•Select the Create a New Document box to create a new document for the output of the optical character recognition. If this box is not selected, then the original document will be updated with the output instead.
Click OK to OCR documents.
Instructions on how to edit text after OCR has been performed are available here.
Performing OCR with the Enhanced OCR Engine
Click the Convert tab, then click OCR Pages to perform OCR:
Figure 3. Convert Tab, OCR Pages Highlighted
The OCR Pages (Enhanced) dialog box will open:
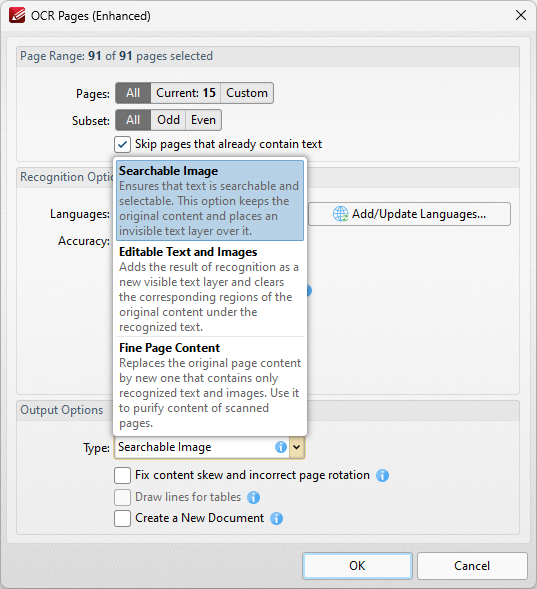
Figure 4. OCR Pages (Enhanced) Dialog Box
The options in this dialog box are the same as those detailed in (figure 1) above, but additional options are available in the Output Options section:
•Select Searchable Image to retain the image-based content on which OCR is performed and insert a duplicate, invisible text layer on the text recognized during the operation. This will make the source text selectable and searchable in the same manner as ordinary text.
•Select Editable Text and Images to replace image-based text in source documents with the text recognized in the process of optical character recognition. This will convert image-based text into editable text.
•Select Fine Page Content to replace the content of source documents with new content that contains only the text and images recognized during optical character recognition.
Click OK to OCR documents.
Performing OCR on Selected Regions of Documents
It is also possible to perform OCR on selected regions of documents. This is possible after either the Snapshot Tool or the Crop Page Tool has been used to define a page area, and the option is available in the right-click shortcut menu. For example, click Other Tools in the Organize tab, then click Snapshot Tool and click and drag the mouse to define a snapshot area:

Figure 5. Active Snapshot Tool
When the area has been defined, right-click it and then click OCR Selected Region in the shortcut menu:
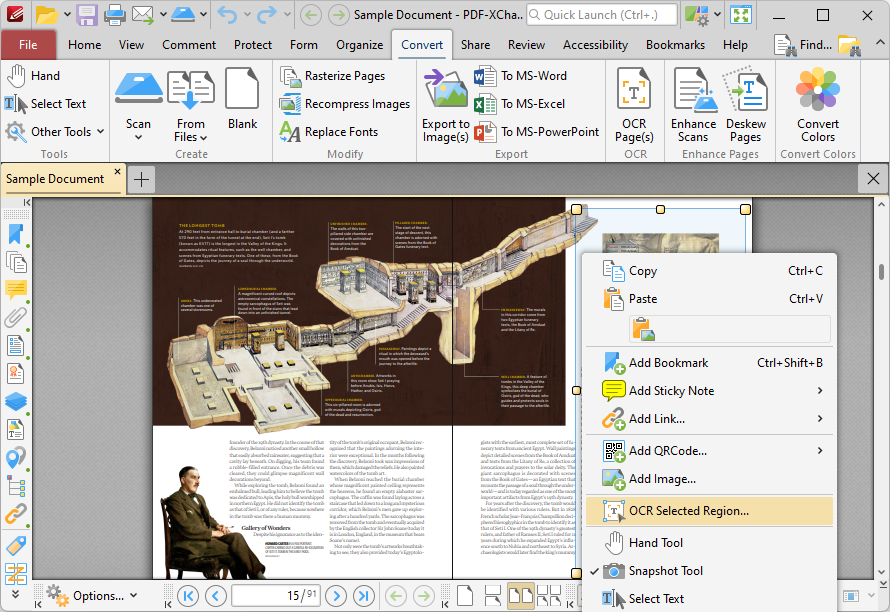
Figure 6. Right-Click Shortcut Menu, OCR Selected Region Highlighted
The OCR Options dialog box will open. Determine parameters as detailed above and then click OK to perform OCR on the selected region of the document.
Instructions on how to edit text after OCR has been performed are available here.