 Connect PDF-XChange Editor to Your Cloud Storage
Click Add a Place to add new places to the Open list for subsequent use:
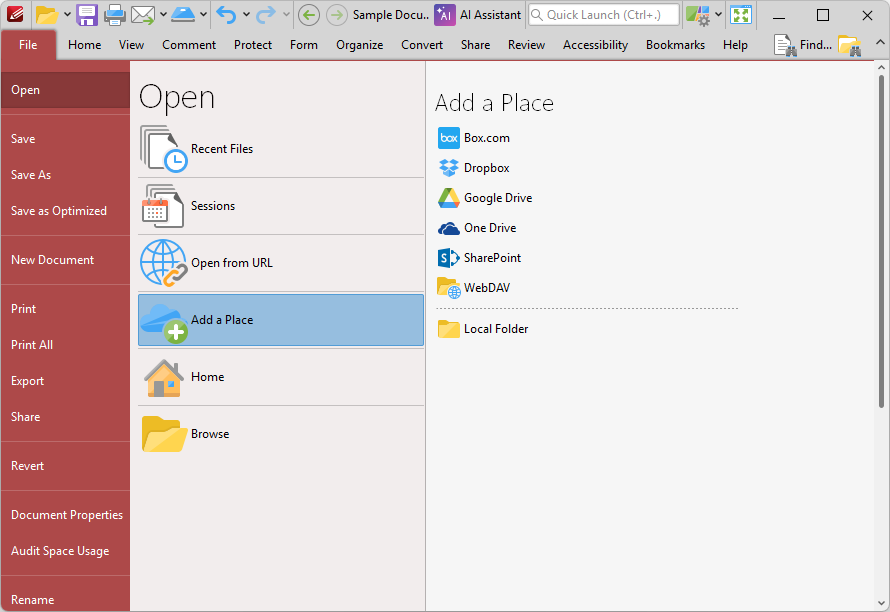
Figure 1. File Tab, Open Submenu, Add a Place Options
•Click Box.com, Dropbox, Google Drive, OneDrive, SharePoint or WebDAV, then enter your login details to add an account to the list.
•Click Local Folder to add a folder on the local computer to the list, then select a folder to add it to the list.
Added places appear as detailed below:
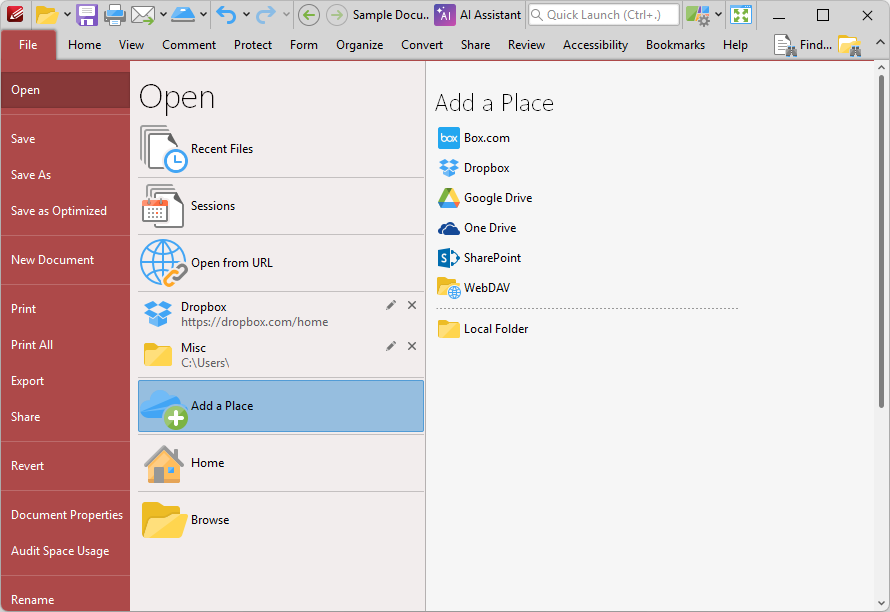
Figure 2. File Tab, Open Submenu, Places Added
Click places to open them, then select files to view/edit them in PDF-XChange Editor. Click the 'x' icon to remove places from the list or the pencil icon to rename places.
Opening SharePoint Files in PDF-XChange Editor
Once you have added a SharePoint account to PDF-XChange Editor, follow the steps below to open files from the account:
1. Click the File tab, then click Open and click the SharePoint account in the list of places. The Open Files dialog box will open:
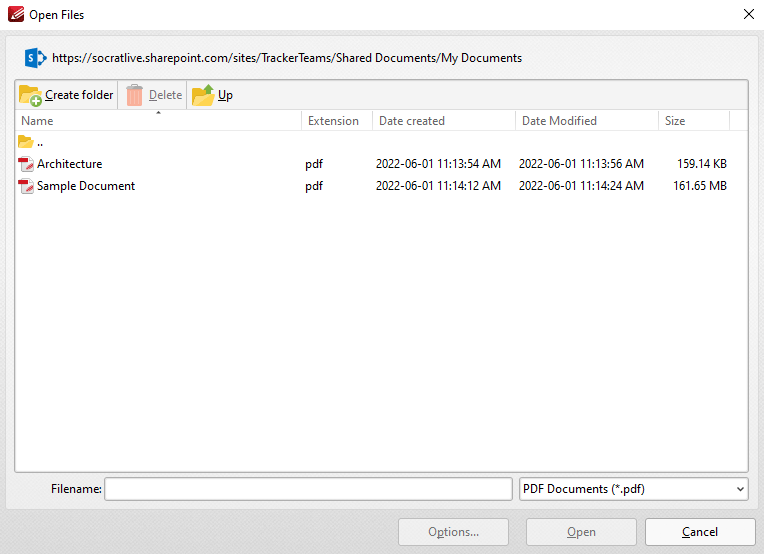
Figure 3. SharePoint Open Files Dialog Box
2. Select the desired file from the list and click Open or Open with Check Out. Click Open to make the file both available and editable for other users. Click Open with Check Out to make the file editable for the current user only, and read-only for other users. Further information on using SharePoint is available here.
Using SharePoint to Interact with Files in PDF-XChange Editor
Your documents are detailed in the Documents section of your SharePoint account. You can use the options highlighted in the image below to open selected documents in PDF-XChange Editor:
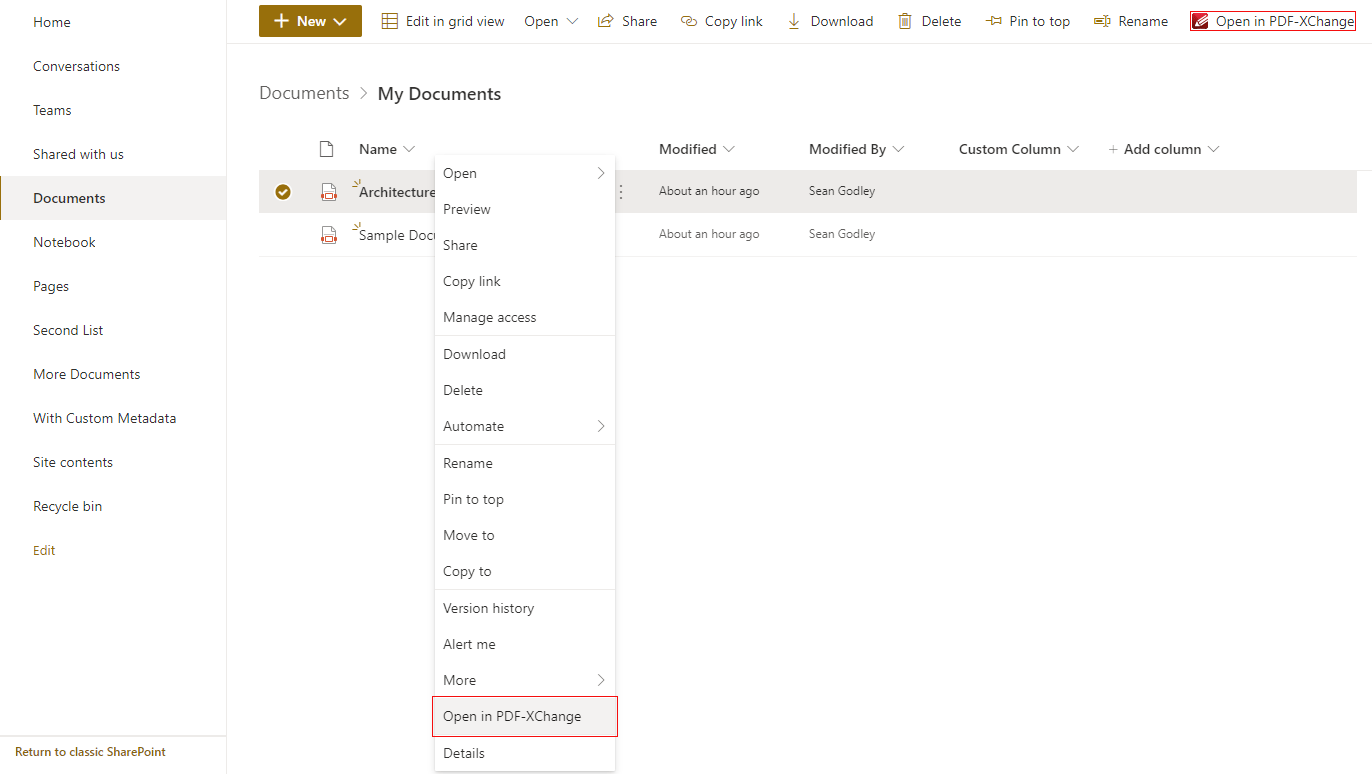
Figure 4. SharePoint, Open in PDF-XChange Options
The document is then displayed in PDF-XChange Editor:
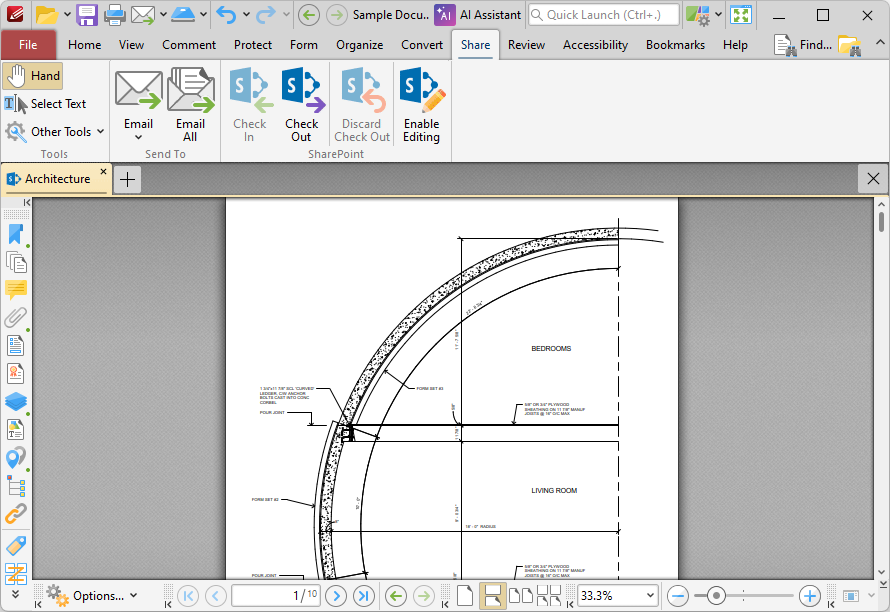
Figure 5. SharePoint File Displayed in PDF-XChange Editor
•Click Enable Editing to enable editing for the document.
•Click Check Out to check the document out from SharePoint.
When you use either of these options and then make changes to and save a document, the changes will be saved in the version of the document stored at the SharePoint location. If you check out a document, make changes to it and check the document back in to SharePoint, then the following dialog box will be displayed:
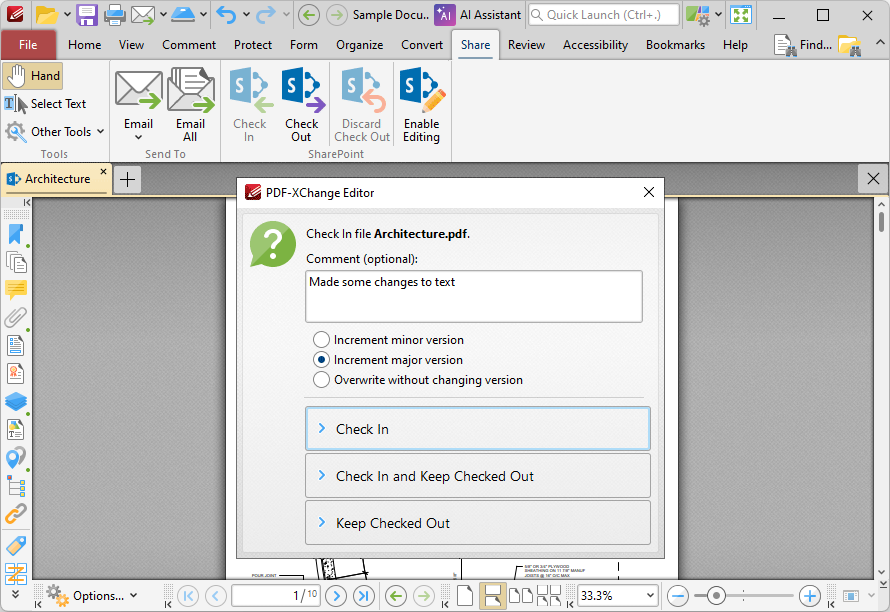
Figure 6. SharePoint Check In Options
•If you want to add a comment about the changes that you made to the document then enter them in the Comment text box.
•Select the Increment minor version button to specify an increment in the minor version of the document.
•Select the Increment major version button to specify an increment in the major version of the document.
•Select the Overwrite without changing version button to overwrite the existing document with changing the version number.
•Click Check In to check the document in to SharePoint.
•Click Check in and Keep Checked Out to check the document in to SharePoint (i.e. update the version that is saved there) and also keep the document checked out.
•Click Keep Checked Out to keep the document checked out.