 Add Text Fields to Documents
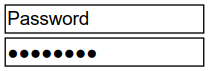
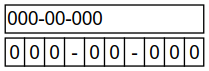
Text fields enable users to enter form information such as their name, password and date of birth:
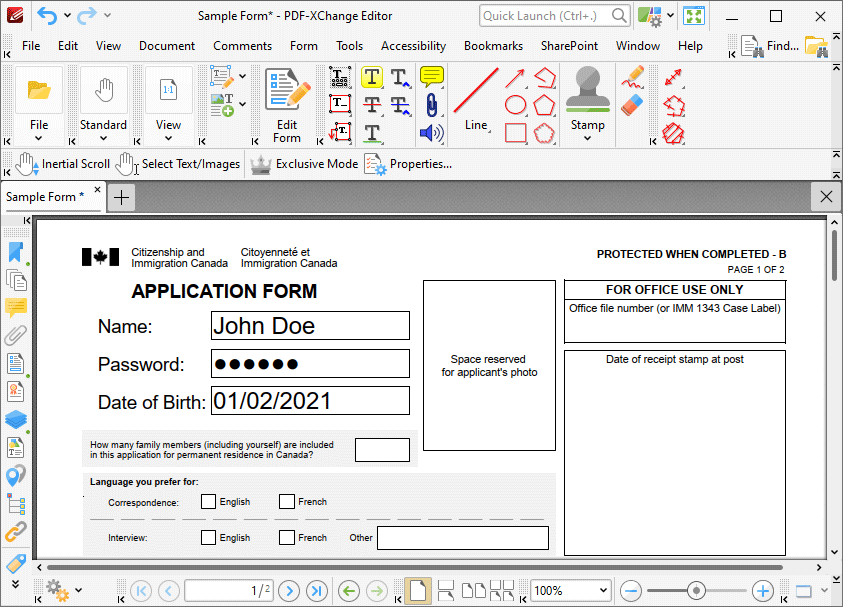
Figure 1. Example Text Fields
The functionality of PDF-XChange Editor enables a wide range of dynamic customization for text fields. Click the dropdowns below for further information:
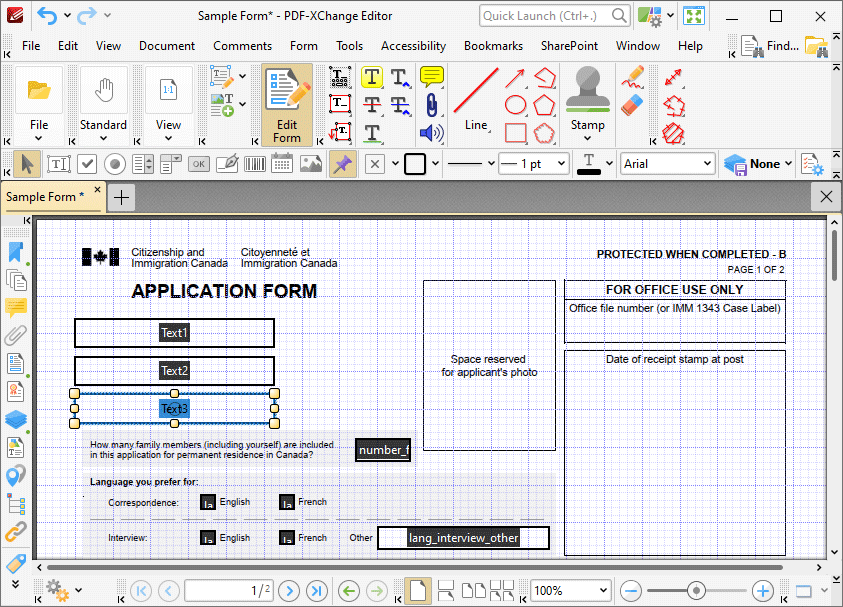
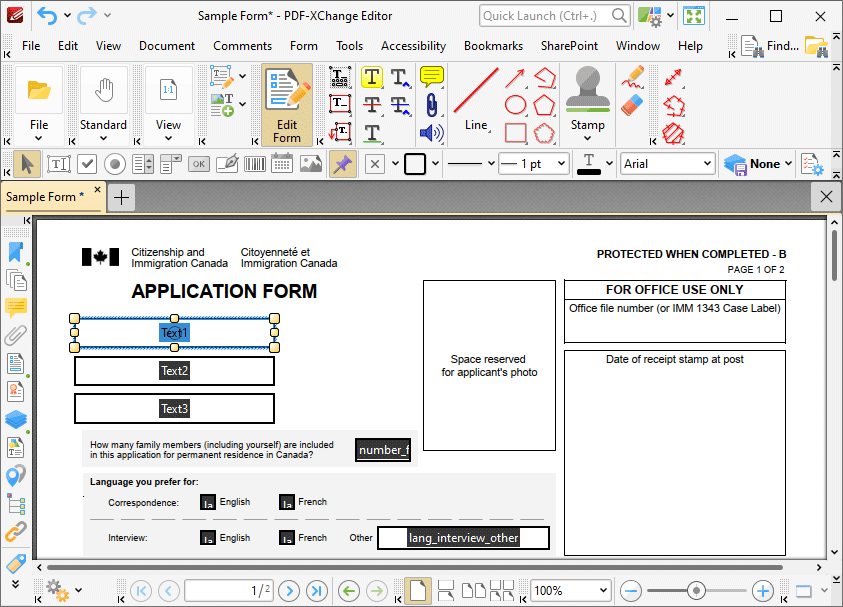
1. Click Edit Form, then click the Text Field icon in the Form Toolbar (these locations are highlighted in the image below). A blue rectangle will be displayed at the location of the pointer. This rectangle represents the text field:
Figure 2. Active Text Field Tool
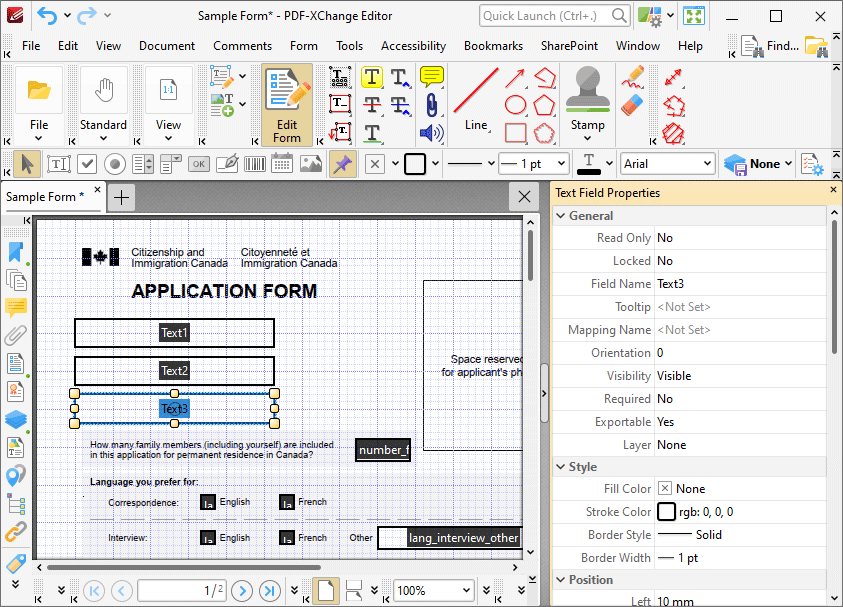
2. Move the rectangle to the desired location and then click to add the text field to the document. (Use the editing aids detailed here to assist in the precise placement of text fields). Added text fields appear as detailed below:
Figure 3. Added Text Fields
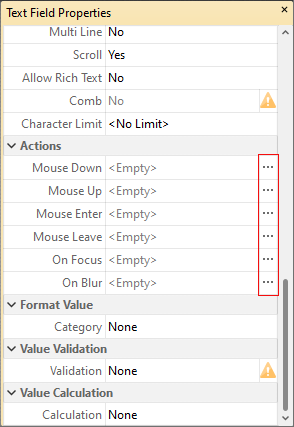
•Click and drag the yellow control points to resize text fields. •Use the options in the Properties Toolbar to determine the style and appearance of text fields: •Fill Color determines the color used to fill text fields. •Stroke Color determines the border color of text fields. •Border Style determines the style of text field borders. •Border Width determines the width of text field borders. •Text Color determines the color of text entered in text fields. •Font determines the font of text entered in text fields. •Properties launches the Text Field Properties pane, which enables the customization of additional elements of text fields.
|

The following example details a simple value validation of values entered into the text field 'Text1':
Figure 9. Value Validation Example, Text Field
This example will detail how to validate that values entered into 'Text1' fall in the range 0-100:
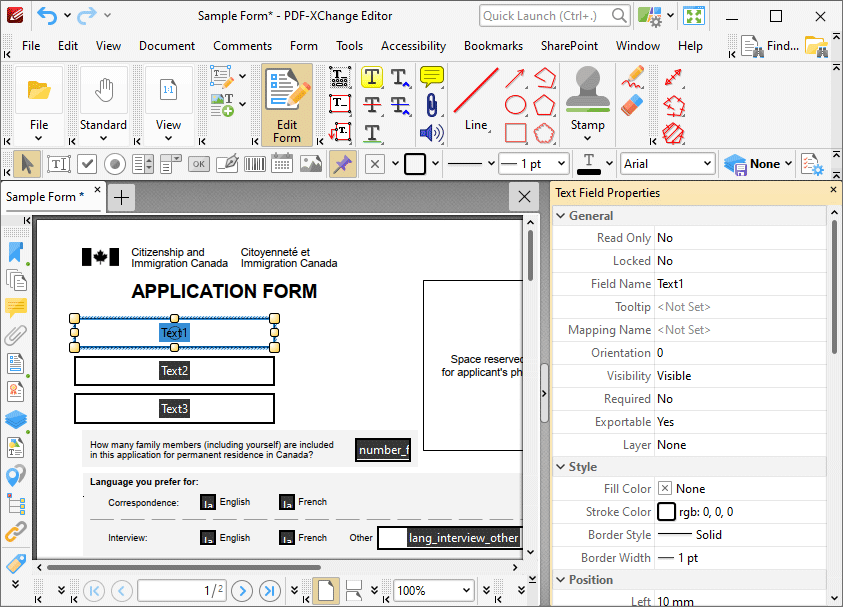
1. Click Edit Form, then select 'Text1' and click Properties in the Properties Toolbar. The Text Field Properties pane will open:
Figure 10. Value Validation Example, Text Field Properties Pane
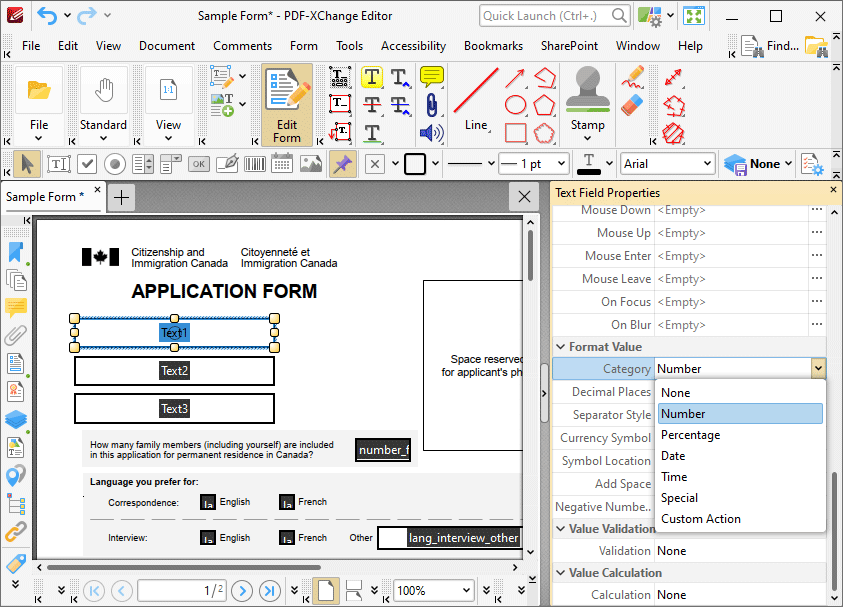
2. Scroll down the Text Field Properties pane to the Format Value tab, then click the Category property and select Number:
Figure 11. Value Validation Example, Category Option
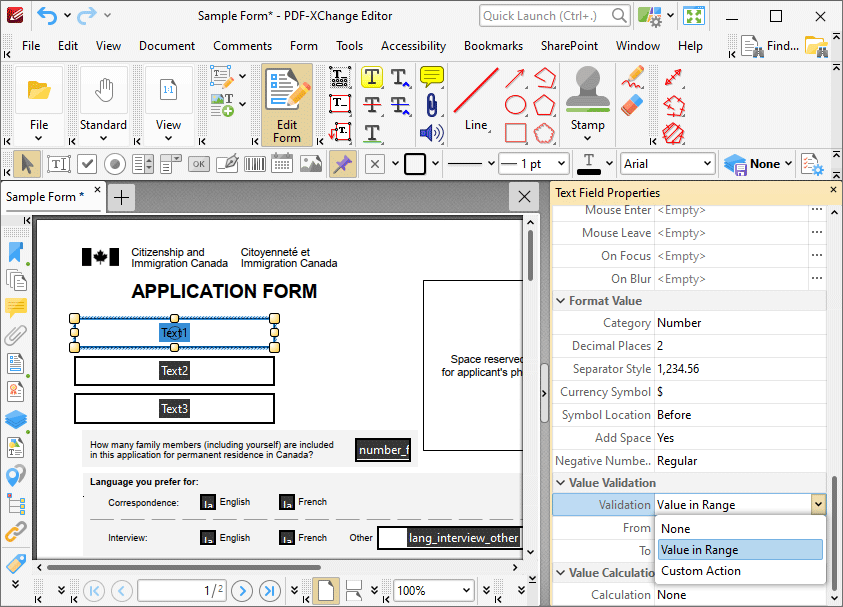
3. Scroll down the Text Field Properties pane to the Value Validation tab, then click the Validation option and select Value in Range:
Figure 12. Value Validation Example, Validation Option
Note that the From and To options will appear beneath the Validation property.
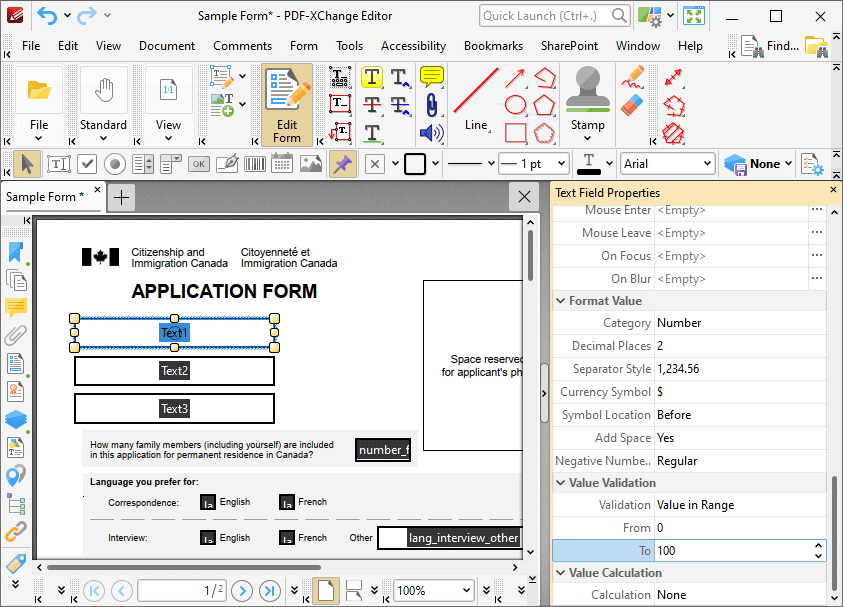
4. Enter '0' in the From option and '100' in the To option:
Figure 13. Value Validation Example, From/To Option
All values subsequently entered into 'Text1' must fall into the range 0-100. Values outside of the specified range will not be permitted, and if they are entered in the text box then an error message will appear. |
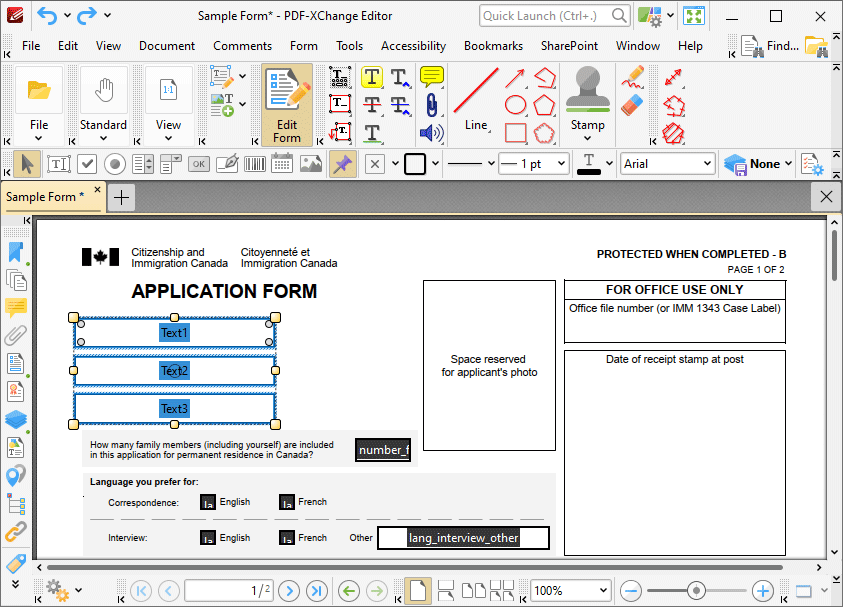
The following example details a simple value calculation using the text fields: 'Text1', 'Text2' and 'Text3':
Figure 14. Value Calculation Example, Text Fields
This example will detail how to use the product of the values entered in 'Text1' and 'Text2' to create the value for 'Text3':
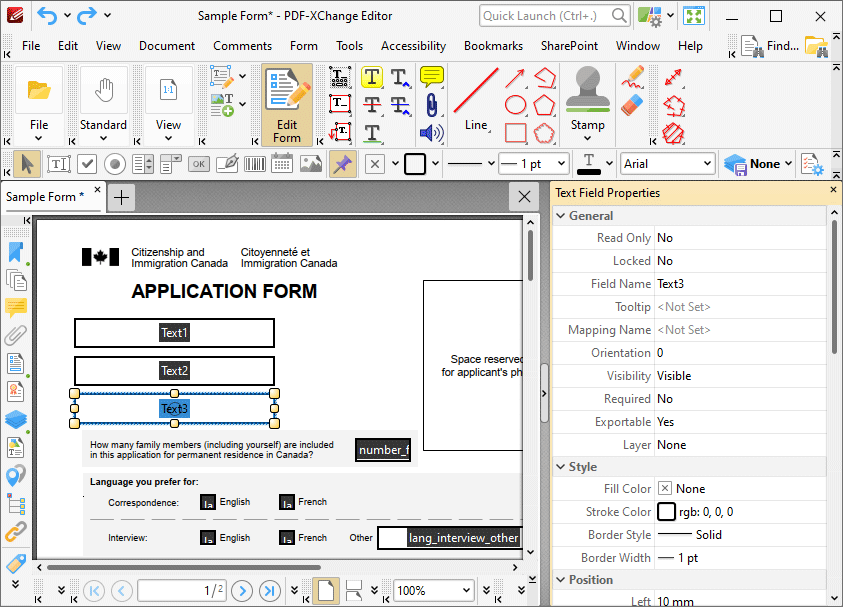
1. Click Edit Form, then select 'Text3' and click Properties in the Properties Toolbar. The Text Field Properties pane will open:
Figure 15. Value Calculation Example, Text Field Properties Pane
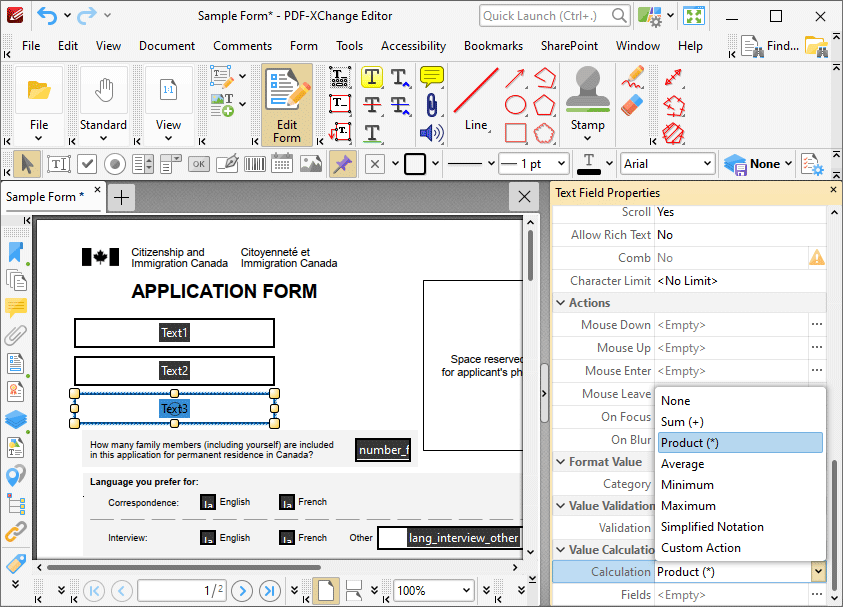
2. Scroll down the Text Field Properties pane to the Value Calculation tab, then click the Calculation property and select Product:
Figure 16. Value Calculation Example, Calculation Option
Note that the Fields property will appear beneath the Calculation property, as detailed in the image below. This option is used to specify the source of the values to use in the product calculation that will create the value for 'Text3'.
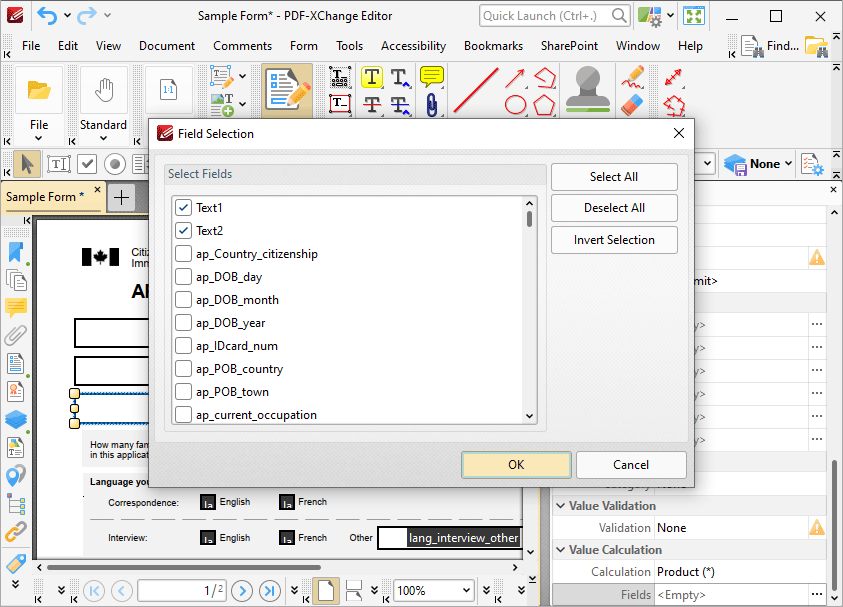
3. Click the ellipsis icon on the right of the Fields property. The Fields Selection dialog box will open. Select 'Text1' and 'Text2', then click OK:
Figure 17. Value Calculation Example, Field Selection Dialog Box
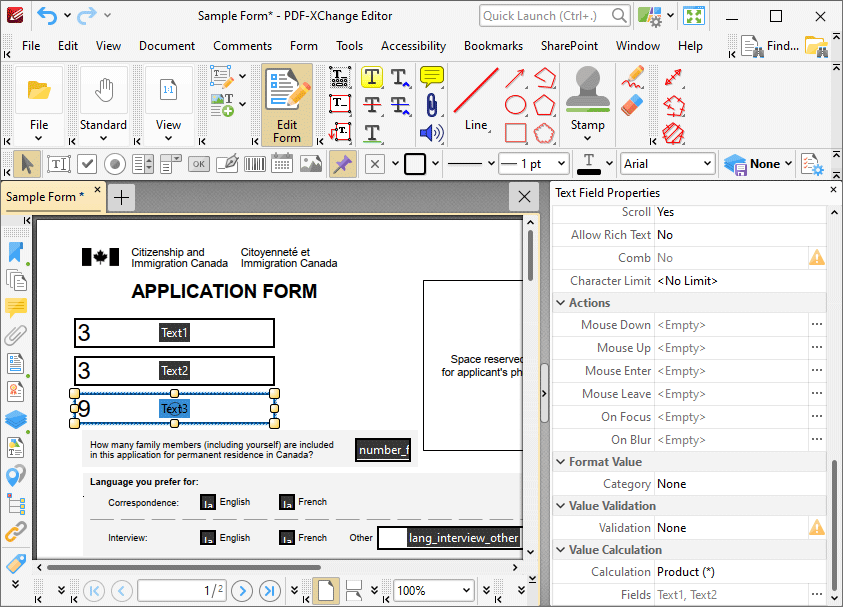
The value of 'Text3' will then be the product of the values entered in 'Text1' and 'Text2':
Figure 18. Value Calculation Example, Process Complete
If the values in 'Text1' and 'Text2' are subsequently changed, then the value in 'Text3' will update.
Please note that the Calculation Order setting in the Fields Pane can be used to determine the order in which fields are calculated. This is a useful feature when documents contain more than one form field that has value calculation settings. Follow the steps below to determine the order of calculation:
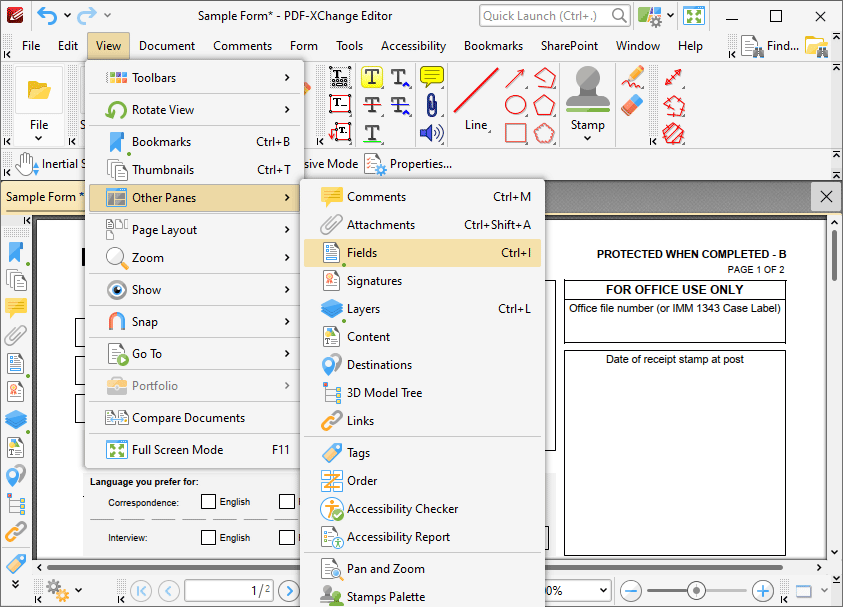
1. Click Edit Form, then click View in the Menu Toolbar, hover over Other Panes and click Fields:
Figure 19. View Submenu, Other Panes, Fields
The Fields pane will open.
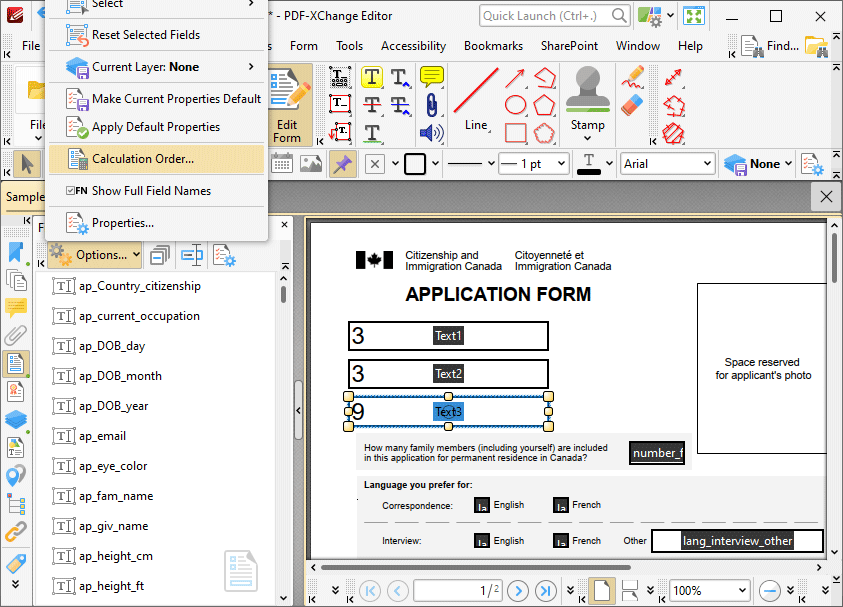
2. Click Options and then click Calculation Order in the submenu:
Figure 20. Fields Pane, Set Field Calculation Order
The Calculation Order dialog box will open:
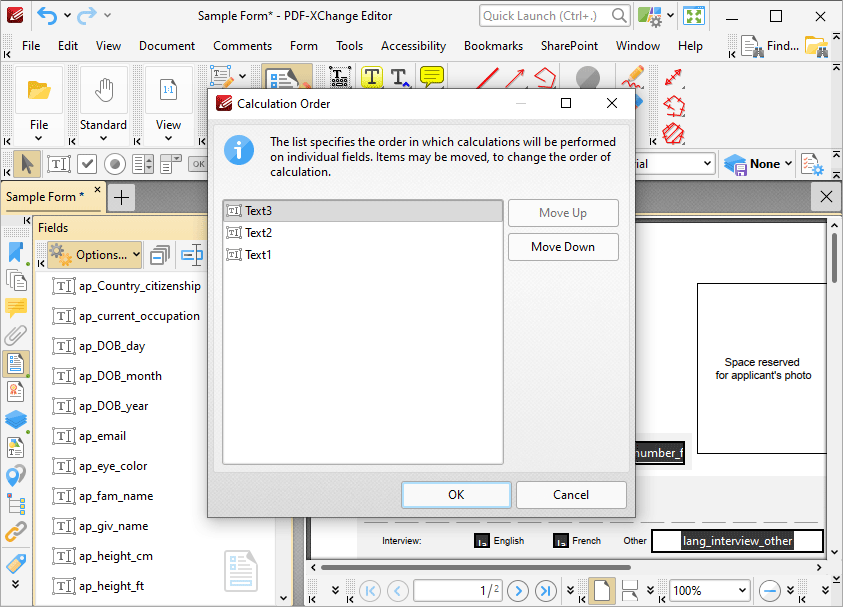
Figure 21. Calculation Order Dialog Box
The Calculation Order dialog box displays all form fields that contain value calculations. The order from top to bottom is the order in which calculations are performed. Click to select form fields and then click Move Up/Move Down to move fields up or down in the list. |