 Adding/Editing Links in PDFs
Links are a dynamic feature of PDF documents that enable readers to jump to a different location in the same document, other documents, attachments or websites. Links contain functionality that can initiate a range of additional/alternative actions, such as running a JavaScript, executing a command in PDF-XChange Editor or playing an audio file.
Adding Links
1. Click the Home tab, then click Add/Edit Links:
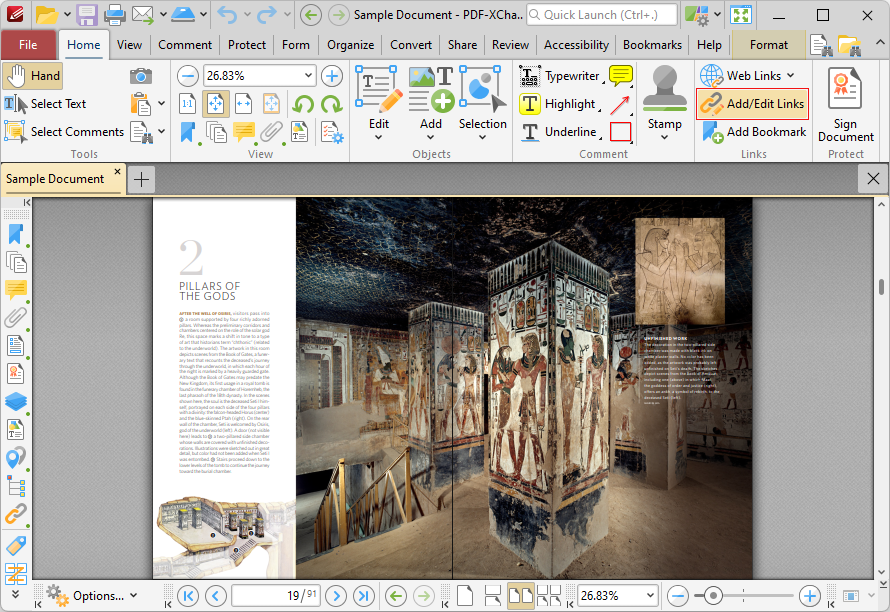
Figure 1. Home Tab, Create Link Highlighted
The pointer will become a crosshairs icon.
2. Click and drag to determine the size and location of the link. The Browse for Link Target dialog box will open:
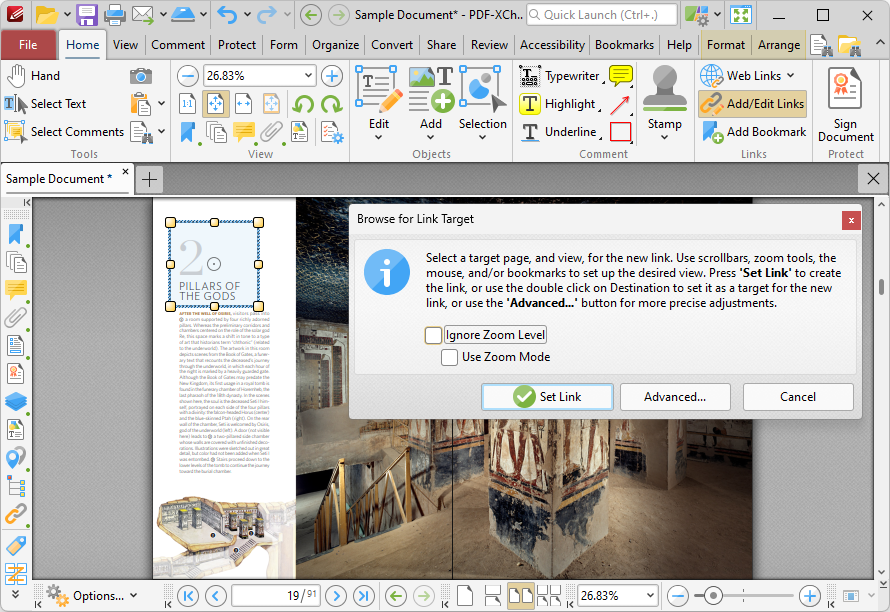
Figure 2. Create Link Enabled, Browse for Link Target Dialog Box
•If the Ignore Zoom Level box is selected then PDF-XChange Editor will ignore the document zoom level when links are created. If this box is cleared then the zoom level will update to the zoom level that was present at the time of link creation when links are used.
•If the Use Zoom Mode box is selected then PDF-XChange Editor will ignore the active zoom mode when links are created. If this box is cleared then the zoom mode will update to the mode that was active at the time of link creation when links are used.
•Move to the desired link location and zoom level, then click Set Link to create the link.
•Click Advanced to determine advanced settings for links. The Edit Action List dialog box will open, as detailed below.
3. Click Set Link to create the link.
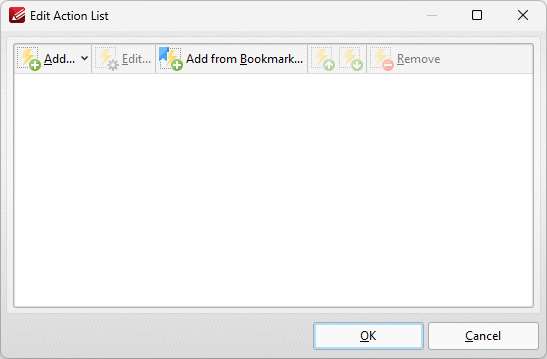
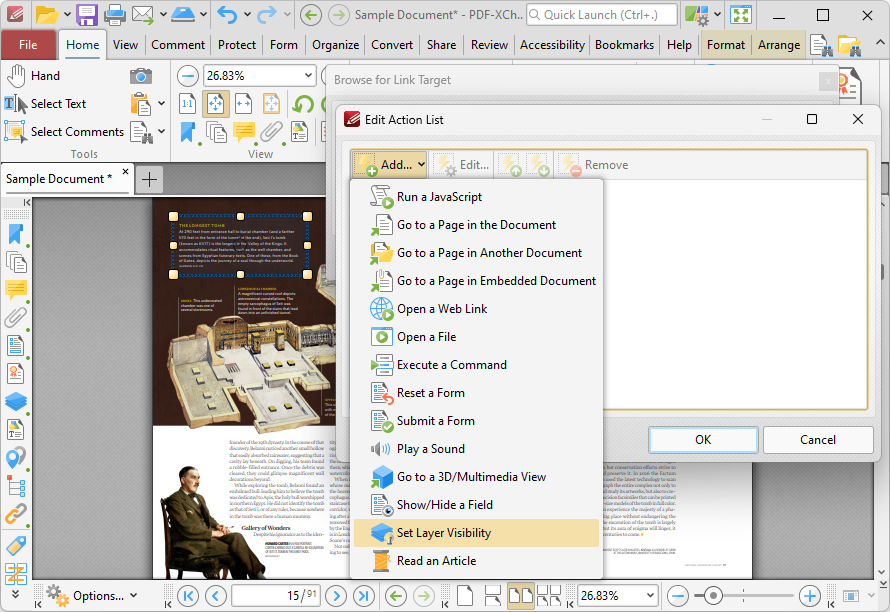
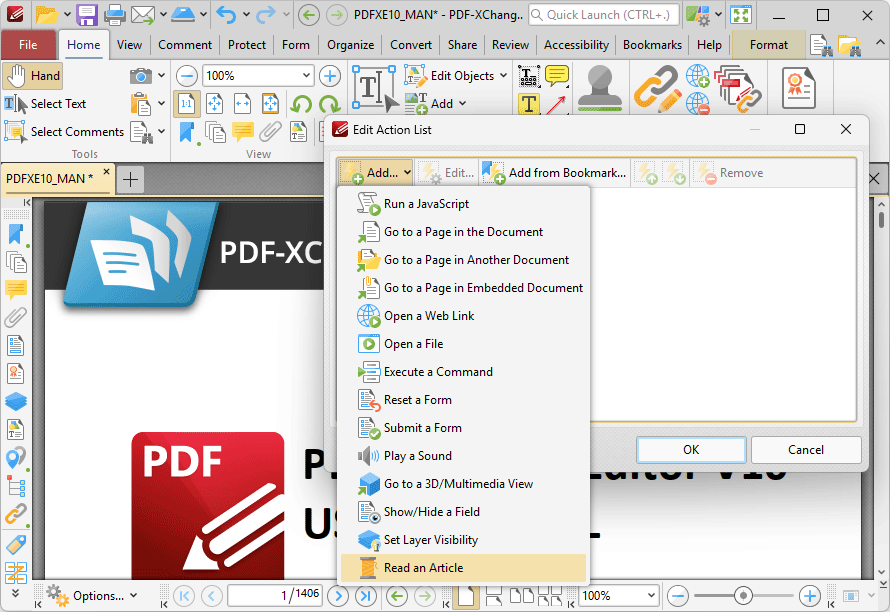
Figure 3. Edit Actions List Dialog Box
•Click Add to add actions to the list. Actions will be executed when the link is clicked. All available actions are detailed below.
•Select actions and click Edit to adjust their settings.
•Click Add from Boomark to add 'Go to Page' actions using link targets from bookmarks.
•Click the arrow icons to move selected actions up or down in the list.
•Click Remove to remove selected actions from the list.
•Note that it is possible to add multiple actions to the list. The order of actions in the Edit Action List dialog box determines the order in which they are performed.
The following actions are available:
This action executes JavaScript when links are clicked:
Figure 4. Edit Action List Dialog Box, Run a JavaScript
When it is selected the following dialog box will open:
Figure 5. Add Action: "Run a JavaScript" Dialog Box
Enter the desired JavaScript and click OK to save. |
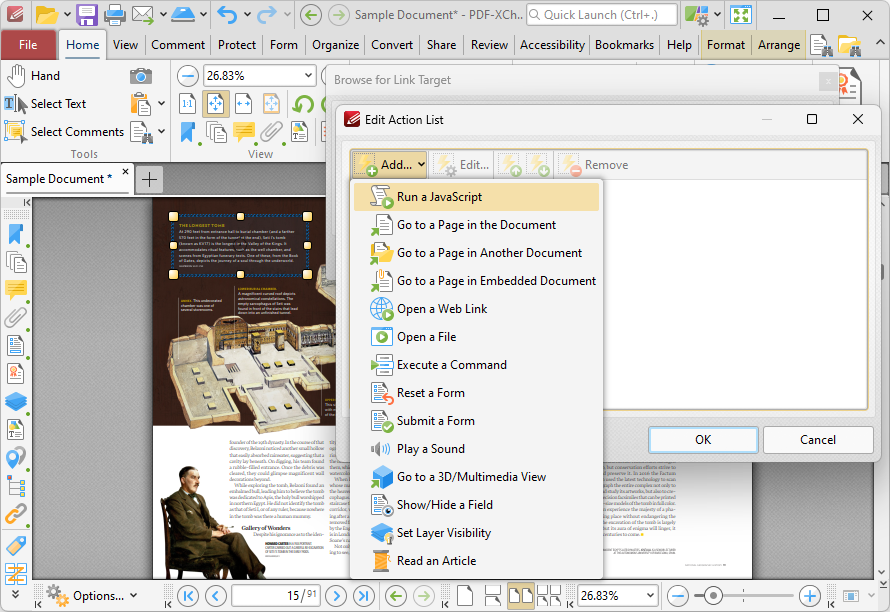
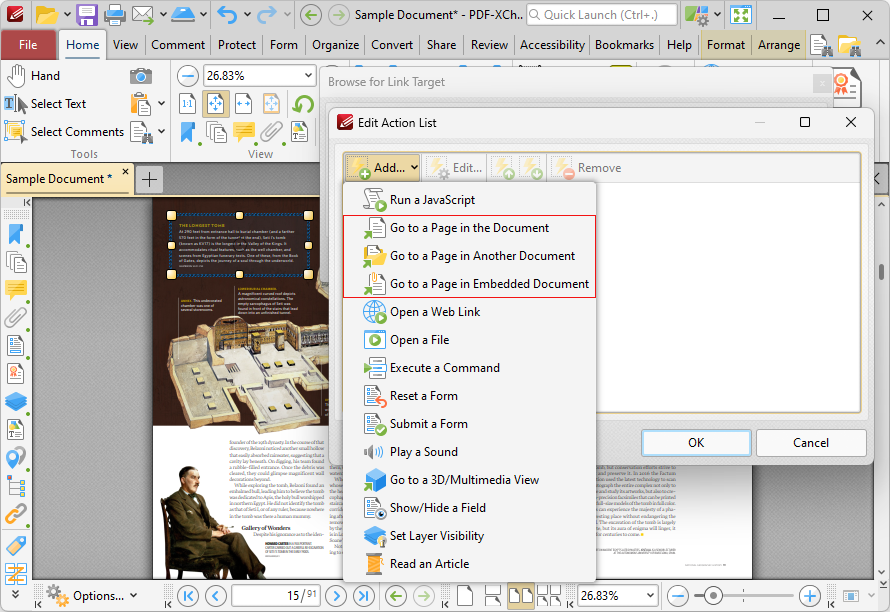
There are three Go To Page options available for links:
Figure 6. Edit Action List Dialog Box, Go to Page Options
Go To a Page in the Document
This action moves the main window to a different document page when links are clicked. When it is selected the following dialog box will open:
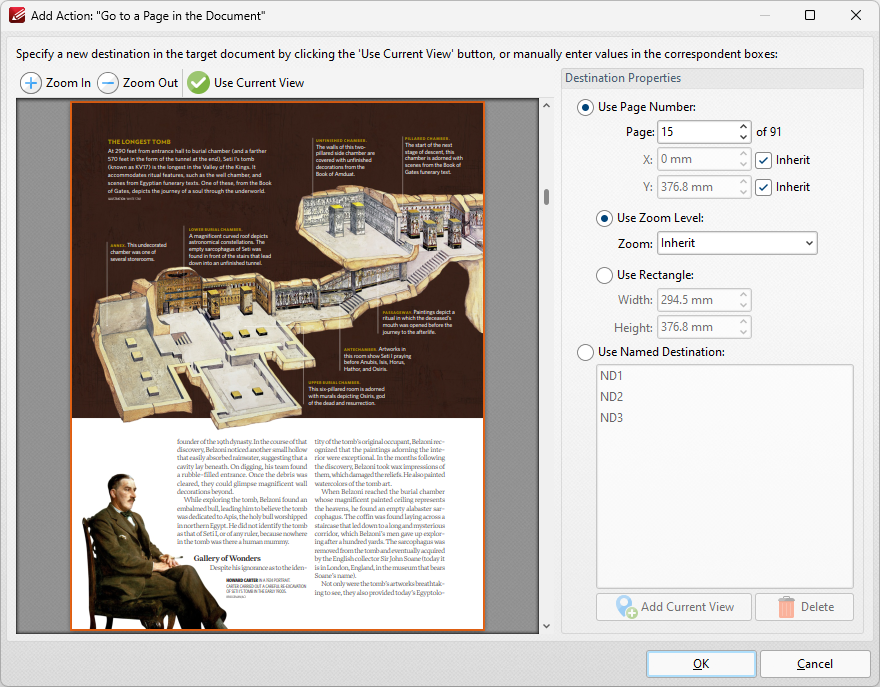
Figure 7. Add Action: "Go to a Page in the Document" Dialog Box
•Click the plus/minus icons to zoom in on/out from the current view. •Click Use Current View to use the view currently displayed in the preview pane as the link destination. Note that this option can be used to link to locations on the same page as the parent link. •Alternatively, use the Destination Properties options to select a page. Enter a page number or use a Named Destination to determine the destination: •Select the Use Page Number option button to specify a page number as the link location. The figures entered in the X and Y boxes determine the location on the horizontal and vertical planes respectively. When this option is used it is also possible to determine the zoom level, or use a rectangle to designate the destination: •Select the Use Zoom Level option button to determine the level of zoom used in the link. Use Inherit Zoom to save the zoom level used when creating the link. •Use the Use Rectangle option button to use a rectangle as the link location. Enter values for the Width and Height as desired. •Alternatively, select the Use Named Destination option button to select a named destination to use as the link location, or click Add Current View to create a new named destination from the current view.
Click OK to save settings.
Go To a Page in Another Document
This action moves the main window to a page in a different document when links are clicked. When it is selected the Open Files dialog box will be displayed. Select the file and click Open. The Add Action: "Go to a Page in Another Document" dialog box will open. The settings are the same as those detailed in (figure 7).
Go To a Page in an Embedded Document
This action moves the main window to a different page in an embedded document when links are clicked. When it is selected the Choose Root Document dialog box will be displayed. Select either This document or Choose external document. (When an external document is used, enter the name of the document in the text box or click the folder icon to select a document from the local computer). The Add Action: "Go to a Page in Embedded Document" dialog box will open. The settings are the same as those detailed in (figure 7). |
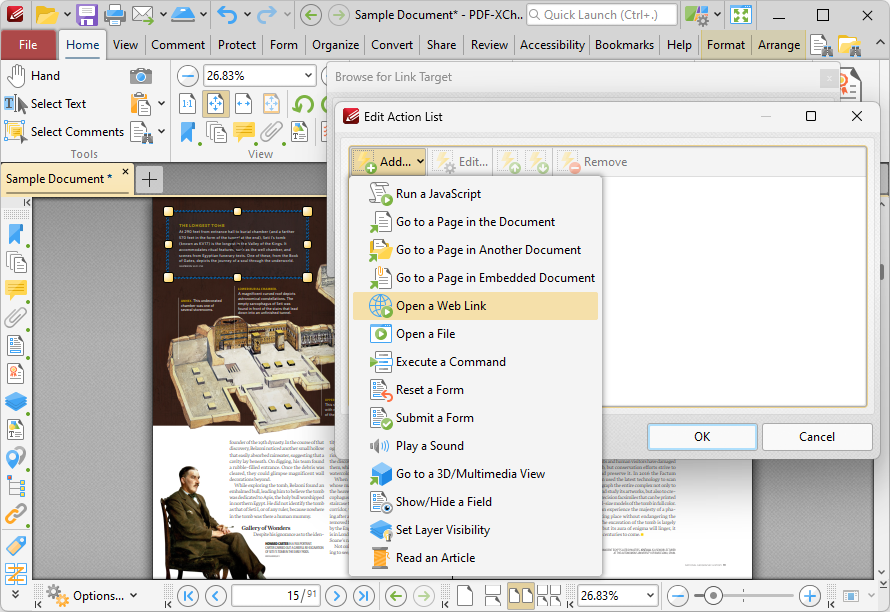
This action launches a web link in the default browser when links are clicked:
Figure 8. Edit Action List Dialog Box, Open a Web Link
When it is selected the following dialog box will open:
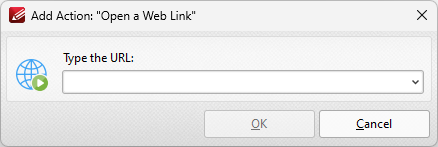
Figure 9. Add Action: "Open a Web Link" Dialog Box
Enter the desired URL in the text box and then click OK to save the link. |
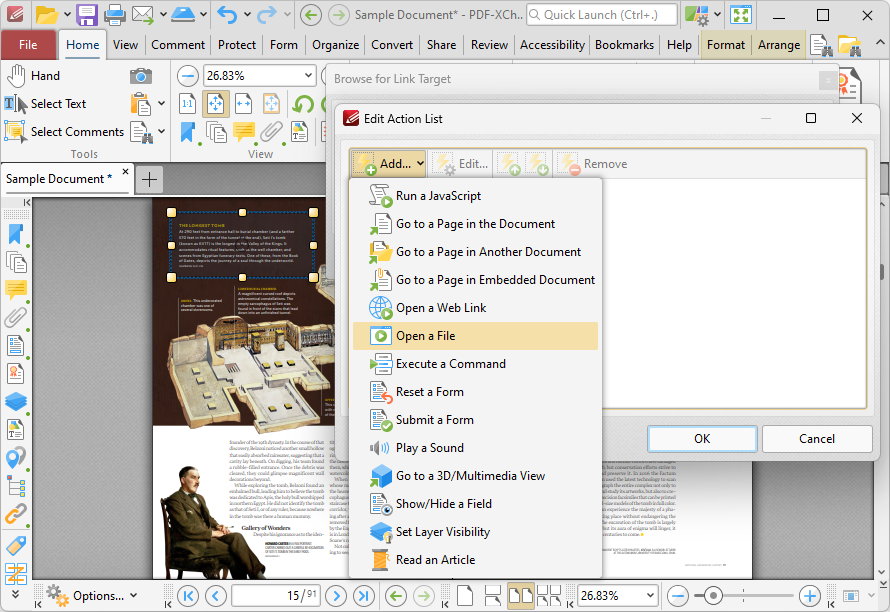
This action opens a file when links are clicked:
Figure 10. Edit Action List Dialog Box, Open a File
When it is selected the following dialog box will open:
Figure 11. Add Action: "Open a File" Dialog Box
•Enter the name of the file to be opened in the File Name text box, or click Browse to select a file from the local computer. •Use the Open In menu to select where the file opens. •Select either Open or Print in the Operation dropdown menu to determine whether the designated file opens or prints when the link is clicked. •Enter the directory of the file in the Directory text box, or click Browse to select a folder from the local computer. •Use the Parameters text box to include further parameters of the default program used to open the file. Available parameters depend on the command line options available to the program used.
Click OK to save settings. |

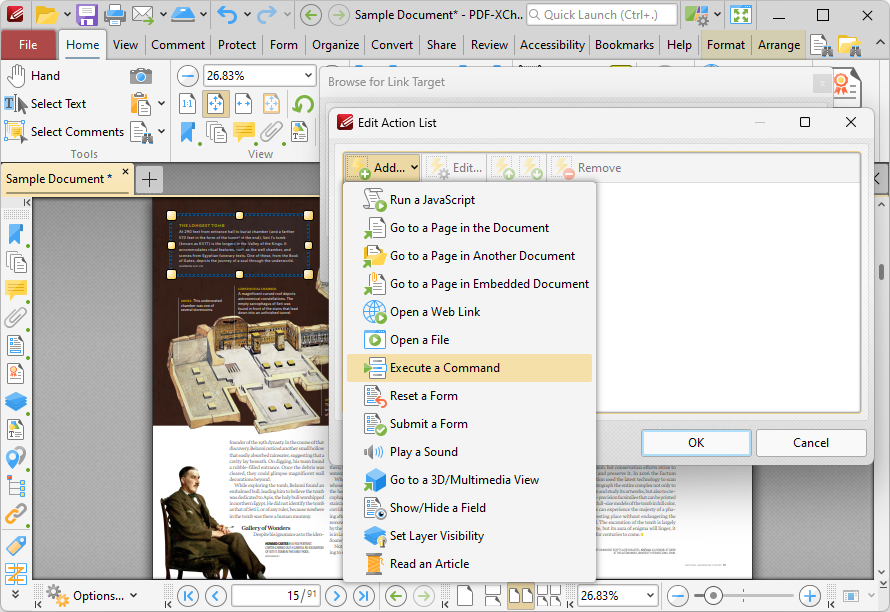
This action executes a command when links are clicked:
Figure 12. Edit Action List Dialog Box, Execute a Command
When it is selected the following dialog box will open:
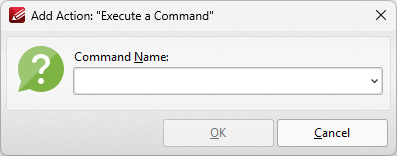
Figure 13. Add Action: "Execute a Command" Dialog Box
Click the dropdown arrow to view the list of available commands. Select commands and then click OK to add them to the link. Note that multiple commands can be added as desired. |
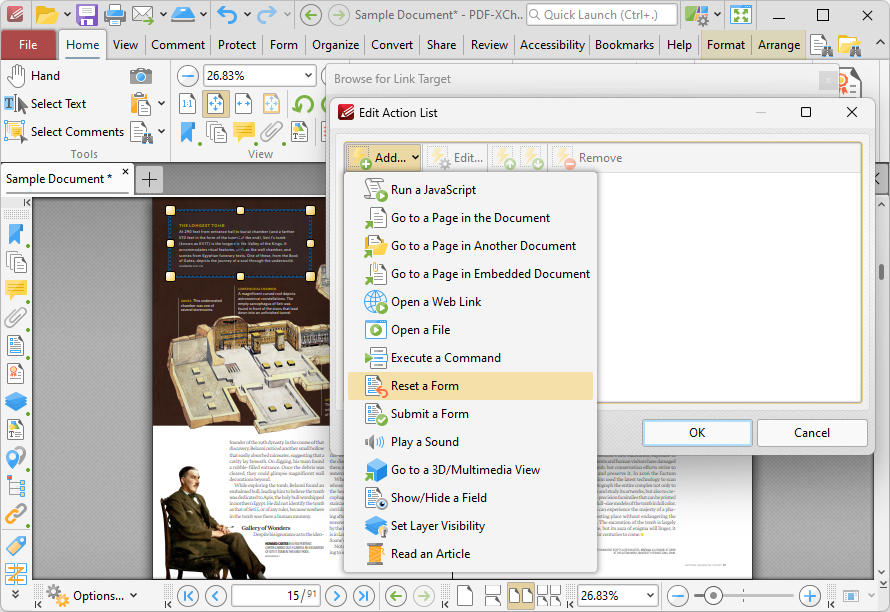
This action resets form data when links are clicked:
Figure 14. Edit Action List Dialog Box, Reset a Form
Form data is information entered into fillable forms, which the Form tab can be used to create in PDF-XChange Editor. The following dialog box will open when this action is selected:
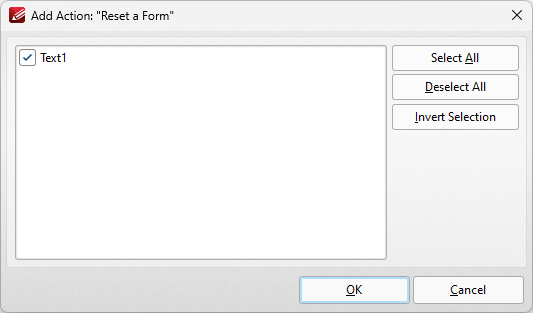
Figure 15. Add Action: "Reset a Form" Dialog Box
•Click Select All to select all forms. •Click Deselect All to deselect all forms. •Click Invert Selection to invert the current form selection.
Click OK to save settings. |
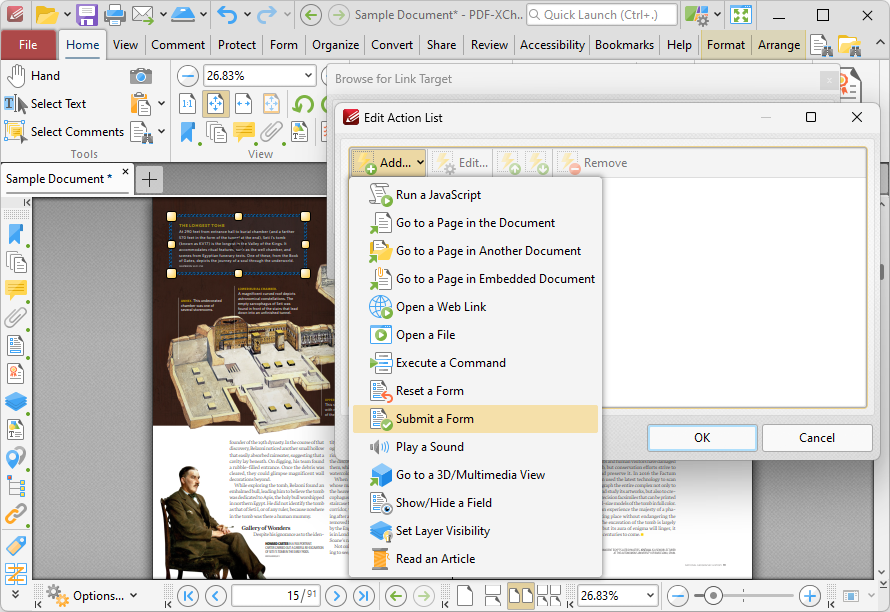
This action sends specified form data to a URL when links are clicked:
Figure 16. Edit Action List Dialog Box, Submit a Form
When it is selected the following dialog box will open:
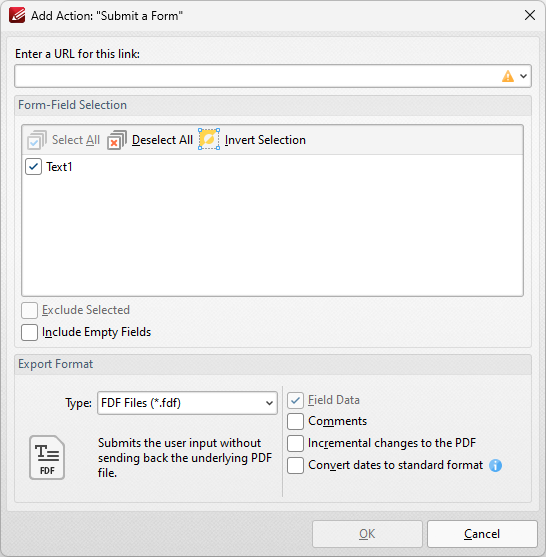
Figure 17. Add Action: "Submit a Form" Dialog Box
•Enter the desired URL in the text box. The specified form data will be sent to this address when the link is clicked. •All document forms are detailed in the Form-Field Selection pane. Use the check boxes to select forms to be sent when the link is clicked. •Click Select All to select all forms. •Click Deselect All to deselect all forms. •Click Invert Selection to invert the current form selection. •Select the Exclude Selected and Include Empty Fields boxes as desired. •Use the Export Format options to determine export format options: •Use the Type dropdown menu to determine the format of submitted content. •Select the Convert dates to standard format box as desired. •Select the Field Data, Comments and/or Incremental changes boxes as desired. Selected elements will be included in the submitted content.
Click OK to save settings.
Note that the Form tab can be used to create/edit forms to use in conjunction with this feature. |
This action plays a sound when links are clicked:
Figure 18. Edit Action List Dialog Box, Play a Sound
When it is selected the following dialog box will open:
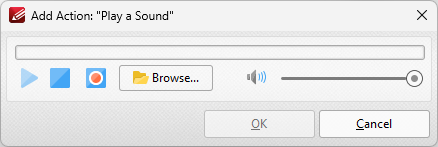
Figure 19. Add Action: "Play a Sound" Dialog Box
•Click the Browse button to select a sound file from the local computer. The Open Files dialog box will open. Select the desired file and click Open. The selected sound file will play when the link is clicked. •Alternatively, click the record button to record a sound. Click again to finish the recording. Click the play and stop buttons to review the sound. Use the volume slider to adjust the volume of the sound.
Click OK to save the file. |

This action moves the main window to a specified 3D/multimedia view:
Figure 20. Edit Action List Dialog Box, Go to a 3D/Multimedia View
When it is selected the following dialog box will open:
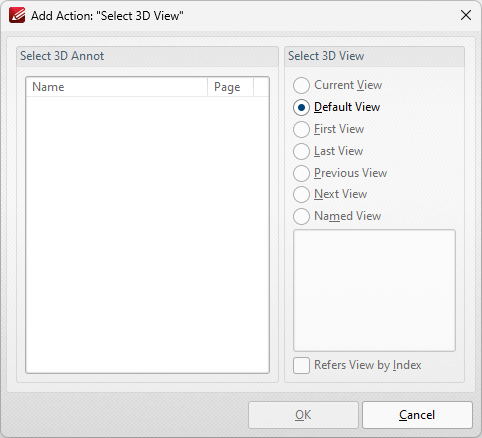
Figure 21. Add Action: "Select 3D View" Dialog Box
•Select the 3D annotation you want the link to open in the Select 3D Annot list. •Select the view of the 3D annotation you want the link to open in the Select 3D View list. •Select Named View to specify a named view for the link to open, then select the desired view in the pane. |

This action is used to show/hide form fields when links are clicked:
Figure 22. Edit Action List Dialog Box, Show/Hide a Field
When it is selected the following dialog box will open:
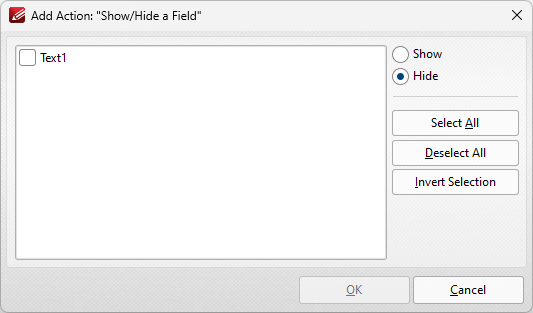
Figure 23. Add Action: "Show/Hide a Field" Dialog Box
All document forms are detailed in the dialog box.
•Select forms and then click either Show or Hide as desired. •Click Select All to select all forms. •Click Deselect All to deselect all forms. •Click Invert Selection to invert the current form selection.
Click OK to save settings. |

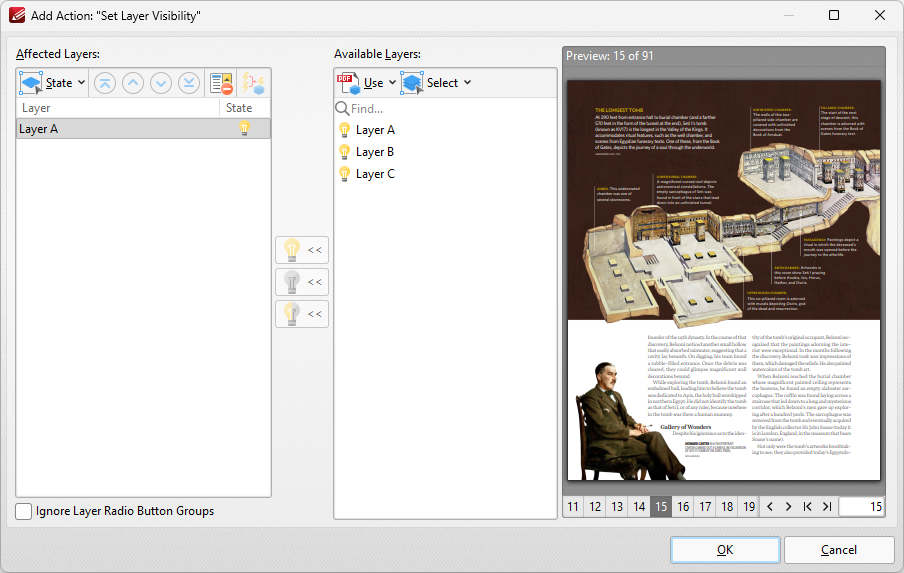
This action is used to set layer visibility when links (or form fields/bookmarks that contain actions) are clicked:
Figure 24. Edit Action List Dialog Box, Set Layer Visibility
When it is selected the following dialog box will open:
Figure 25. Add Action: "Set Layer Visibility" Dialog Box
Available layers are detailed in the Available Layers pane. Please note the following:
•The Use dropdown menu can be used to specify either the use of All Layers in the document, or only the layers presented in the Layers pane. •The Select dropdown menu can be used to Select All layers, Visible layers or Hidden layers, and also to invert the current selection of layers in the dialog box. •When layers are selected in the Available Layers pane, click the lightbulb icons to move them to the Affected Layers pane. Layers that are placed into the Affected Layers pane are the layers that will be affected when the action executes. •Click the activated lightbulb to enable the layer when the action executes. •Click the deactivated lightbulb to disable the layer when the action executes. •Click the semi-activated lightbulb to toggle the layer when the action executes. This means that enabled layers will be disabled, and disabled layers will be activated in the document when the action executes. •Use the State dropdown menu to change the state of layers in the Affected Layers pane. Additionally, the blue arrow icons can be used to move layers up or down in the Affected Layers pane. •Click Remove to remove layers from the Affected Layers pane. •Click Simplify to simplify layer overrides in the Affected Layers pane. •Select the Ignore Radio Button Groups box to ignore radio button groups when this feature is used in conjunction with radio buttons.
Click OK to save changes.
|
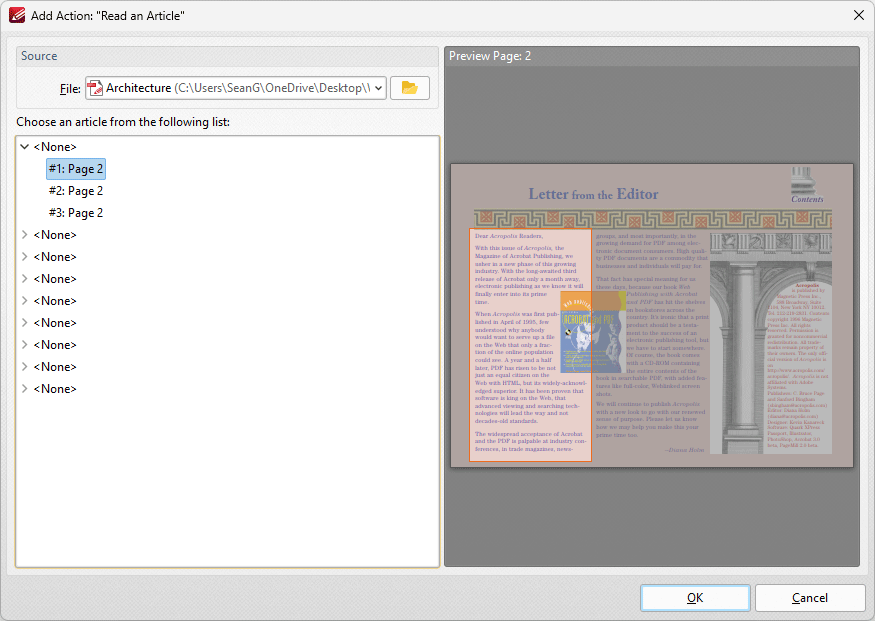
This action is used to read an article when links are clicked:
Figure 26. Edit Action List Dialog Box, Read an Article
When this option is selected, the Add Action: "Read an Article" dialog box will open:
Figure 27. Add Action: Read an Article Dialog Box
Click the article that you want the link to move to when it's clicked, then click OK to save the setting.. |
Customizing Links
If you want to customize the appearance of links, then click Add/Edit Links in the home tab, click to select the desired link and then click the Format tab:
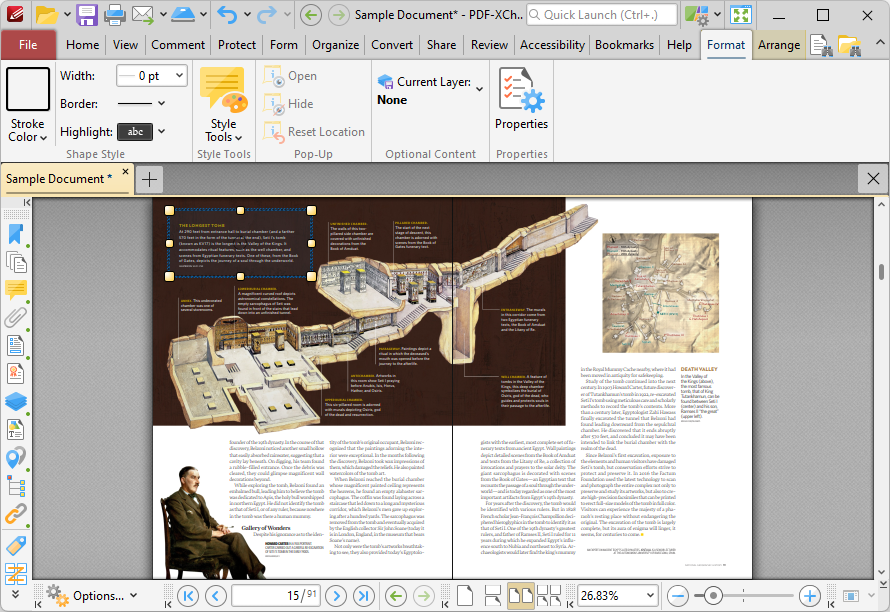
Figure 28. Format Tab for Links
•Click Stroke Color to determine the color of the link border. Note that it is necessary to adjust the width of link borders in order for the color to be visible.
•Click Border Width to determine the width of the link border.
•Click Border Style to determine the style of the link border.
•Click Highlight Mode to determine the visual effect when the link is clicked.
•Use the Style Tools to copy/apply link tool styles:
•Click Copy Comment Style to copy the style properties of selected link annotations.
•Click Apply Copied Comment Style to apply a copied link style to the selected link annotation.
•Click Apply Copied Comment Appearance to apply copied comment properties to the selected content.
•Click Make Current Properties Default to set the properties of the selected annotation as the default properties for subsequent annotations.
•Click Apply Default Properties to apply the default link annotation properties to the selected link annotation.
•Click Properties to view/edit the Link Creation Tool Properties pane. See here for information on tool properties.
•Click and drag the yellow control points of selected links to resize links.
•Click and drag links, or use the arrow keys, to reposition links. Hold down Shift to move at an increased increment when using the arrow keys. You can also use the Nudge feature to adjust the position of links.
•Use the editing aids detailed here to assist in the precise placement of links.
Editing Links
If you have created a link that you want to edit, then click Add/Edit Links in the Home tab and right-click the link:
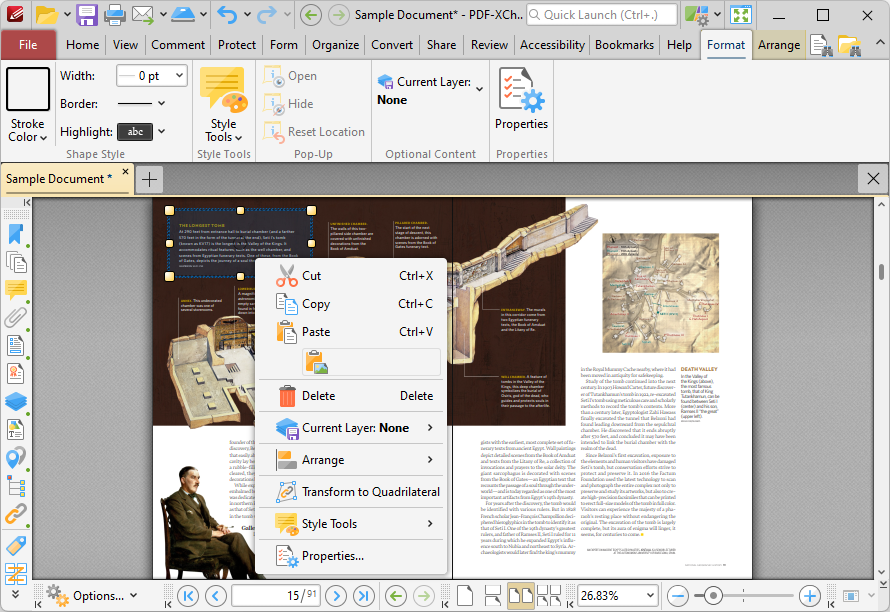
Figure 29. Shortcut Menu for Links
•Click Cut, Copy, Paste or Delete to perform these operations on links.
•Click Arrange to arrange links with surrounding content items:
•Click Duplicate to duplicate links throughout a specified page range, as detailed below.
•Click Bring Forward to bring the link up a step in cases where multiple items overlap.
•Click Send Backward to send the link back a step in cases where multiple items overlap.
•Click Bring to Front to bring the link to the top in cases where multiple items overlap.
•Click Send to Back to send the link to the back in cases where multiple items overlap.
•Click Transform to Quadrilateral to transform the shape of the link to a quadrilateral. If the link is already a quadrilateral, then this option will be replaced with Transform to Rectangle, which can be used to transform the shape of the link to a rectangle.
•Click Style Tools for editing options related to the style of the link:
•Click Copy Comment Style to copy the style properties of selected link annotations.
•Click Apply Copied Comment Style to apply a copied link style to the selected link annotation.
•Click Apply Copied Comment Appearance to apply copied comment properties to the selected content.
•Click Make Current Properties Default to set the properties of the selected annotation as the default properties for subsequent annotations.
•Click Apply Default Properties to apply the default link annotation properties to the selected link annotation.
•Click Properties to open the Properties pane, which can be used to view/edit the properties of the link.
Duplicating Links
If you want to duplicate links throughout a specified page range, then click Create Link in the Home tab, right-click the link, hover over Arrange and then click Duplicate:
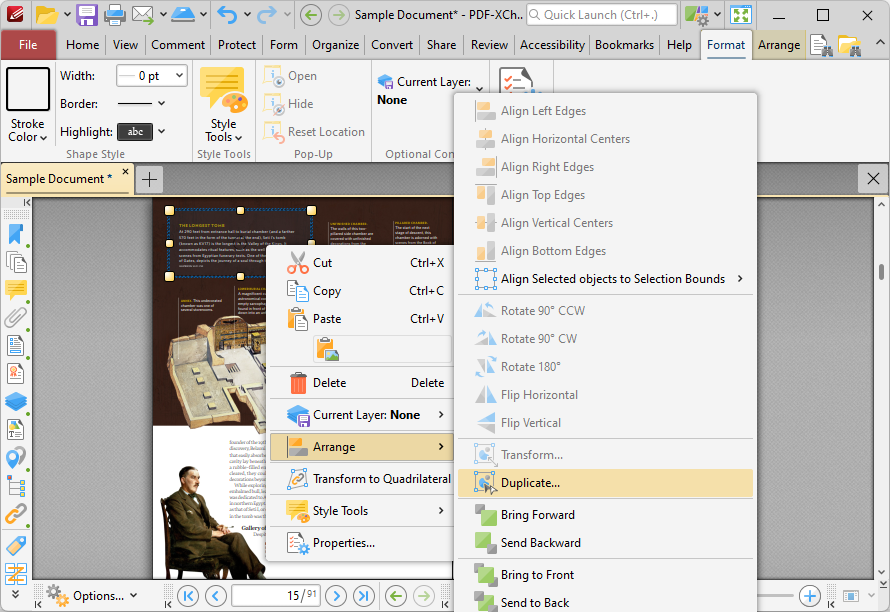
Figure 30. Link Right-Click Shortcut Menu, Arrange Options, Duplicate
The Duplicate Annotations dialog box will open:
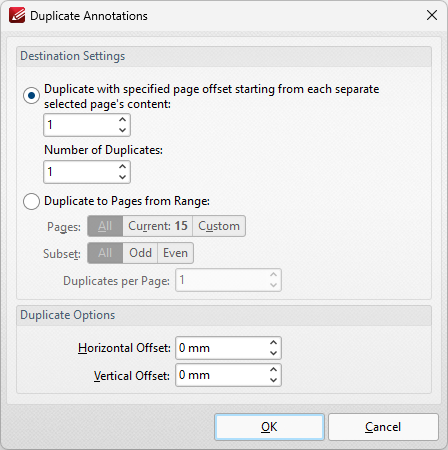
Figure 31. Duplicate Annotations Dialog Box
•Use the Destination Settings to determine the output settings for duplicated links:
•Select the upper option button to duplicate links through a specified page offset from the source form. Enter the desired page offset in the upper number box and the number of duplicates in the lower number box. For example, if the page offset is specified as '3' and the number of duplicates is specified as '3', then three duplicates will be created, with one placed on every third page starting from the link used.
•Select the lower option button to duplicate links to a specified page range:
•Click All to select all document pages.
•Click Current Page to duplicate the link on only the current page.
•Click Pages to determine a page range. See here for page range options.
•Use the Subset option to select All Pages, Odd Pages Only or Even Pages Only for page ranges.
•Use the Duplicates per Page number box to specify the number of duplicate links created per page.
•Use the Duplicate Options settings to determine the duplication of selected links:
•The value entered in the Horizontal Offset number box determines the horizontal offset from the duplicated field.
•The value entered in the Vertical Offset number box determines the vertical offset from the duplicated field.
Batch Link
The Batch Link feature is used to create links across multiple documents to the same location. Click Batch Link to use this feature:
Figure 32. Batch Link Highlighted
The Batch Link dialog box will open:
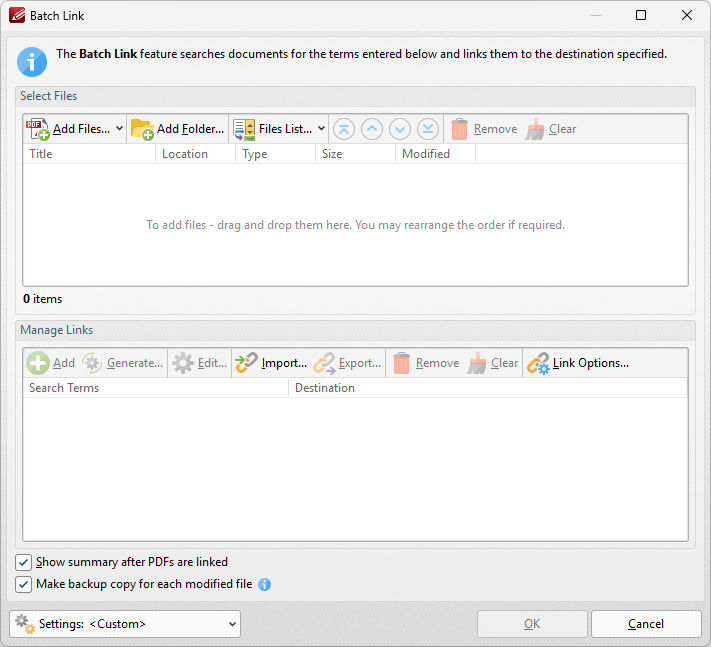
Figure 33. Batch Link Dialog Box
•Use the Add Files/Folder dropdowns to add files/folders to the list of documents to which links will be added.
•Click Files List to Save/Load a list of files to use with this feature.
•Use the blue arrow to adjust the location of documents in the list.
•Click Remove to remove selected documents from the list or Clear to clear the entire list.
•Use the options in the Manage Links section as follows:
•Click Add to add a new search term from which links will be created, then enter the desired term in the Manage Links window. The link destination will be detailed in the adjacent Destination section.
•Click Edit to edit the search term/destination of selected links.
•Click Generate to generate search terms from source documents, as detailed below.
•Click Export/Import to export/import lists of batch link terms for use with the Batch Link feature.
•Click Remove to remove selected items, or Clear to clear all items from the window.
•Click Link Options to determine settings for created links:
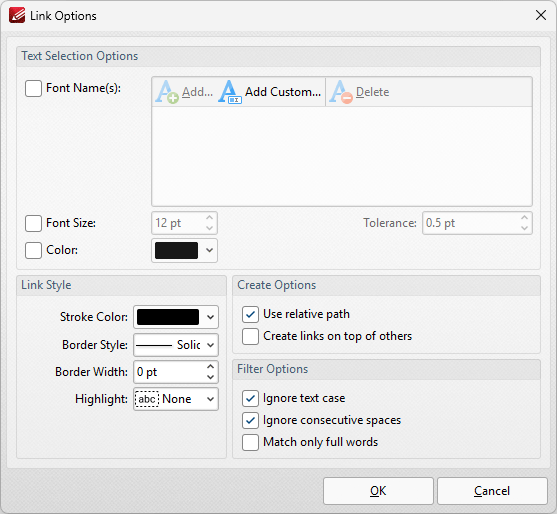
Figure 34. Link Options Dialog Box
•Use the Text Selection Options to determine the properties of text from which links are generated:
•Select the Font Names box to include text of specific fonts in the generation of links. Click Add to add fonts to the list, Add Custom to add custom fonts, or Delete to remove selected fonts.
•Select the Font Size box to include text of a specific size in the generation of links. Use the number boxes to determine the Size and Tolerance of text included in the generation of links. The Tolerance value determines the degree to which selected text can differ from the specified Font Size and remain included in the generation of links.
•Select the Color box to include text of a specific color in the generation of links.
•Use the Link Style settings to determine the style of created links:
•Use the Stroke Color dropdown menu to determine the stroke color of links.
•Use the Border Style dropdown menu to determine the border style of links.
•Use the Border Width dropdown menu to determine the border width of links.
•Use the Highlight dropdown menu to determine the highlight style of links.
•Use the Create Options to determine link creation options:
•Select the Use relative path box to use the relative path of files when creating links.
•Select the Create links on top of others box to place new links on top of existing links in cases where search terms match existing links.
•Use the Filter Options to determine filtering options for links:
•Select the Ignore text case box to ignore the text case when creating links.
•Select the Ignore consecutive spaces box to ignore consecutive spaces when creating links.
•Select the Match only full words box to match only full words when creating links.
Click OK to save changes.
Generate Search Terms
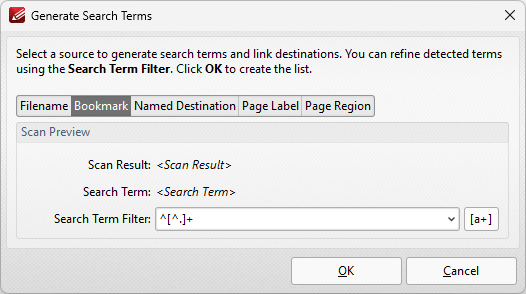
Figure 35. Generate Search Terms Dialog Box
This dialog box is used to auto-generate batch link search terms:
•Click Filename, Bookmark, Named Destination or Page Label to generate search terms from these elements of documents.
•Enter terms in the Search Term Filter box refine detected items.
•Click Page Region to specify a page region from which to generate terms. The Regions Selection dialog box will open:
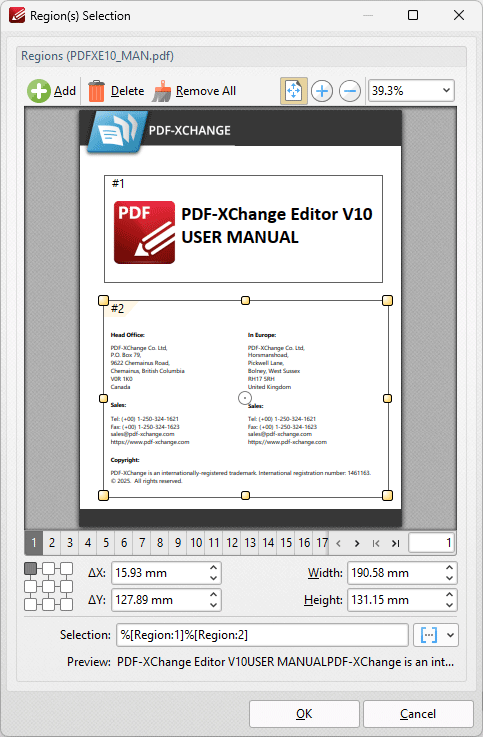
Figure 36. Regions Selection Dialog Box
•Click Add, Delete or Remove All to add/delete/remove all page regions.
•Use the number boxes, or click and drag within the window, to determine the location and size of the page region.
•Use the Selection box to determine the regions used in the generation of links. Use the adjacent macro dropdown menu to add macros as desired.
Click OK to save settings.