 Customizing the Workspace
The PDF-XChange Editor workspace contains a range of customizable options that you can adjust to meet your personal preferences and work-related needs.
Customizing the UI Appearance
The Customize UI preferences can be used to customize the fonts, colors and backgrounds in PDF-XChange Editor. Click the File tab, then click Preferences to open the Preferences dialog box, then click the Customize UI category:
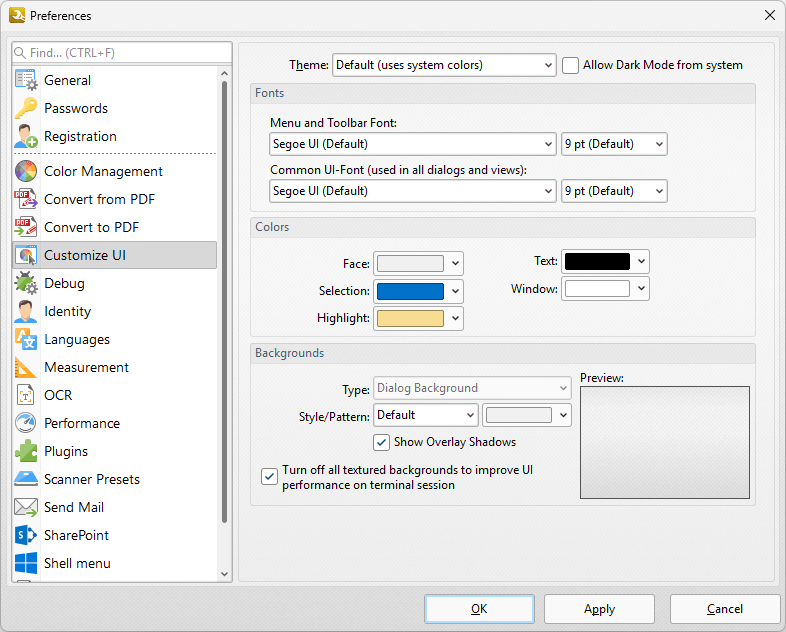
Figure 1. Preferences Dialog Box, Customize UI Category Selected
•Use the menus in the Fonts section to determine the font style and size for menus, toolbars and dialog boxes.
•Use the menus in the Colors section to determine the colors of the UI.
•Use the menus in the Backgrounds section to determine the UI display for backgrounds:
•Use the Type menu to select the background to customize.
•Use the Style/Pattern menus to select the style and color of the selected background.
•Select the Show Overlay Shadows box to show/hide overlay shadows as desired.
•Select the Turn off all textured backgrounds to improve UI performance on terminal session box as desired.
•Click Reset to Defaults to reset all UI customization.
Click OK to save changes.
Customizing and Creating Toolbars and Ribbon Tabs
The default toolbars and ribbon tabs in PDF-XChange Editor can be customized as you desire. Many users make use of a specific set of features and functions, and therefore find it useful to combine these features into a single, easy-to-access toolbar or ribbon tab that they can add to the UI of PDF-XChange Editor. Click the Help tab, then click Customize Toolbars to create/customize toolbars:
Click Customize Toolbars to customize the ribbon tabs and their settings in PDF-XChange Editor:
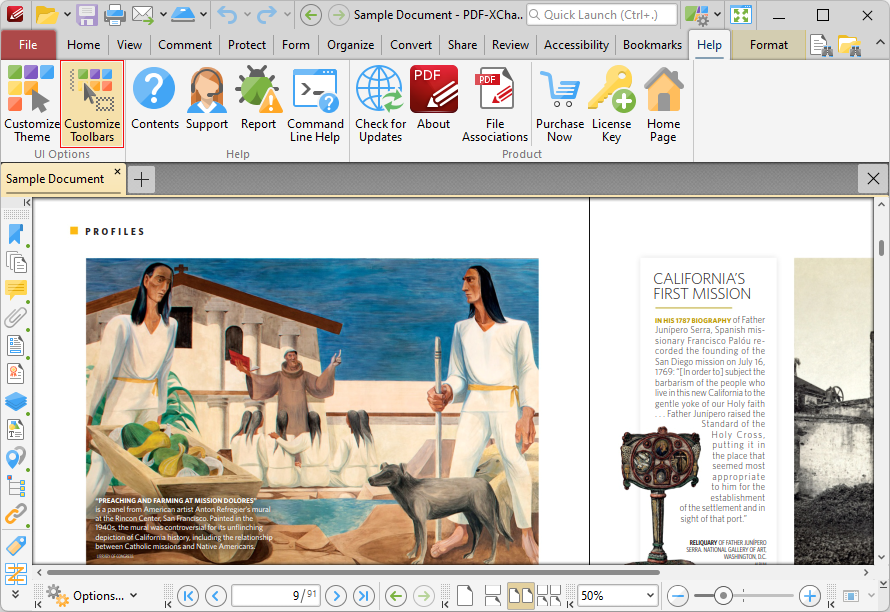
Figure 2. Help Tab, Customize Toolbars
The Customize Toolbars dialog box will open:
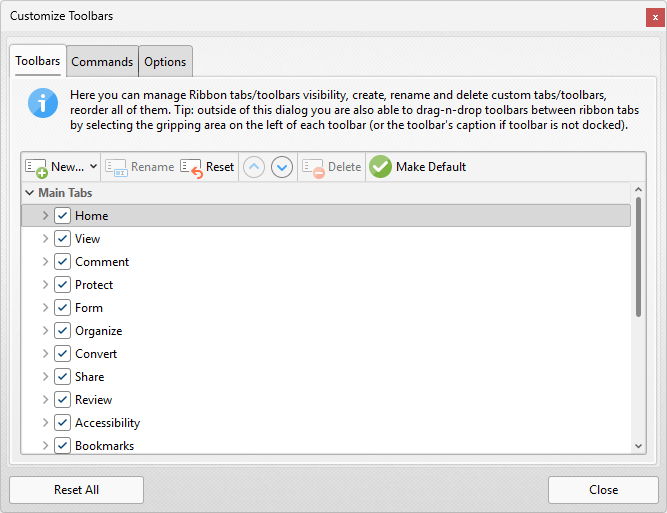
Figure 3. Customize Toolbars Dialog Box, Toolbars Tab
Use the options in the Toolbars tab to determine the ribbon tabs that are visible in the user interface and the commands that they contain, and Rename/Reset/Delete selected toolbars/ribbon tabs. Click Make Default to make the toolbar selected in the Customize Toolbars dialog box the default toolbar, which will be expanded when PDF-XChange Editor is launched. Note that the Reset Settings feature can be used to revert to the default settings and layout of PDF-XChange Editor at any time.
The tabs in the ribbon (with the exception of the File tab) each have a corresponding box in the Customize Toolbars dialog box. Select/clear the boxes in the dialog box to show/hide the corresponding tabs:
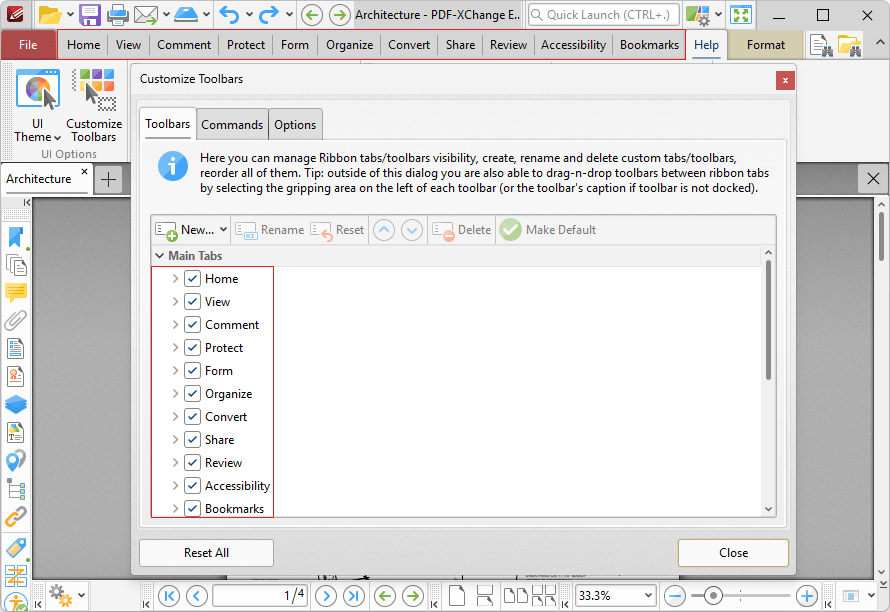
Figure 4. Customize Toolbars Dialog Box, Ribbon Tabs and Check Boxes Highlighted
Expand the boxes to view a breakdown of the groups that the associated ribbon contains, then select/clear boxes to show/hide the corresponding group in the ribbon tab:
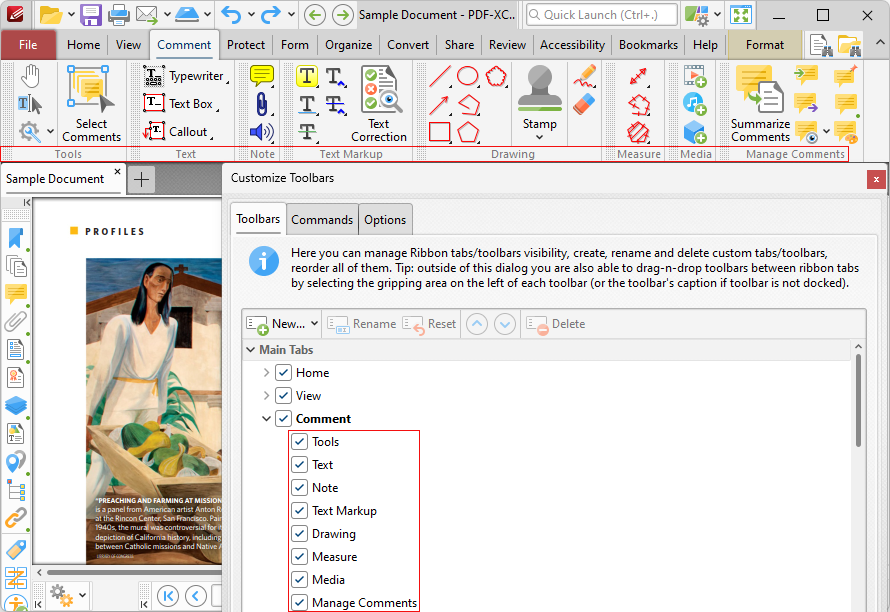
Figure 5. Customize Toolbars Dialog Box, Ribbon Groups and Check Boxes Highlighted
Note that it is also possible to right-click ribbon tabs in order to perform these operations:
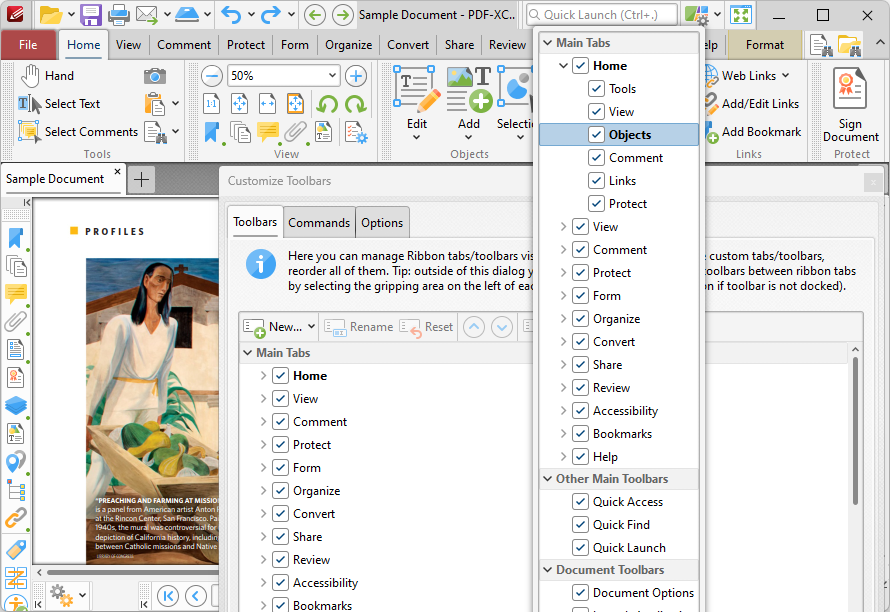
Figure 6. Ribbon Tab Right-Click Submenu Options
Additional options are available when the Customize Toolbars dialog box is open and ribbon items are right-clicked:
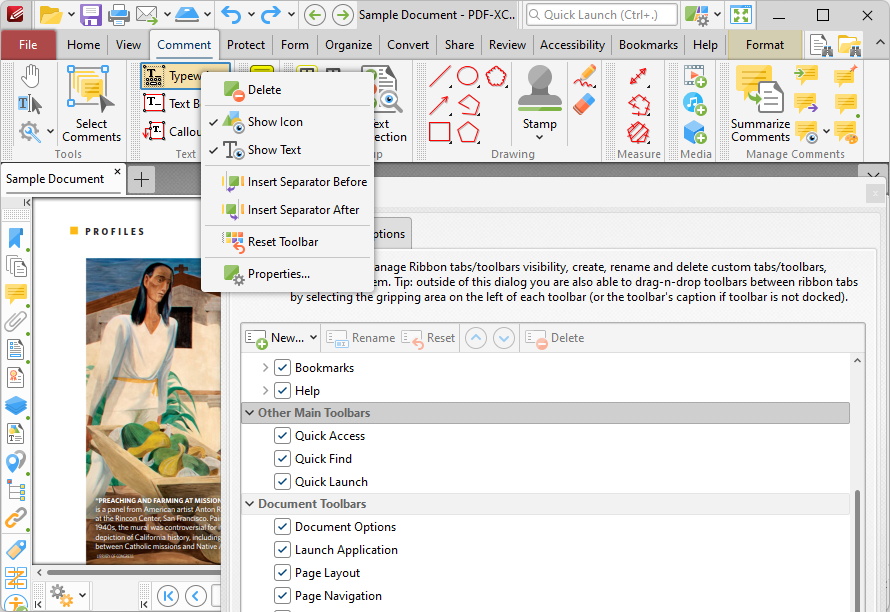
Figure 7. Shortcut Menu for Ribbon Items
•Click Delete to remove the selected item from the ribbon.
•Click Show Icon to show/hide the icon of the selected item.
•Click Show Text to show/hide the text for the selected item.
•Click Insert Separator Before/After to insert an item separator before/after the selected item. Separators are used to define areas in which ribbon items can be placed.
•Click Reset Toolbar to reset the selected ribbon group.
•Click Properties to view/edit the properties of the selected item. Please note that properties are read-only, except for those that relate to the keyboard shortcut for the item. The process of creating/editing keyboard shortcuts is detailed here.
Note that when the Customize Toolbars dialog box is open, you can click and drag the gripping area on the left of toolbars to resposition them at a new location:
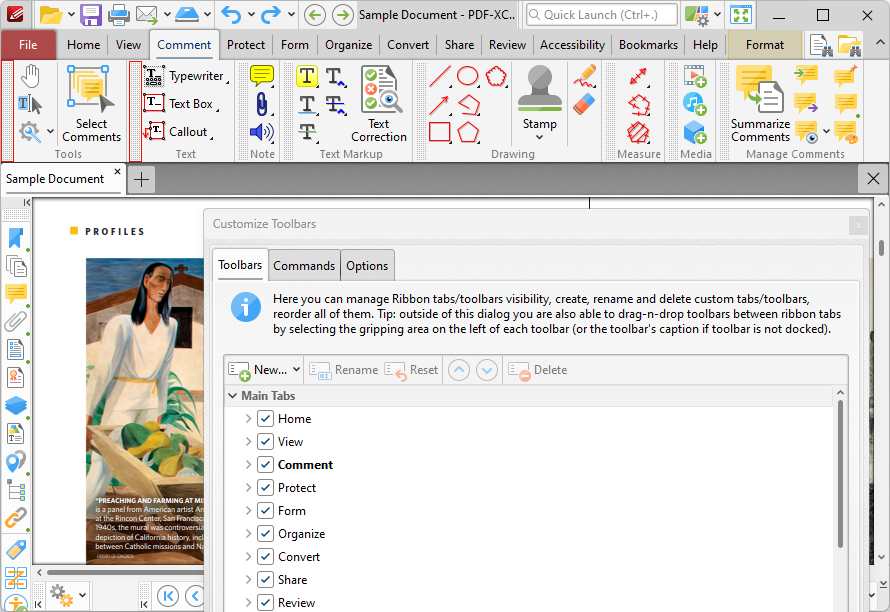
Figure 8. Toolbar Gripping Areas Highlighted
Create New Toolbars
Follow the steps below to create new toolbars:
1. Click the New dropdown menu, then click New Toolbar:
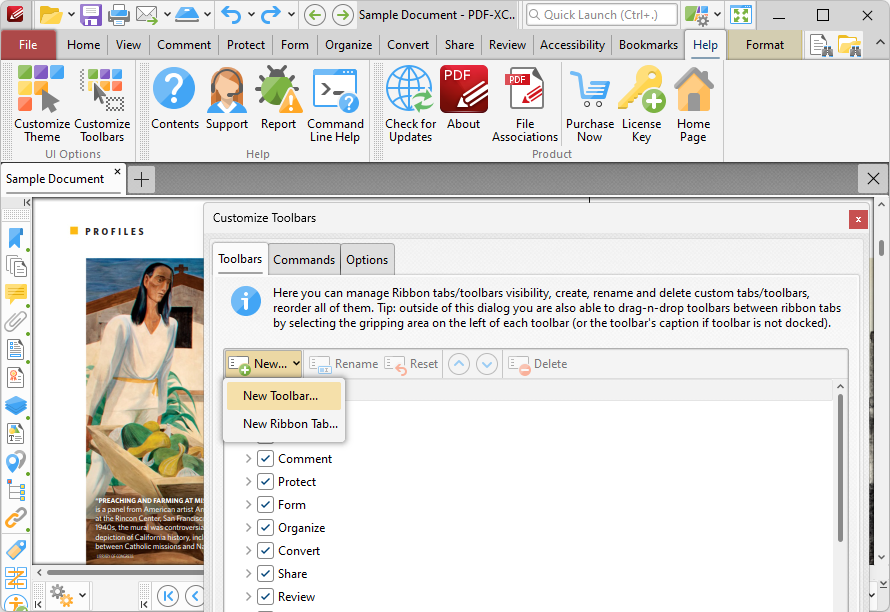
Figure 9. Customize Toolbars Dialog Box, New Toolbar
The New Toolbar dialog box will open.
2. Enter a title for the new toolbar, then click OK.
A new empty toolbar will then display in the upper-left section of the main window in the user interface.
3. Click the Commands tab in the Customize Toolbars dialog box, then click and drag the desired commands from the commands pane into the new toolbar:

Figure 10. Customize Toolbars Dialog Box, Commands Tab. New Toolbar in Main Window
4. When all desired commands have been added to the new toolbar, click and drag it to the desired location in the user interface. New toolbars can be docked between ribbon groups or at the bottom of the user interface. The pointer will indicate that new toolbars can be docked when it is hovered over compatible areas of the user interface:
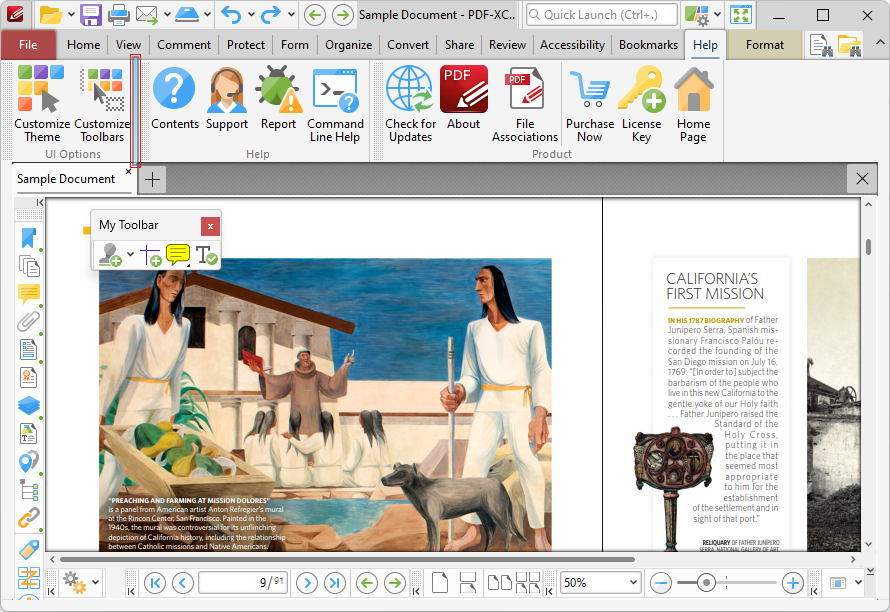
Figure 11. Example Toolbar Docking Points Highlighted
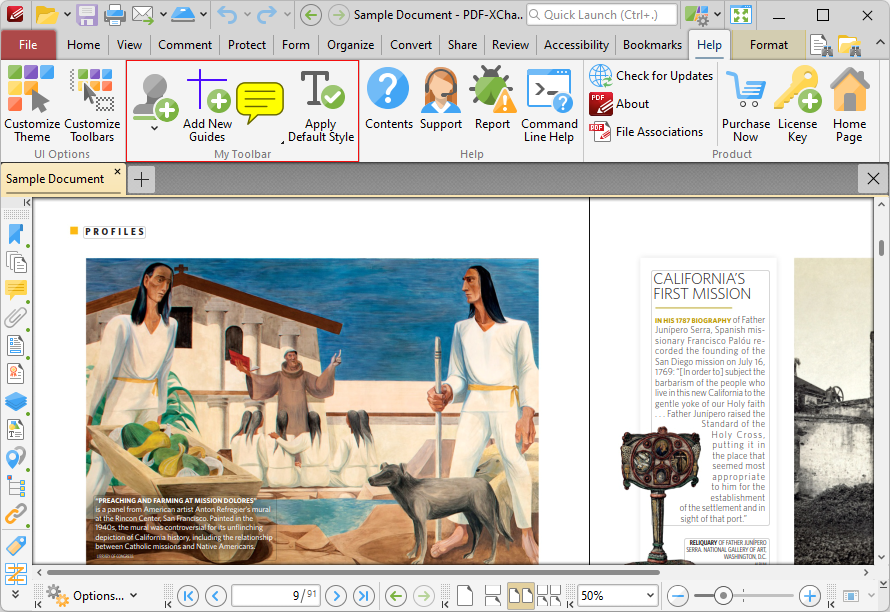
Figure 12. New Toolbar Docked
Create New Ribbon Tabs
Follow the steps below to create a new ribbon tab:
1. Click the New dropdown menu, then click New Ribbon Tab:
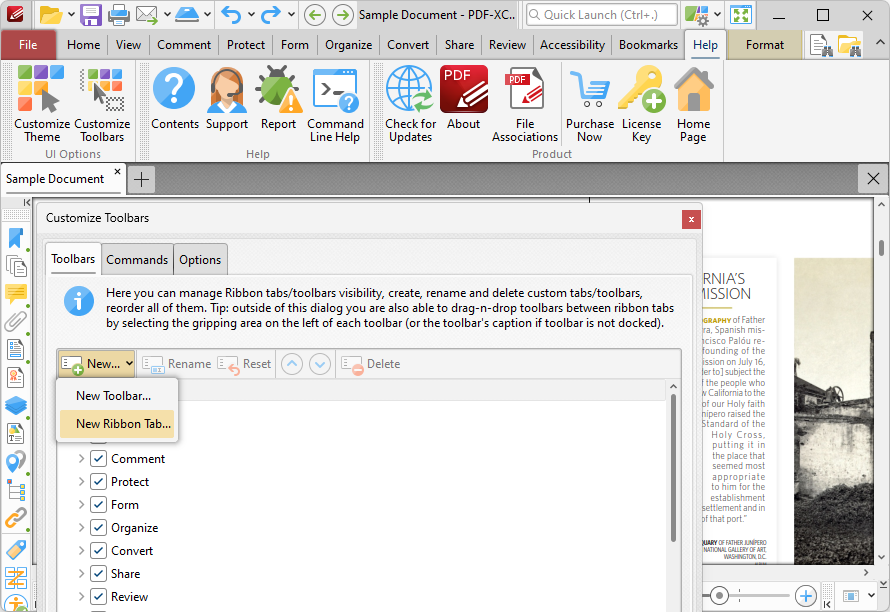
Figure 13. Customize Toolbars Dialog Box, New Ribbon Tab
The New Ribbon Tab dialog box will open.
2. Enter a name for the new ribbon tab, then click OK.
The new ribbon will be displayed in the user interface:
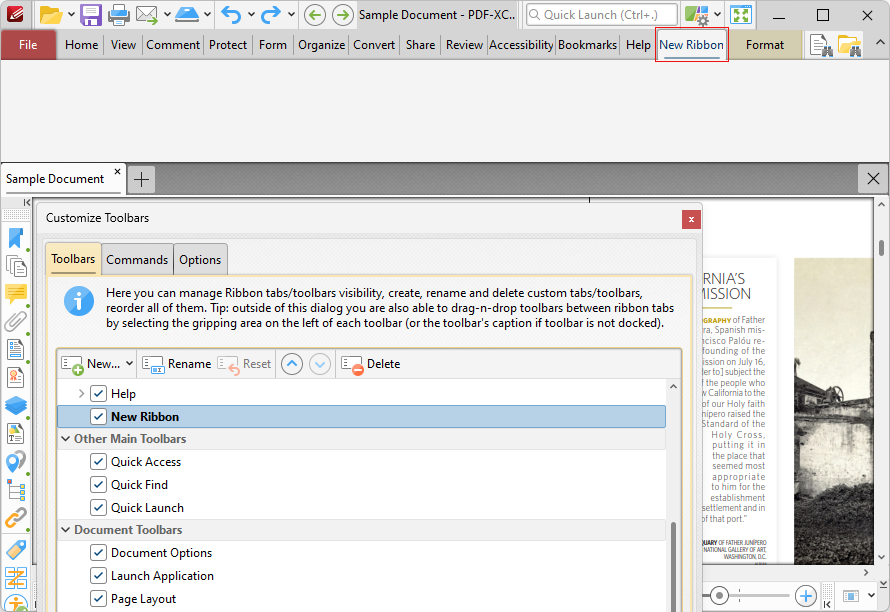
Figure 14. New Ribbon Created
3. Click and drag commands from the Commands tab of the Customize Toolbars dialog box to add them to the ribbon:
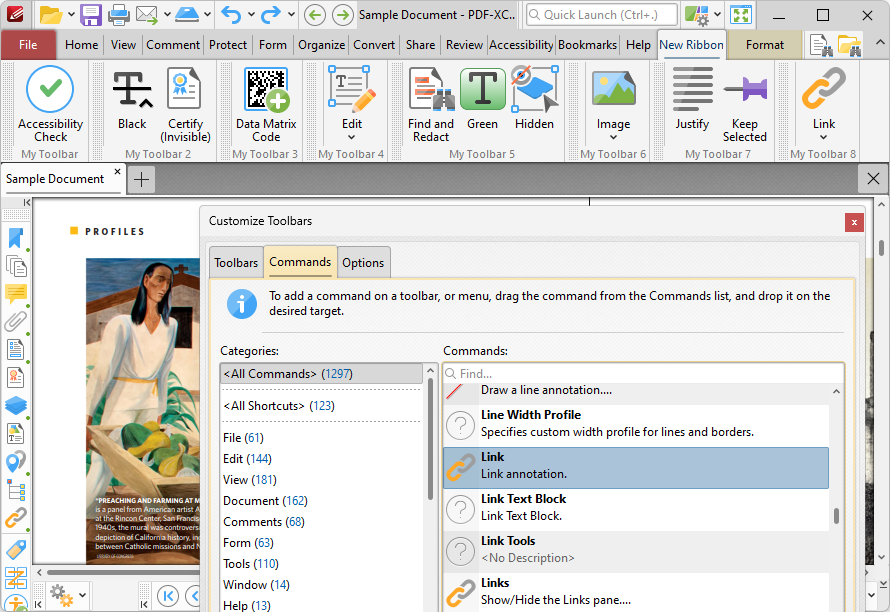
Figure 15. Commands Added to New Ribbon
Click and drag commands to reposition them in the ribbon, or to add multiple commands to the same ribbon group. Customized ribbon tabs can be edited in the same manner as default ribbon tabs, as detailed above.
Commands Tab
All the available commands in PDF-XChange Editor are contained in the Commands tab of the Customize Toolbars dialog box:
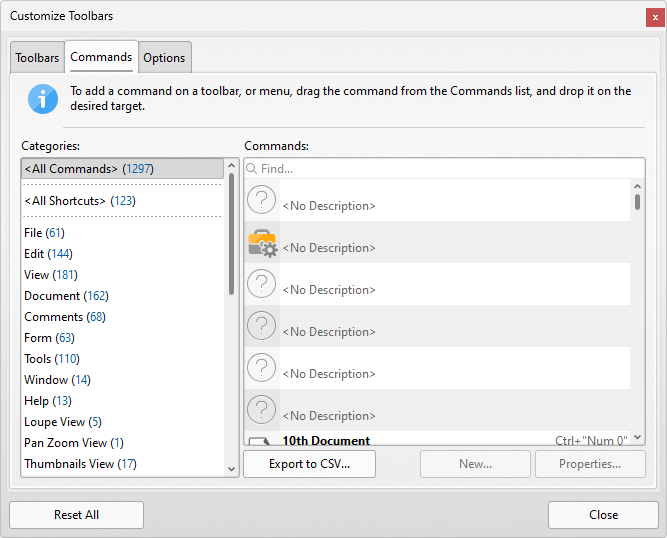
Figure 16. Customize Toolbars Dialog Box, Commands Tab
•Use the Categories menu to determine the group of commands displayed in the viewing pane.
•Use the Commands text box to search for commands.
•Click and drag commands to the desired toolbar/submenu in the main window of PDF-XChange Editor.
•Click Properties to view/edit the properties/tooltip/keyboard shortcuts and other variables for selected commands.
•Click Export to CSV to export a list of all available commands to a comma-separated-values file.
•Please note that Customized Comment Styles are available in the Custom Comment Styles category.
Options Tab
Click the Options tab to enable/disable toolbar options:
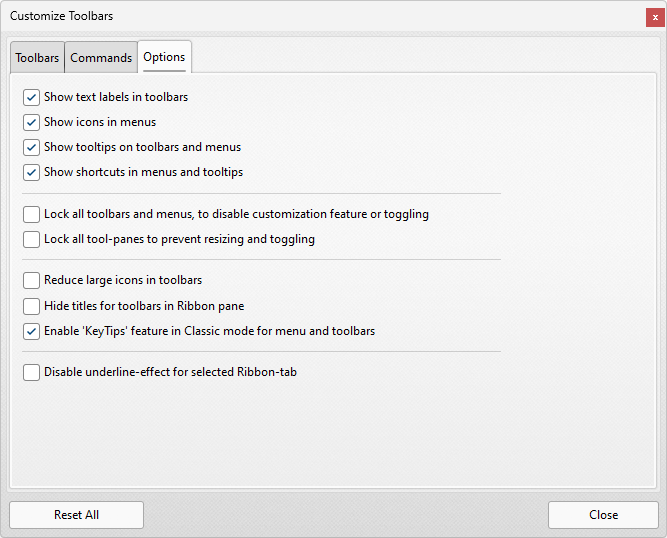
Figure 17. Customize Toolbar Options