 Replacing Pages
Click Replace Pages to replace document pages with pages from other documents:
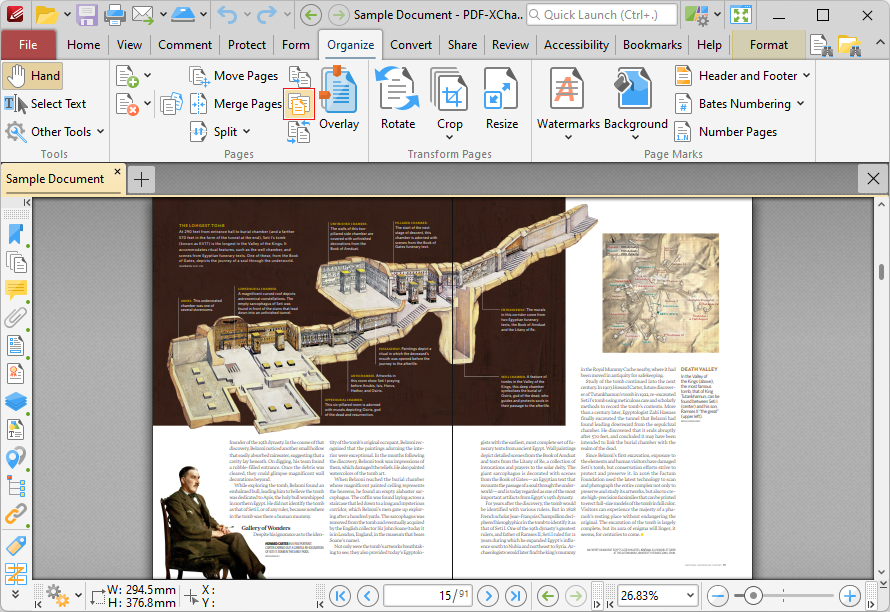
Figure 1. Organize Tab, Replace Pages
The Replace Pages dialog box will open:
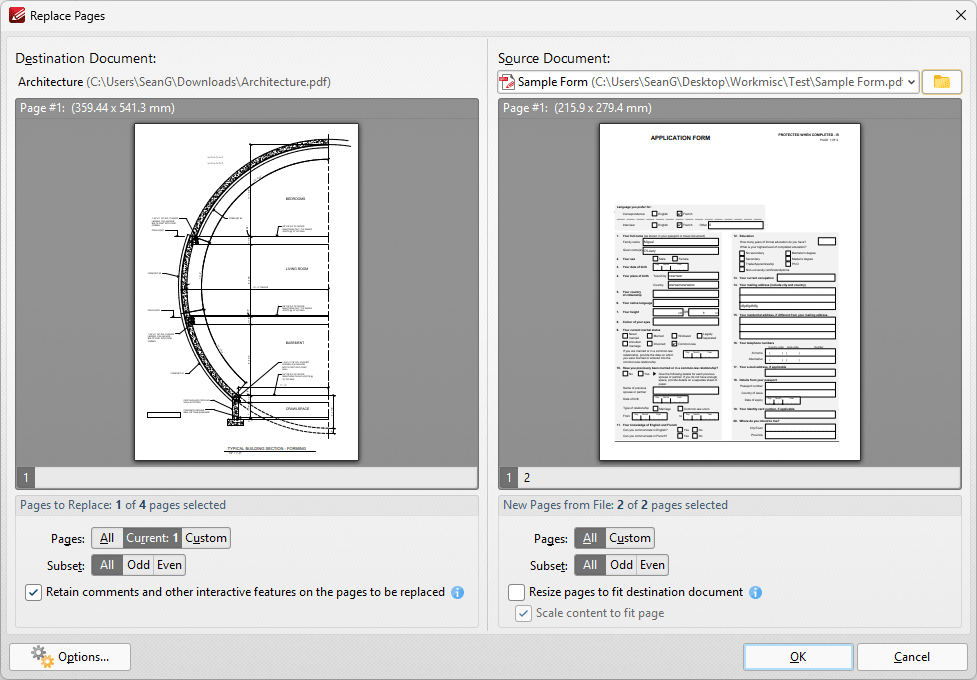
Figure 2. Replace Pages Dialog Box
•Use the Pages to Replace settings to determine the page range of replaced pages:
•Select All to specify all pages.
•Select Current to specify only the current page.
•Select Custom to specify a custom page range, then enter the desired page range in the adjacent number box. Further information about how to specify custom page ranges is available here.
•Use the Subset options to specify a subset of selected pages. Select All, Odd or Even as desired.
•Select the box to retain interactive features such as comments and form fields on the places being replaced.
Use the New Pages from File settings to determine options for the replacement pages:
•Select All to specify all pages.
•Select Custom to specify a custom page range, then enter the desired page range in the adjacent number box. Further information about how to specify custom page ranges is available here.
•Use the Subset options to specify a subset of selected pages. Select All, Odd or Even as desired.
•Select the box to scale content to fit pages as desired.
Click Options for additional options:
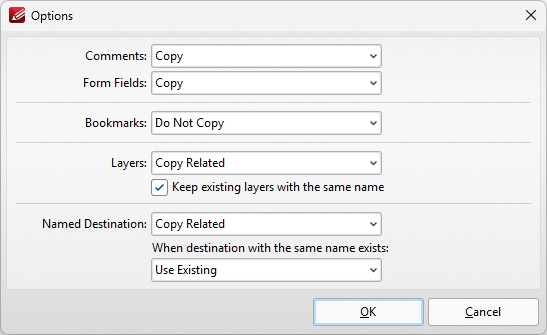
Figure 3. Options Dialog Box
•Use the dropdown menus to determine the action taken for Comments, Form Fields, Bookmarks and Layers in replacement files.
•Select the box to merge layers with existing layers in cases where both sets of layers have the same name.
•Use the Named Destination dropdown menu to determine the action taken for named destinations.
•Use the second dropdown menu to determine the action taken when named destinations with the same name exist in the main document.
Click OK to replace pages.