 Edit Documents
PDF-XChange Editor can be used to edit documents in multiple ways. See below for instructions on how to:
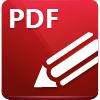
1. Click the Organize tab.
2. Click Background, then click Add:
The Add Background dialog box will open.
3. Determine parameters as detailed here.
4. Click OK.
|
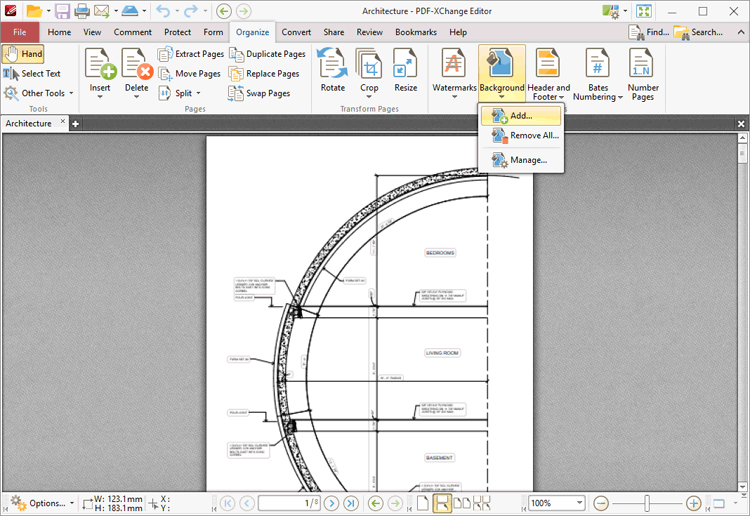
Barcodes are an established standard for the concise storage of complex information. They are compatible with most smartphones and tablets and have several useful templates, such as electronic business cards that can be used for contact details and other personal information. They can also be used to link to URLs, create custom messages and send automatic emails. Follow the steps below to add barcodes to documents:
1. Click the Home tab.
2. Click Add, then click Add Barcode:
The Select Barcode Placement Tool dialog box will open.
3. Click Drag Barcode Rectangle.
4. Drag the pointer to determine the size and location of the barcode.
5. Determine parameters as detailed here.
6. Click Place.
|
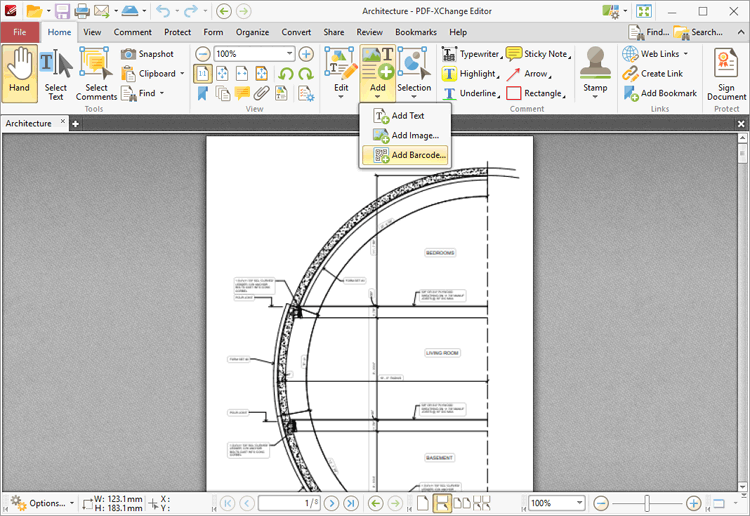
Bates numbering is a dynamic way to provide identification, protection and automatic consecutive numbering within documents as they are processed/scanned. Follow the instructions below to add Bates numbering:
1. Click the Organize tab.
2. Click Bates Numbering, then click Add:
The Add Bates Numbering dialog box will open.
3. Determine parameters as detailed here.
4. Click OK.
|
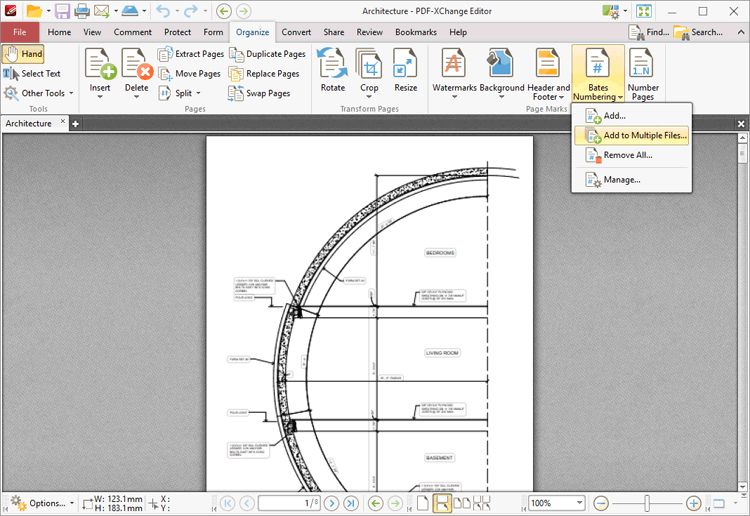
Bates numbering is a dynamic way to provide identification, protection and automatic consecutive numbering within documents as they are processed/scanned. Follow the instructions below to add Bates numbering to multiple documents:
1. Click the Organize tab.
2. Click Bates Numbering, then click Add to Multiple Files:
The Add Bates Numbering dialog box will open.
3. Determine parameters as detailed here.
4. Click OK.
|
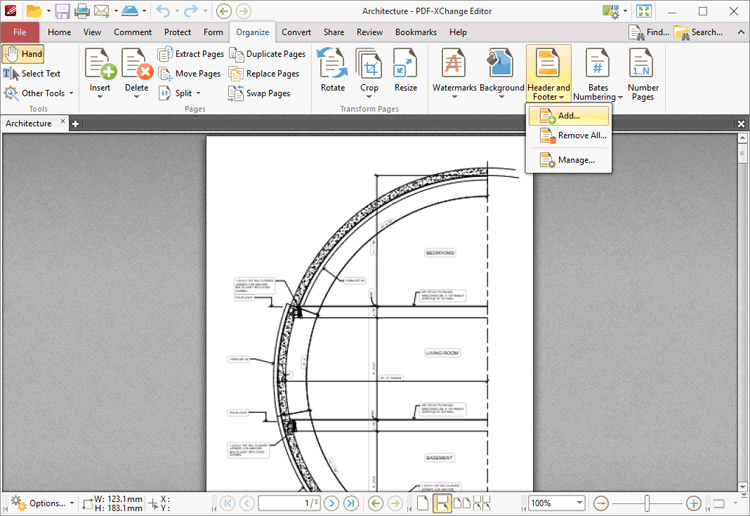
Headers and footers are a useful way to add additional information at the top/bottom of documents, such as page numbers and/or the current date. Follow the steps below to add headers and footers to documents:
1. Click the Organize tab.
2. Click Header and Footer, then click Add:
The Add Header and Footer dialog box will open.
3. Determine parameters as detailed here.
4. Click OK.
|
1. Click the Home tab.
2. Click Add, then click Add Image:
The Open Files dialog box will open.
3. Select the desired image and click Open.
The Add Image dialog box will open.
4. Determine parameters as detailed here.
5. Click Place.
|

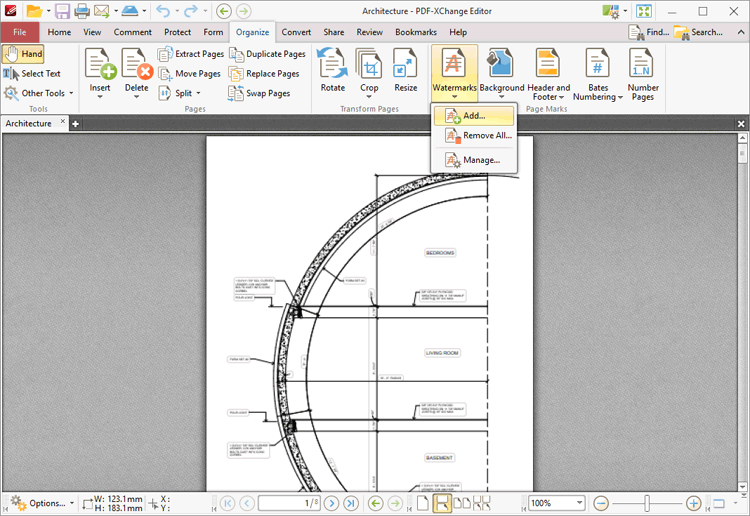
Watermarks are used to discourage counterfeiting and to display ownership of images and documentation. Follow the steps below to add watermarks to documents:
1. Click the Organize tab.
2. Click Watermarks, then click Add:
The Add Watermark dialog box will open.
3. Determine parameters as detailed here.
4. Click OK.
|
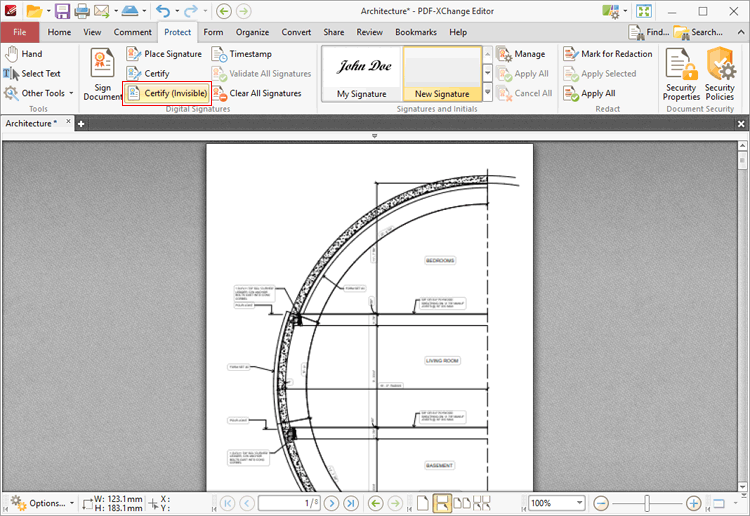
Digital signatures are used to demonstrate the authenticity of documents and increase their security. Follow the instructions below to certify documents and and an invisible digital signature. (The inclusion of an invisible digital signature means that the document will not feature a physical signature, but it is still 'signed' and certified to the same level as a document that features a physical signature).
1. Click the Protect tab.
2. Click Certify (Invisible):
The Certify Document (Invisible) dialog box will open.
3. Follow the instructions detailed here.
|
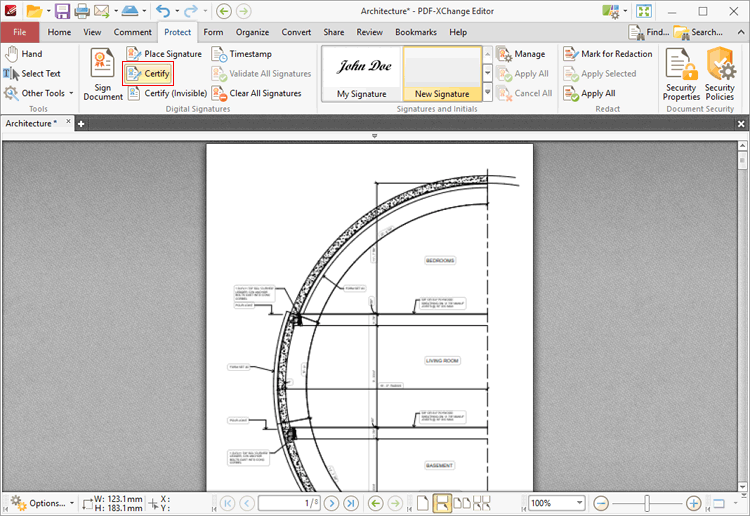
Digital signatures are used to demonstrate the authenticity of documents and increase their security. Follow the instructions below to certify documents and and a visible digital signature:
1. Click the Protect tab.
2. Click Certify:
3. Follow the instructions detailed here.
|
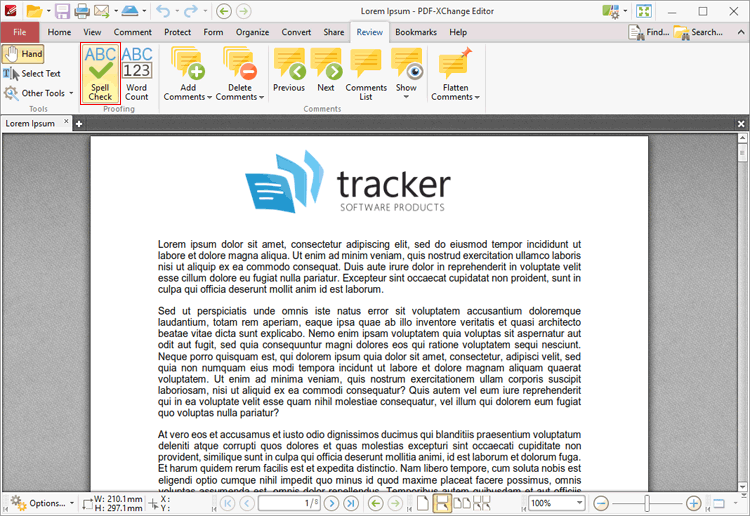
1. Click the Review tab.
2. Click Spell Check:
The Spell Check pane will open and PDF-XChange Editor will check the document spelling. Further information on spell check settings is available here.
The keyboard shortcut for this operation is F7.
|
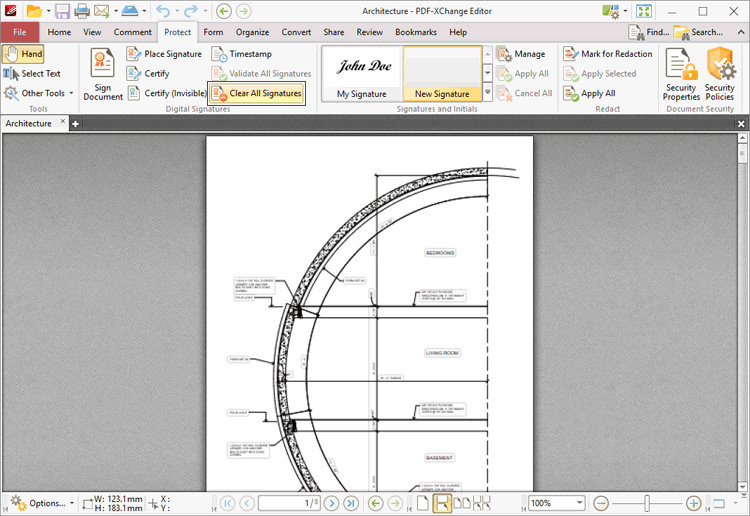
1. Click the Protect tab.
2. Click Clear All Signatures:
|
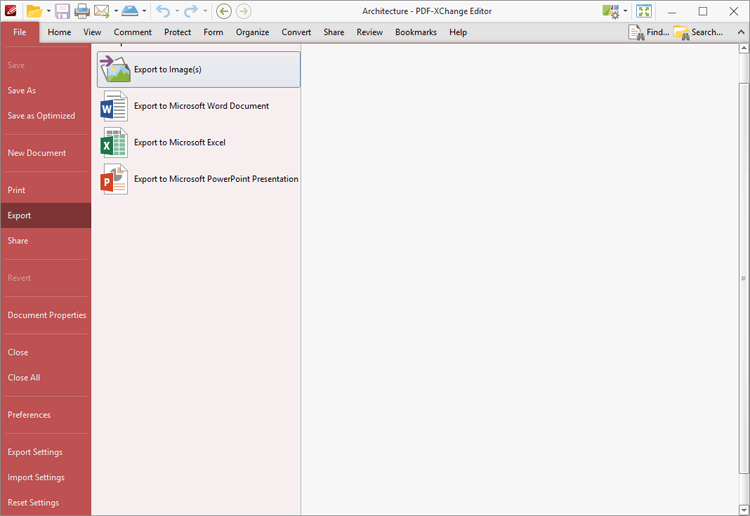
1. Click the File tab.
2. Click Export, then click Export to Image(s):
The Export to Images dialog box will open.
3. Determine parameters as detailed here.
4. Click OK.
|
1. Click the File tab.
2. Click Export, then click Export to Microsoft Excel:
The Save File dialog box will open.
3. Enter the desired name for the converted document in the File name text box.
4. Click OK.
|
1. Click the File tab.
2. Click Export, then click Export to Microsoft Powerpoint Presentation:
The Save File dialog box will open.
3. Enter the desired name for the converted document in the File name text box.
4. Click OK.
|
1. Click the File tab.
2. Click Export, then click Export to Microsoft Word Document:
The Save File dialog box will open.
3. Enter the desired name for the converted document in the File name text box.
4. Click OK.
|
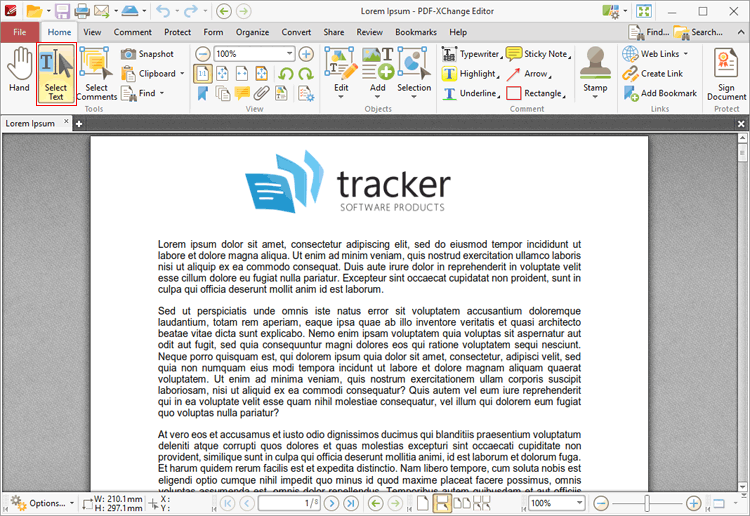
1. Click the Home tab, then click Select Text:
2. Select and then right-click the desired text.
3. Click Copy as a Rich Text.
|
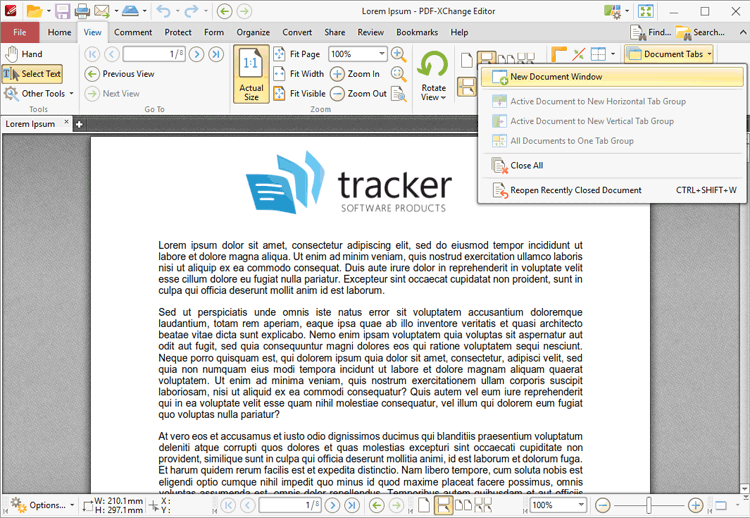
1. Click the View tab.
2. Click the Document Tabs dropdown menu.
3. Click New Document Window:
|
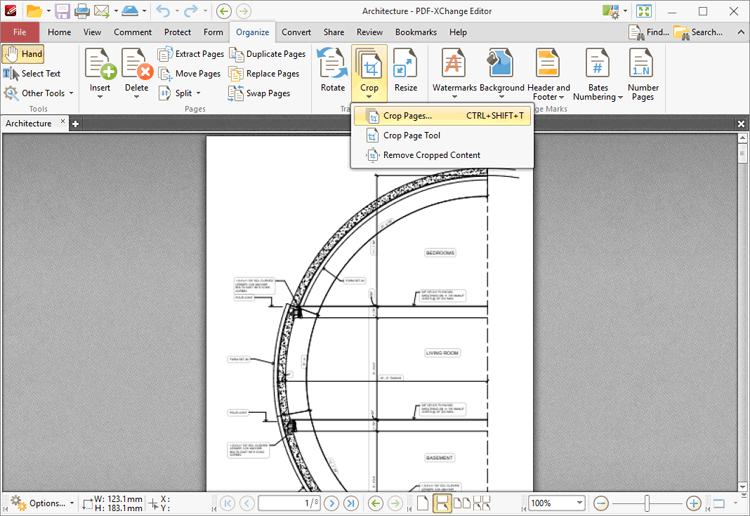
1. Click the Organize tab.
2. Click Crop, then click Crop Pages:
The Crop Pages dialog box will open.
3. Determine parameters as detailed here.
4. Click OK.
The keyboard shortcut for this operation is Ctrl+Shift+T.
|
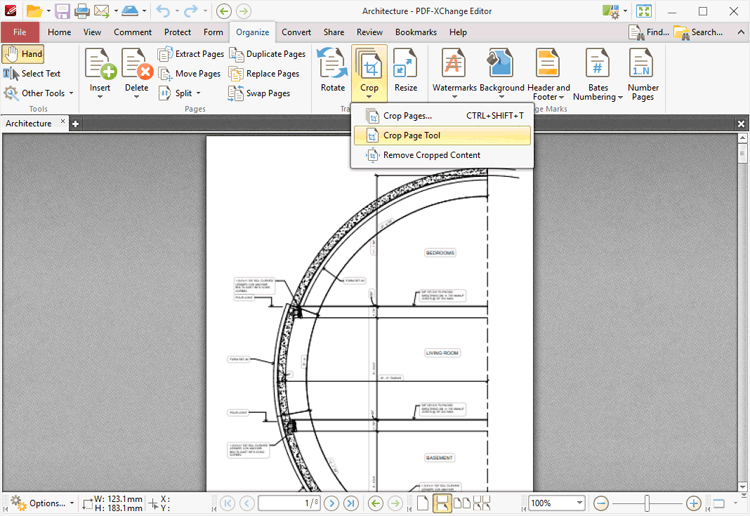
1. Click the Organize tab.
2. Click Crop, then click Crop Page Tool:
The Crop Tool dialog box will open.
3. Click Drag Crop Rectangle. The pointer will become a crosshairs icon.
4. Click and drag to determine the crop area. When the mouse button is released the Crop Pages dialog box will open.
5. Determine parameters as detailed here.
6. Click OK.
|
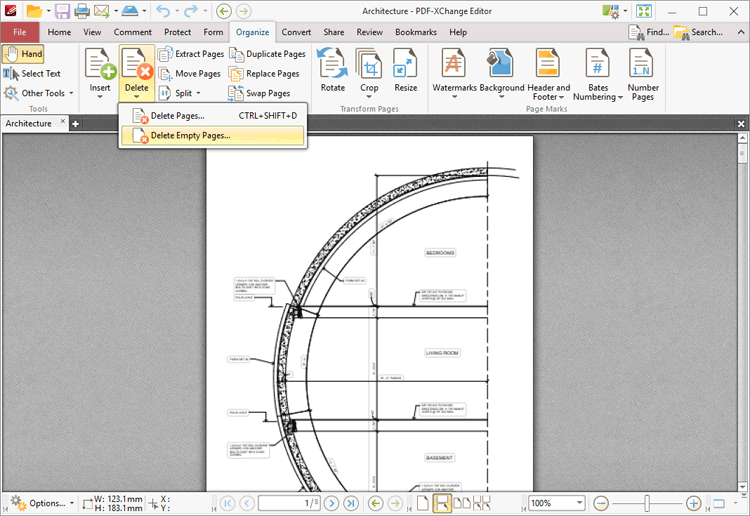
1. Click the Organize tab.
2. Click Delete, then click Delete Empty Pages:
The Delete Empty Pages dialog box will open.
3. Determine parameters as detailed here.
4. Click OK.
|
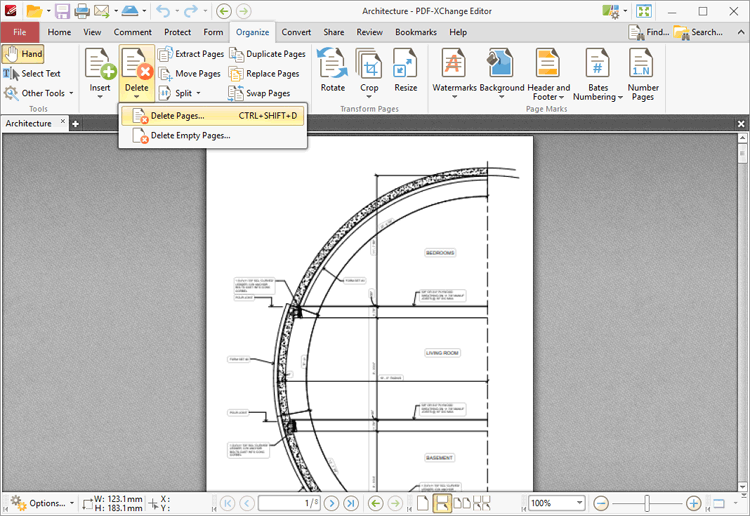
1. Click the Organize tab.
2. Click Delete, then click Delete Pages:
The Delete Pages dialog box will open.
3. Determine parameters as detailed here.
4. Click OK.
The keyboard shortcut for this operation is Ctrl+Shift+D.
|
The advanced document settings can be used to determine base URLs for weblinks, "trapping" options for printing, print dialog presets and binding/language options. Follow the instructions below to access and edit advanced document settings:
1. Click the File tab.
2. Click Document Properties:
The Document Properties dialog box will open.
3. Click Advanced in the Categories menu.
4. Determine parameters as detailed here.
5. Click OK.
|
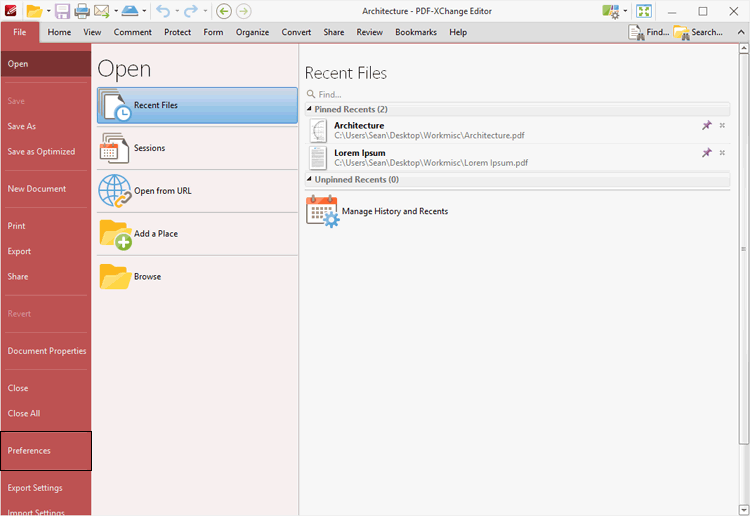
Document settings can be used to configure the layout of tabs and windows, document restore options, saving parameters and the PDF-specification of new documents. Follow the instructions below to to access and edit document settings:
1. Click the File tab.
2. Click Preferences:
The Preferences dialog box will open.
3. Click Documents in the Categories menu.
4. Determine parameters as detailed here.
5. Click OK.
|
PDF portfolio files are dynamic files that contain multiple file formats assembled into an integrated PDF unit. Follow the instructions below to determine how portfolio files are displayed in PDF-XChange Editor:
1. Open the portfolio file.
2. Click the Portfolio tab:
3. Determine parameters as detailed here.
4. Click OK.
|

The security settings in PDF-XChange Editor determine file open and program launch options when documents are attempting to open files, attachments or sites. Follow the instructions below to determine these settings:
1. Click the File tab.
2. Click Document Properties:
The Document Properties dialog box will open.
3. Click Security in the Categories menu.
4. Determine parameters as detailed here.
5. Click OK.
|
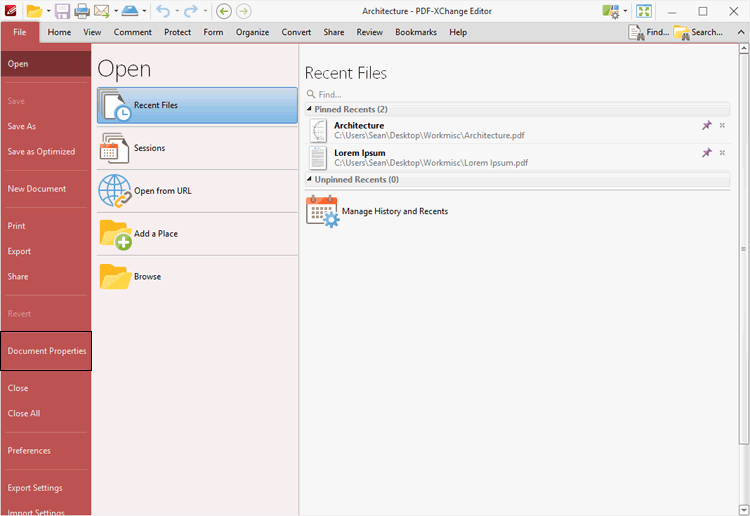
Document information includes the document title, author, subject, keywords and additional metadata. It has various functions and it used during specific operations such as when documents are edited/saved/signed. Follow the instructions below to edit document information:
1. Click the File tab.
2. Click Document Properties:
The Document Properties dialog box will open.
3. Click Description in the Categories menu.
4. Determine parameters as detailed here.
5. Click OK.
|
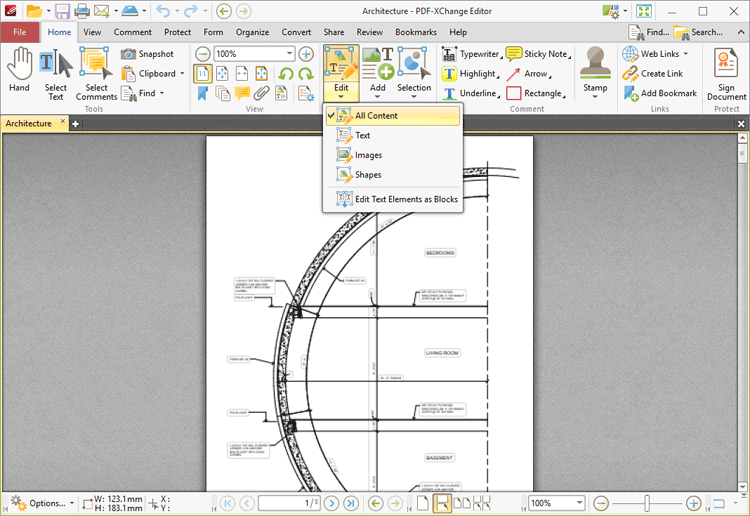
1. Click the Home tab.
2. Click Edit, then select All Content, Text, Images or Shapes to determine the content to be edited:
3. Follow the instructions detailed here.
|
When this feature is used, content will update automatically in PDF-XChange Editor when it is edited in an alternative application.
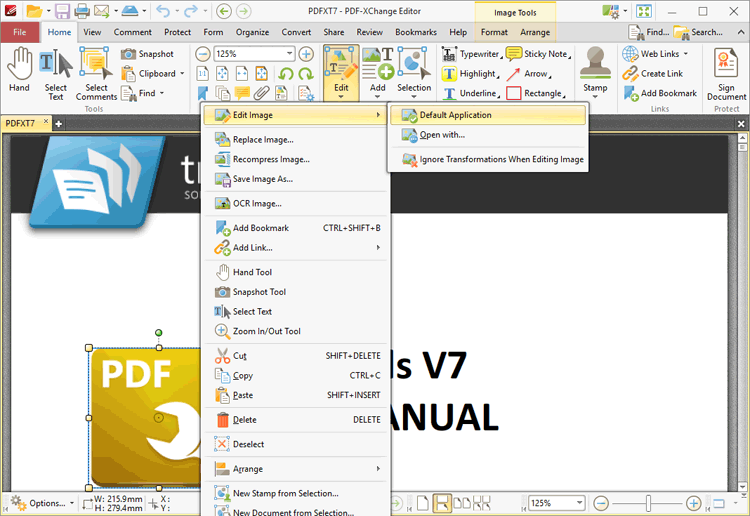
1. Click the Home tab.
2. Click Edit, then select All Content:
3. Right-click the content item to be edited, then hover over Edit Image in the submenu.
4. Click Default Application to edit content in the default content editing application or click Open With to select a different application:
|
1. Click the View tab.
2. Click the Loupe Tool:
3. Follow the instructions detailed here.
Alternatively:
1. Click the View tab.
2. Click Pan and Zoom:
3. Follow the instructions detailed here.
|


1. Click the Organize tab.
2. Click Extract Pages:
The Extract Pages dialog box will open.
3. Determine parameters as detailed here.
4. Click OK.
The keyboard shortcut for this operation is Ctrl+Shift+E.
|

1. Click the View tab.
2. Click Fit Page:
The keyboard shortcut for this operation is Ctrl+0.
|

1. Click the View tab.
2. Click Fit Width:
The keyboard shortcut for this operation is Ctrl+2.
|

1. Click the View tab.
2. Click Fit Visible.
The keyboard shortcut for this operation is Ctrl+3.
|

1. Click the Comment tab.
2. Click Highlight:
3. Click and drag to highlight text. See here for further information.
|

1. Click the Organize tab.
2. Click Insert, then click Insert Empty Pages:
The Insert Empty Pages dialog box will open.
3. Determine parameters as detailed here.
4. Click OK.
The keyboard shortcut for this operation is Ctrl+Shift+I.
|

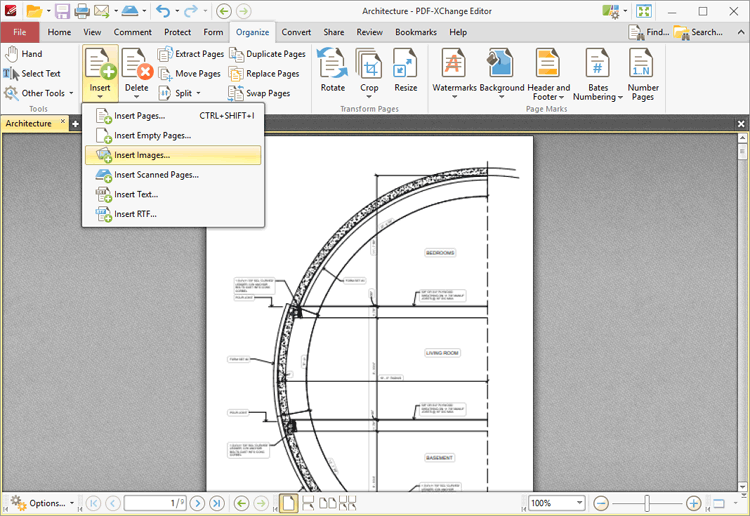
1. Click the Organize tab.
2. Click Insert, then click Insert Images:
The Image to PDF dialog box will open.
3. Determine parameters as detailed here.
4. Click OK.
|
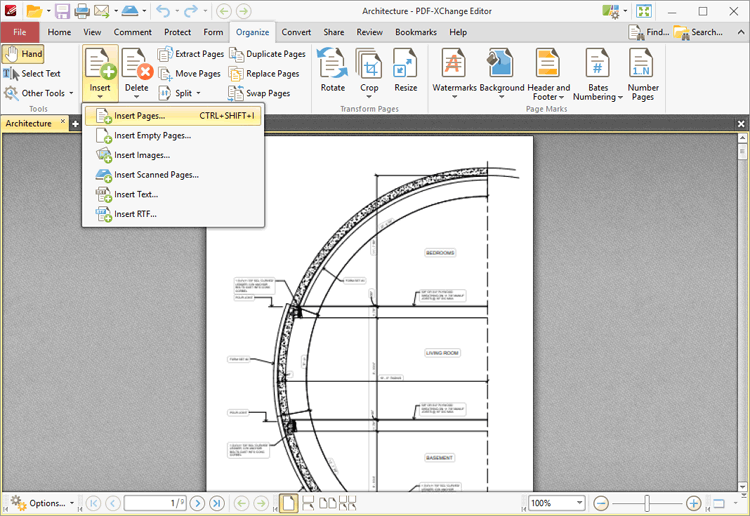
1. Click the Organize tab.
2. Click Insert, then click Insert Pages:
The Insert Pages dialog box will open.
3. Determine parameters as detailed here.
4. Click OK.
|
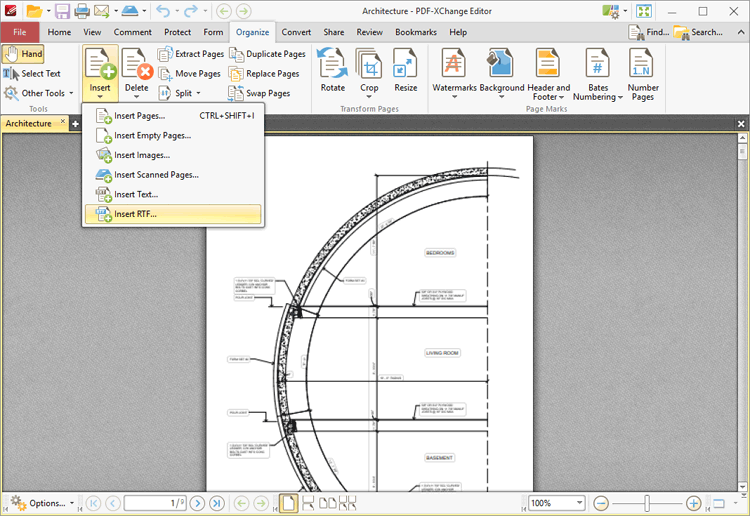
1. Click the Organize tab.
2. Click Insert, then click Insert RTF:
The Convert RTF Files to PDF dialog box will open.
3. Determine parameters as detailed here.
4. Click OK.
|
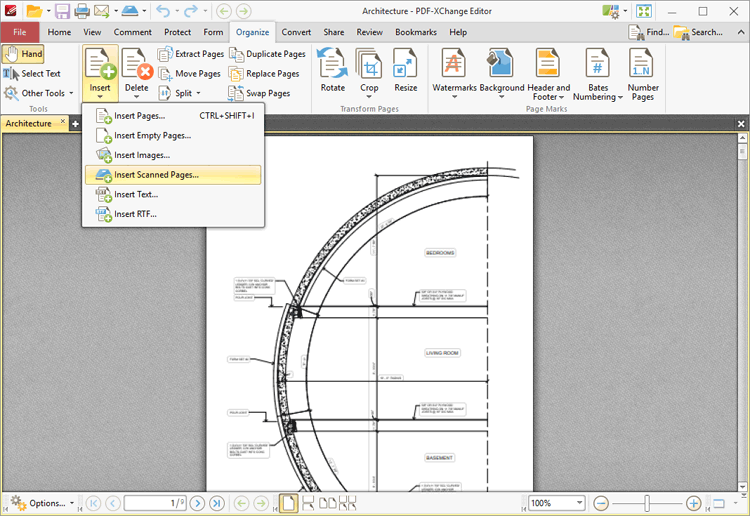
1. Click the Organize tab.
2. Click Insert, then click Insert Scanned Pages:
The Scan Properties dialog box will open.
3. Determine properties as detailed here.
4. Click Scan.
|
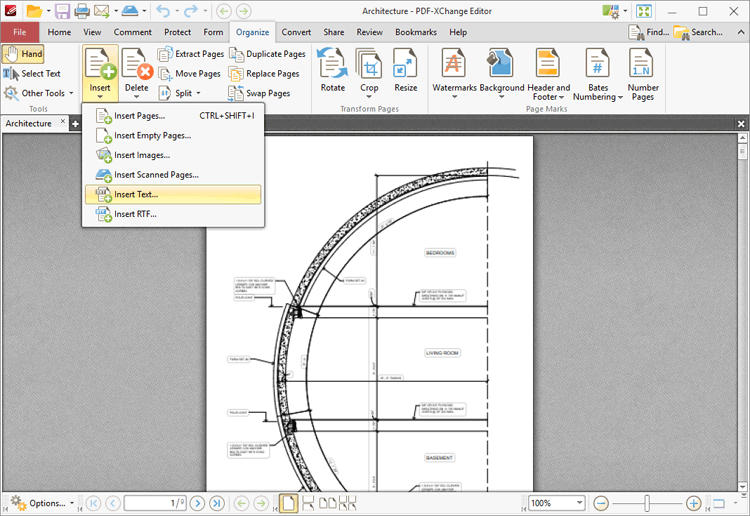
1. Click the Organize tab.
2. Click Insert, then click Insert Text:
The Convert Text Files to PDF dialog box will open.
3. Determine parameters as detailed here.
4. Click OK.
|
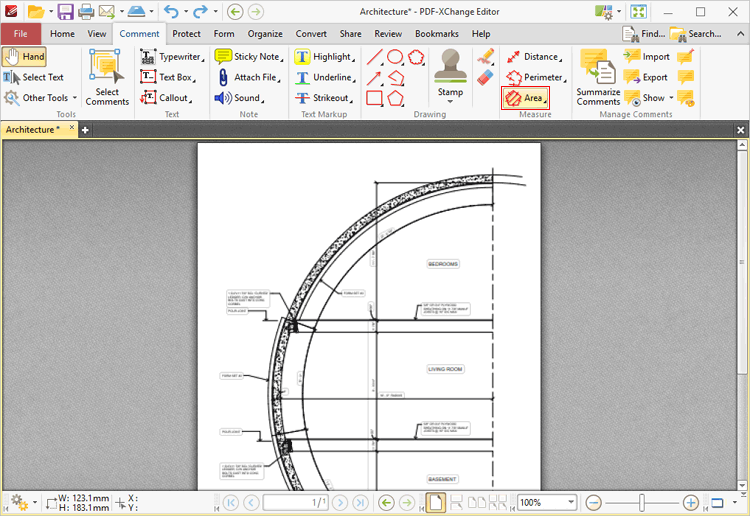
1. Click the Comment tab.
2. Click the Area Tool:
3. Follow the instructions detailed here.
|
1. Click the Comment tab.
2. Click the Distance Tool:
3. Follow the instructions detailed here.
|

1. Click the Comment tab.
2. Click the Perimeter Tool:
3. Follow the instructions detailed here.
|

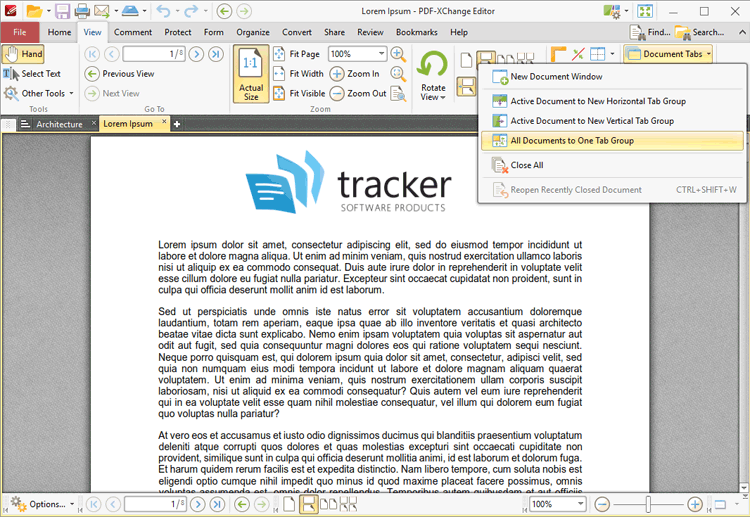
1. Click the View tab.
2. Click the Document Tabs dropdown menu, then click All Documents to One Tab Group:
|
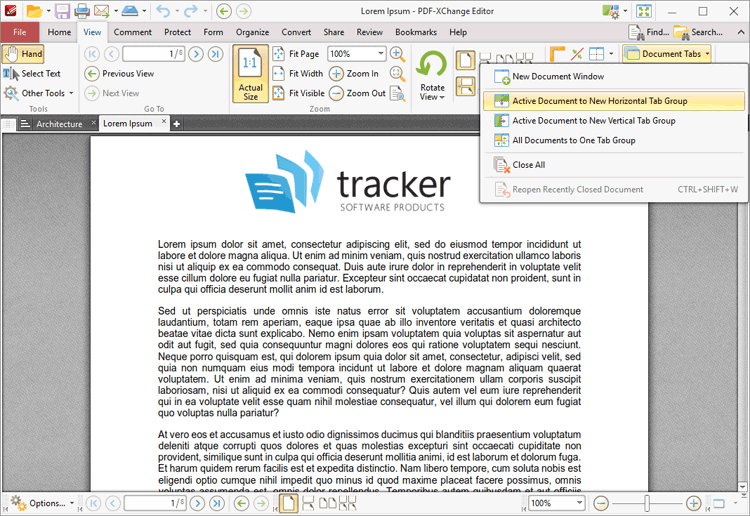
1. Click the View tab.
2. Click the Document Tabs dropdown menu, then click Active Document to New Horizontal Tab Group:
|
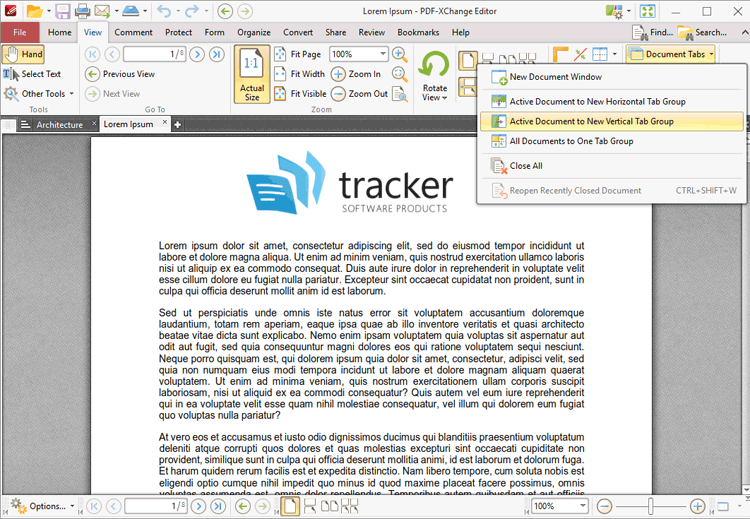
1. Click the View tab.
2. Click the Document Tabs dropdown menu, then click Active Document to New Vertical Tab Group:
|
1. Click the Organize tab.
2. Click Number Pages:
3. Determine parameters as detailed here.
4. Click OK.
|

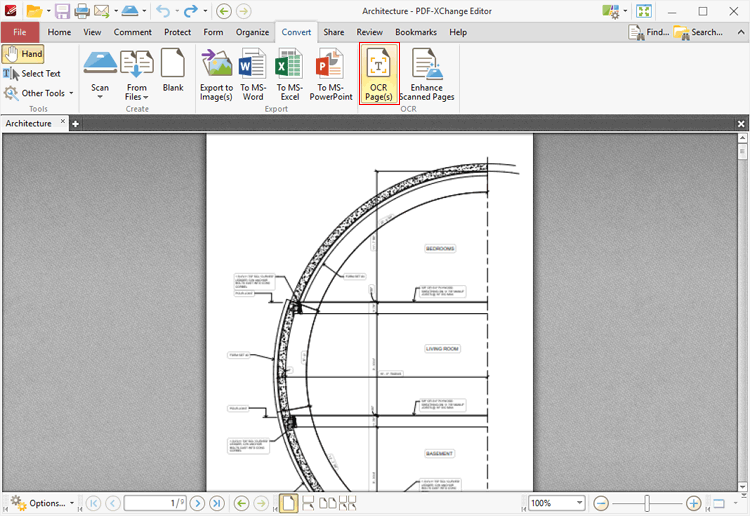
The optical character recognition (OCR) in PDF-XChange Editor analyzes PDF documents, recognizes text and then makes it selectable and searchable. Follow the instructions below to perform OCR on documents:
1. Click the Convert tab.
2. Click OCR Pages:
3. Determine parameters as detailed here.
4. Click OK.
|
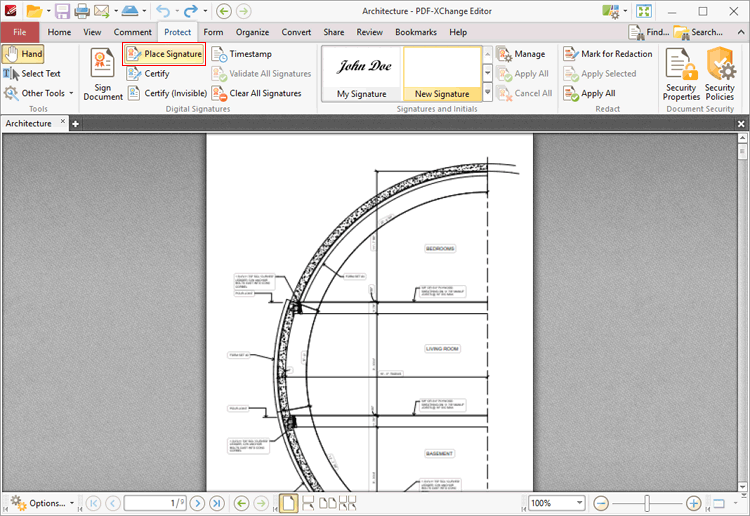
1. Click the Protect tab.
2. Click Place Signature:
3. Follow the instructions detailed here.
|
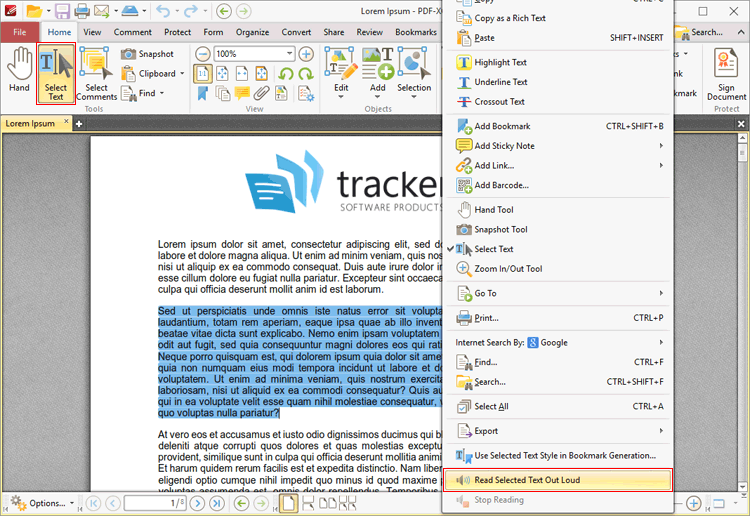
1. Click the Home tab.
2. Click Select Text Tool, then highlight the text to be read out loud.
3. Right-click the selected text and then click Read Selected Text Out Loud in the submenu:
Note that customizable options for this feature are detailed here.
|
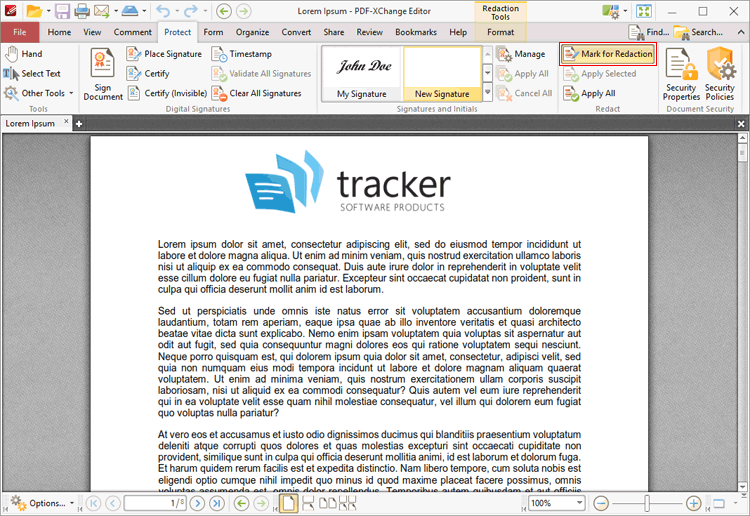
Redaction can be used to remove content permanently from documents. Redaction is used, instead of a delete option, when it is necessary/desired to show that material has been removed from documents, such as in sensitive material where some content can be shown to all users but other content needs to be protected. Follow the instructions below to redact page content:
1. Click the Protect tab.
2. Click Mark for Redaction:
3. Follow the instructions detailed here.
|
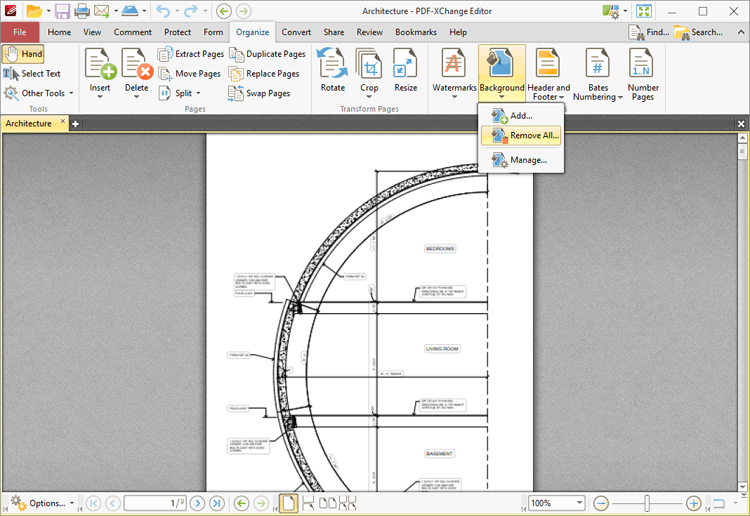
1. Click the Organize tab.
2. Click Background, then click Remove All:
The Remove Backgrounds dialog box will open.
3. Click Yes.
|
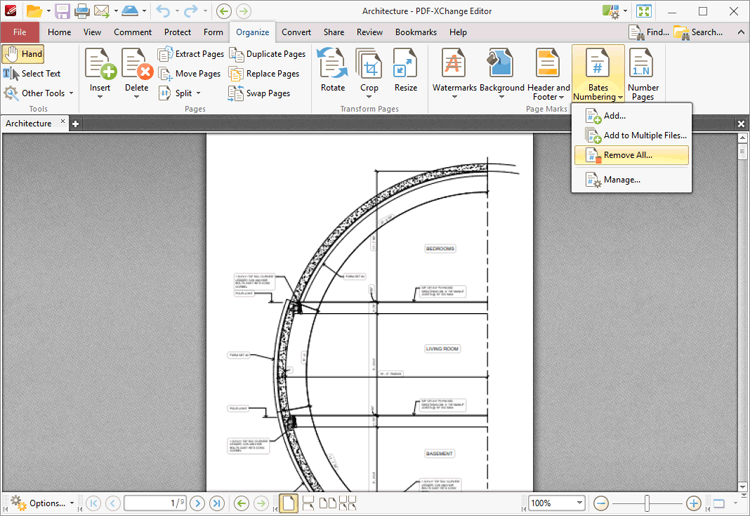
1. Click the Organize tab.
2. Click Bates Numbering, then click Remove All:
The Remove Bates Numberings dialog box will open.
3. Click Yes.
|
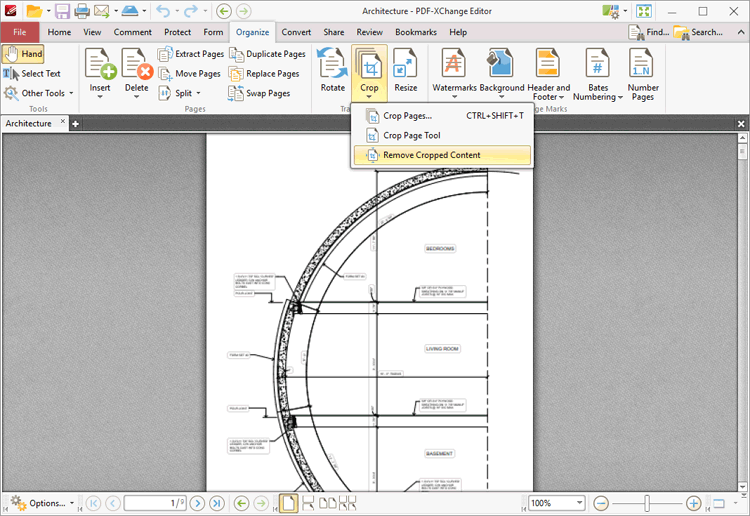
1. Click the Organize tab.
2. Click Crop, then click Remove Cropped Content:
|
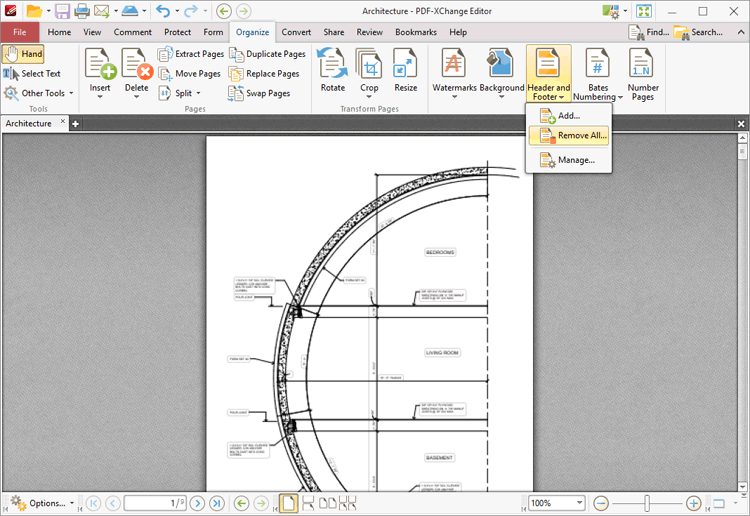
1. Click the Organize tab.
2. Click Header and Footer, then click Remove All:
The Remove Headers and Footers dialog box will open.
3. Click Yes.
|
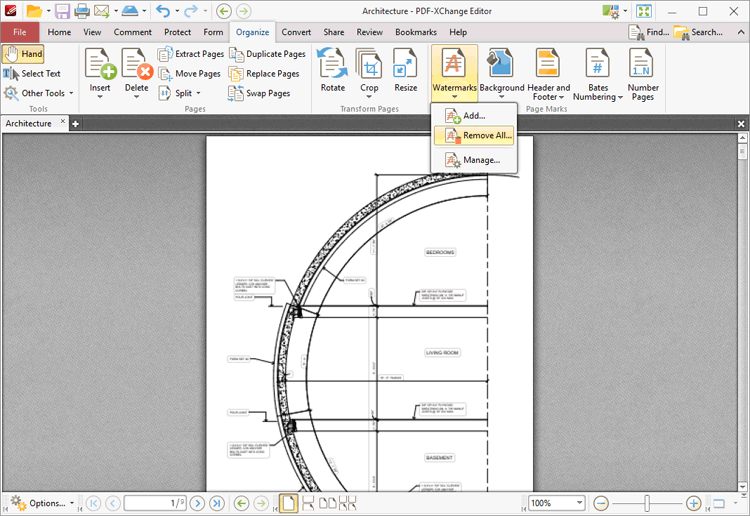
1. Click the Organize tab.
2. Click Watermarks, then click Remove All:
The Remove Watermarks dialog box will open.
3. Click Yes.
|
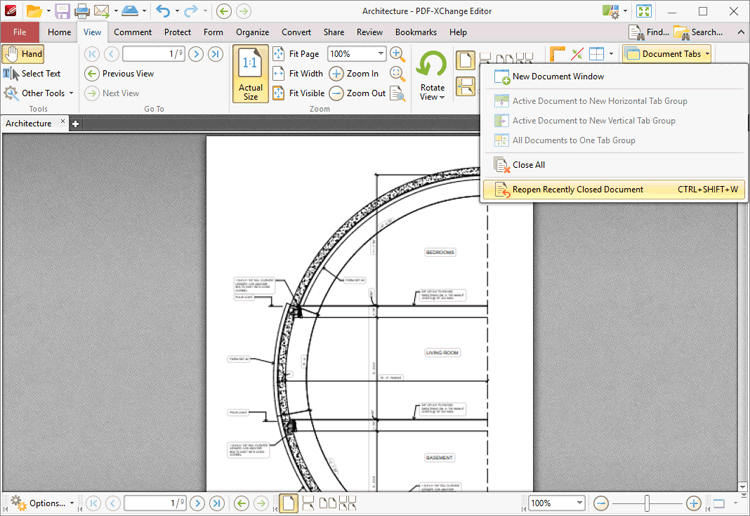
1. Click the View tab.
2. Click the Document Tabs dropdown menu, then click Reopen Recently Closed Document:
The keyboard shortcut for this operation is Ctrl+Shift+W.
|
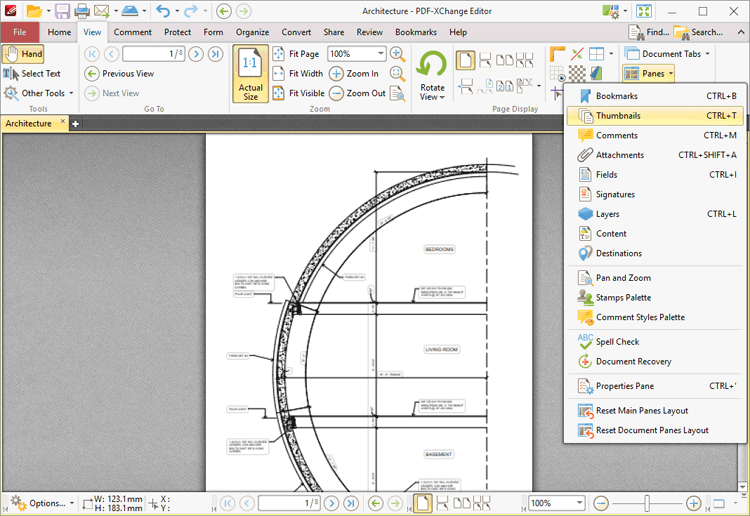
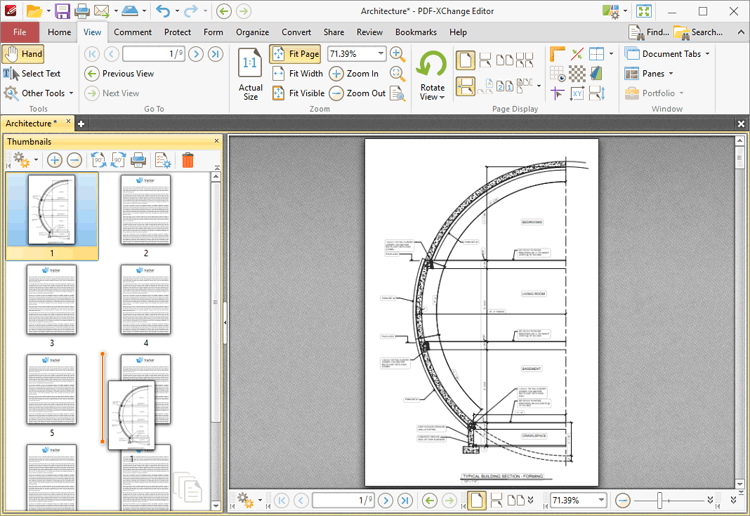
1. Click the View tab.
2. Click the Panes dropdown menu, then click Thumbnails:
The Thumbnails pane will open and display the pages of the current document.
3. Click and drag pages within the pane to reorder them in the active document.
|
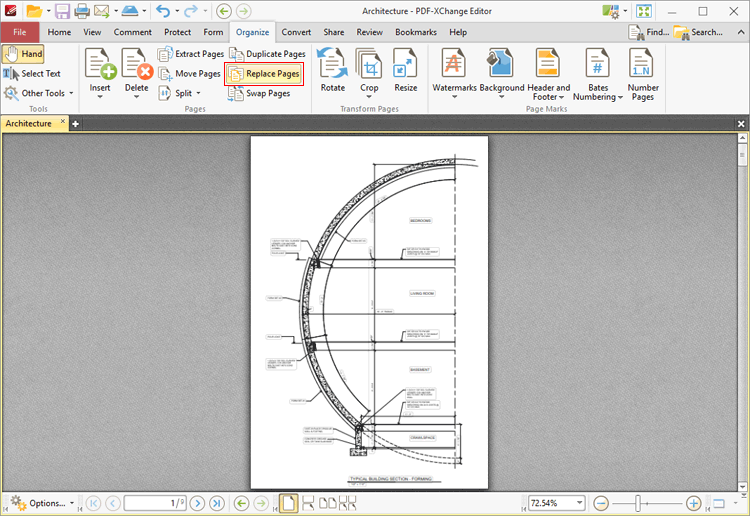
1. Click the Organize tab.
2. Click Replace Pages:
The Replace Pages dialog box will open.
3. Determine parameters as detailed here.
4. Click OK.
|
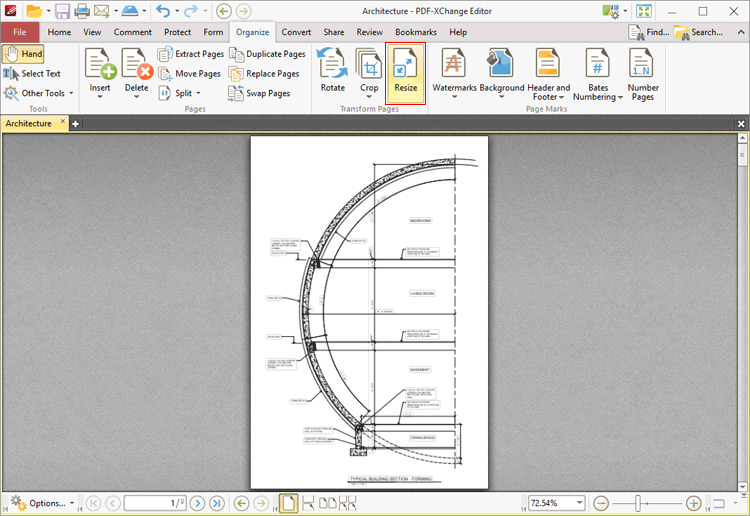
1. Click the Organize tab.
2. Click Resize Pages:
The Resize Pages dialog box will open.
3. Determine parameters as detailed here.
4. Click OK.
|
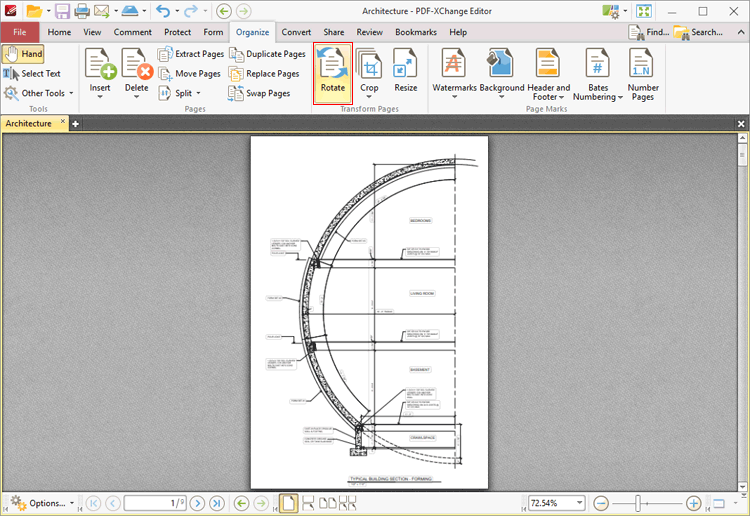
1. Click the Organize tab.
2. Click Rotate:
3. The Rotate Pages dialog box will open.
4. Determine parameters as detailed here.
5. Click OK.
The keyboard shortcut for this operation is Ctrl+Shift+R.
|
1. Click the Home tab.
2. Click Select Text:
3. Click and drag to select text.
|
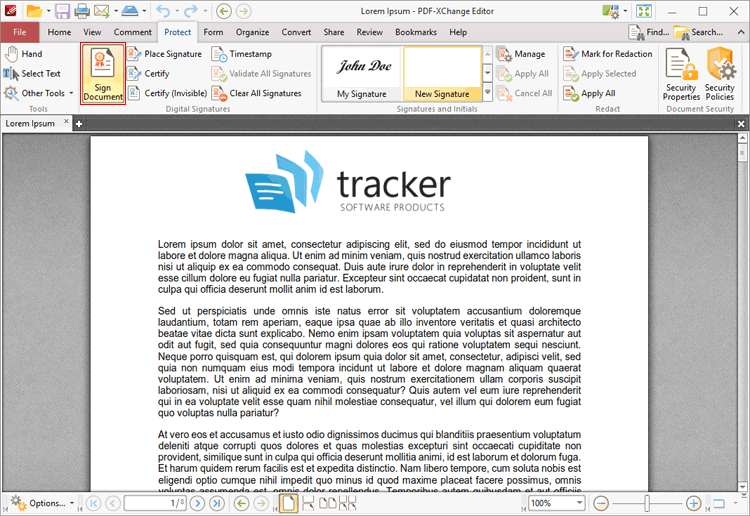
Digital signatures are used to demonstrate the authenticity of documents and increase their security. Follow the instructions below to sign documents:
1. Click the Protect tab.
2. Click Sign Document:
3. Follow the instructions detailed here.
|
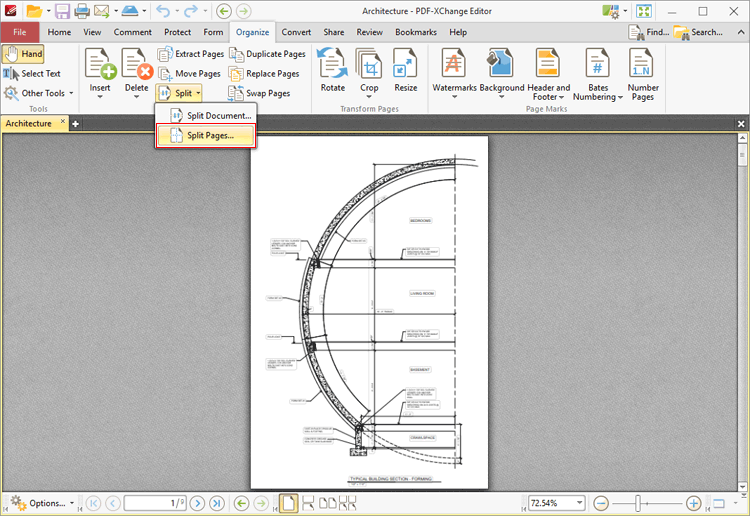
1. Click the Organize tab.
2. Click Split, then click Split Pages:
The Split Pages dialog box will open.
3. Determine parameters as detailed here.
4. Click OK.
|
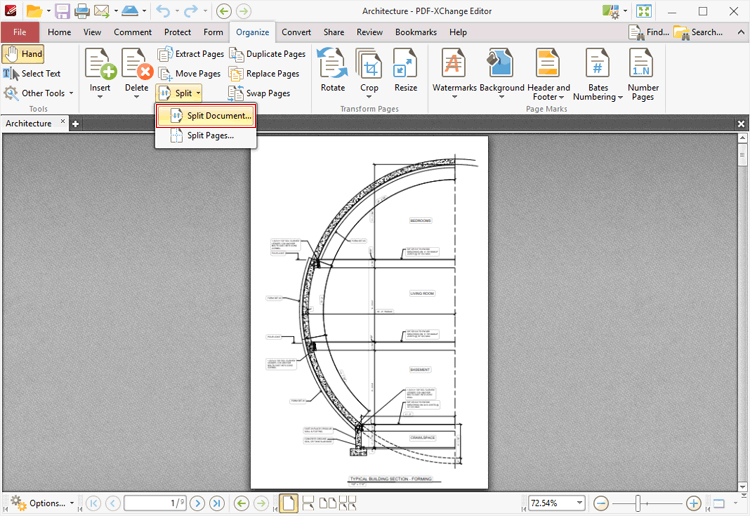
1. Click the Organize tab.
2. Click Split, then click Split Document:
The Split Document dialog box will open.
3. Determine parameters as detailed here.
4. Click OK.
|
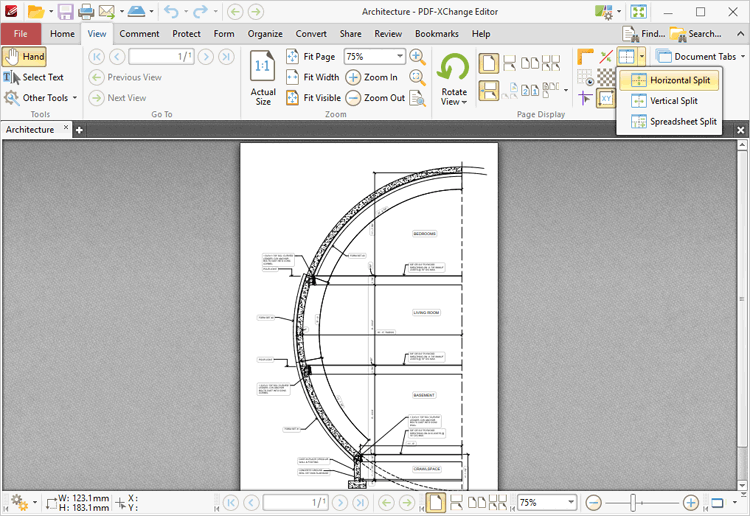
1. Click the View tab.
2. Click Split, then click Horizontal Split:
|
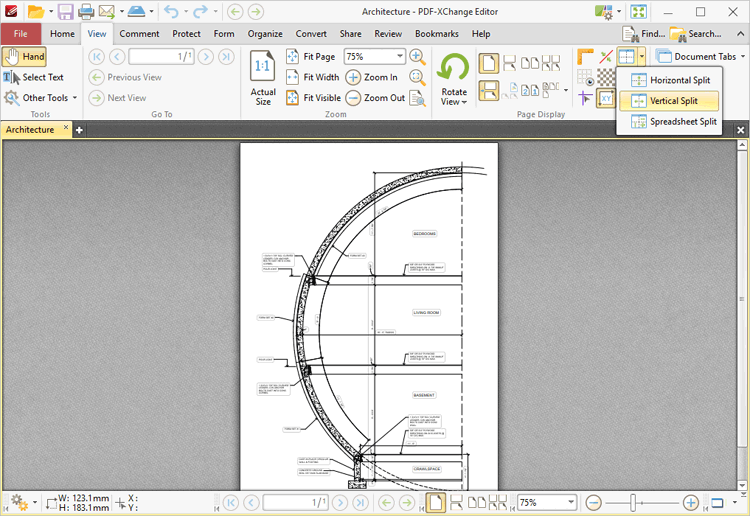
1. Click the View tab.
2. Click Split, then click Vertical Split:
|
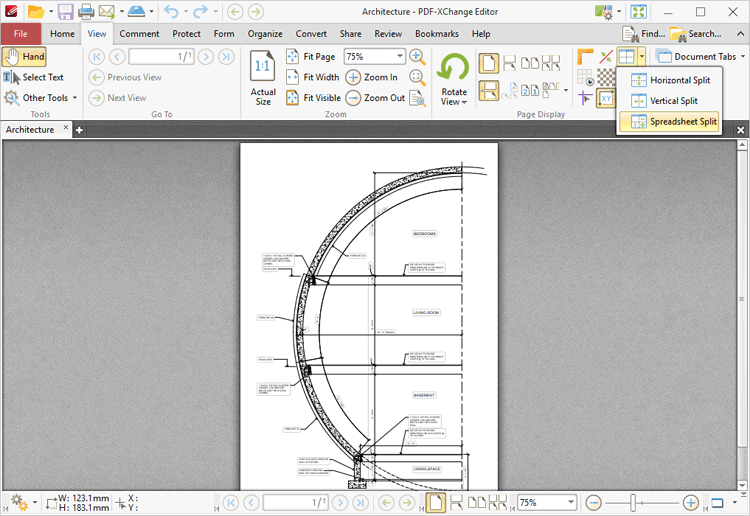
1. Click the View tab.
2. Click Split, then click Spreadsheet Split:
|
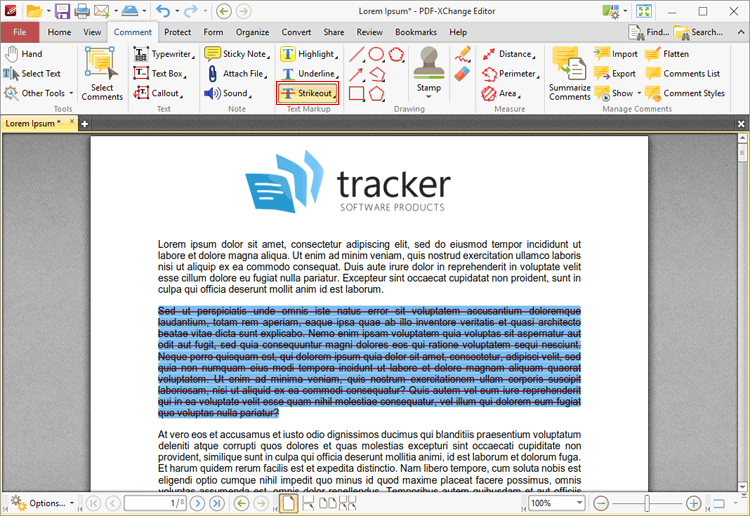
1. Click the Comment tab.
2. Click Strikeout, then click and drag to strikeout text:
Further information on this feature is available here.
The keyboard shortcut for this operation is Ctrl+Shift+S.
|
Timestamps are used to ensure the long-term preservation of digital signatures, time-seal date objects (to prove when they were received), protect copyrights/intellectual property and provide notarization services. Follow the instructions below to timestamp documents:
1. Click the Protect tab.
2. Click Timestamp:
3. Follow the instructions detailed here.
|
1. Click the Comment tab.
2. Click Underline, then click and drag to underline text:
Further information on this feature is available here.
The keyboard shortcut for this operation is Ctrl+U.
|

This feature makes it possible for signatures to be validated when the documents that contain them are received. Please note that the default settings of the local computer that receives files may result in this process taking place automatically. Follow the instructions below to validate document signatures:
1. Click the Protect tab.
2. Click Validate All Signatures:
|
1. Click the View tab.
2. Click Actual Size:
The keyboard shortcut for this operation is Ctrl+1.
|
Additionally, see the Forms Guide for further elements that can be added to documents, including check boxes, buttons, digital signatures, dropdown menus, list boxes, radio buttons and text fields.
The Keyboard Shortcuts section contains several useful editing shortcuts.