 Exporting PDFs to Other Formats
You can use PDF-XChange Editor to export PDF documents to a range of other file formats. These options are detailed in the Convert tab:
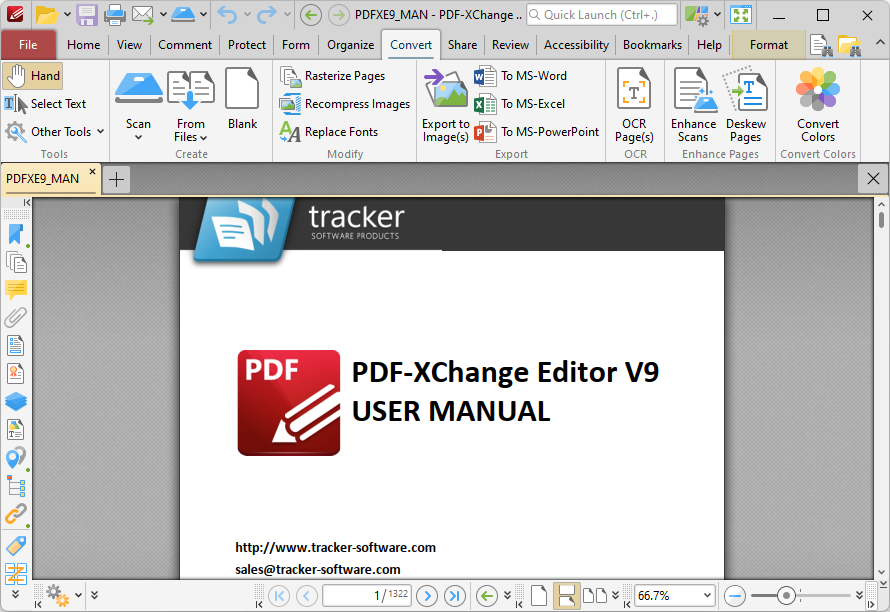
Figure 1. Convert Tab Options
Click Export to Image(s) to export documents to image format. The Export to Image(s) dialog box will open:
Figure 2. Export to Images Dialog Box
•Use the Page Range options to select the pages that will be exported. The following options are available:
•Click All to export the entire document.
•Click Current Page to export only the page that is currently being viewed.
•Click Current View to export what is currently visible in the PDF viewer.
•Use the Pages option to select specific pages or page ranges. See here for further information.
•Use the Subset option to select either all odd or all even pages of the document.
•Select the Reverse Order box to export pages in reverse numerical order.
•Use the Save As options to determine the file type and location of the saved document:
•Use the Image Type option to determine the image format. Click the Options button to determine further document properties.
•Use the Destination Folder text box to enter the folder in which the document will be saved. Alternatively, click the adjacent icon to browse the folders on the local computer.
•Use the Filename text box to enter a file name for the new document. Add macros as desired - enter them after the file name or click the adjacent icon.
•Use the Export Mode setting to select the mode in which multiple-page documents are exported. There are three options:
•Save all pages to a single multi page image file.
•Save each page range to a multi page image file.
•Save each page to a separate single page image file.
•The Open the Desintation Folder box is selected by default. Clear this box to disable this function.
•Use the Graphic options to determine the graphics settings:
•Page Zoom increases or decreases image dimensions.
•The Resolution boxes determine the horizontal and vertical resolution of images. The ratio is constrained by default. Click the chain icon to disable this setting.
•The Page Background setting determines the color of the background in the new document.
When custom export options have been selected they can be saved using the Export Settings menu for subsequent use. Click Save to save the current settings. Enter a name (and brief description, if desired) for the settings. Click Manage to edit customized settings and Delete to remove the settings currently selected.
Click Export to Microsoft Word Document to export documents into (*.docx) format, which is intended for use with Microsoft Word:
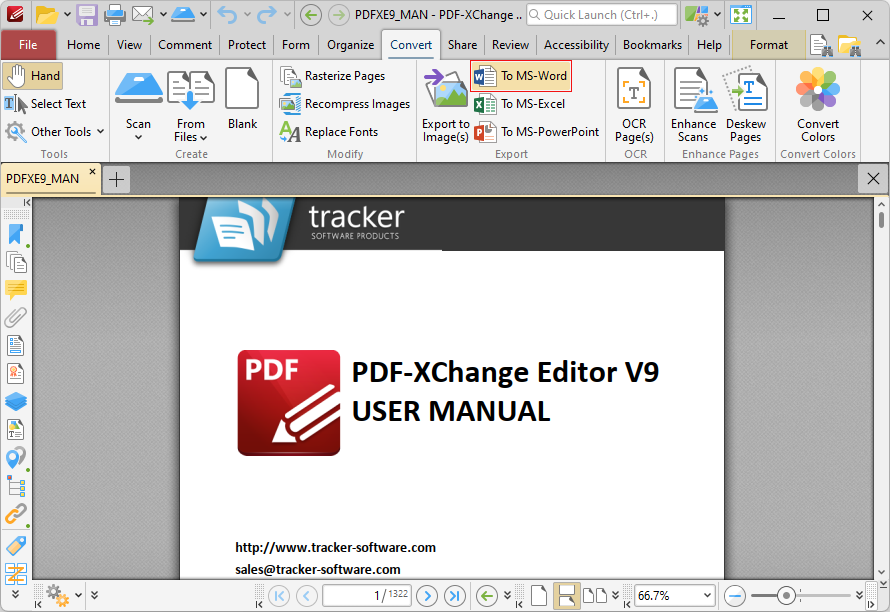
Figure 3. Convert Tab, Export to Microsoft Word Document Highlighted
The Convert to Word Options dialog box will open:
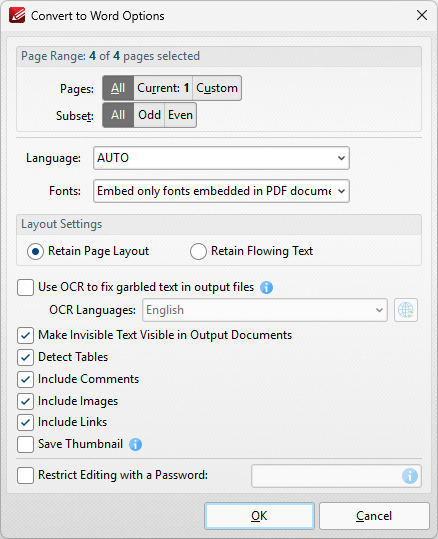
Figure 4. Convert to Word Options Dialog Box
•Use the Page Range options to determine the pages that will be exported:
•Select All to export all pages.
•Select Current to export only the current page.
•Select Custom to export a custom page range, then enter the desired page range in the adjacent number box. Further information about how to specify custom page ranges is available here.
•Use the Subset options to specify a subset of selected pages. Select All, Odd or Even as desired.
•Use the Language dropdown menu to specify the language of the source document. This setting is necessary in cases where document text has the incorrect encoding and OCR is used to determine the correct unicode to use. AUTO is the default setting and the language is taken from the document properties when it is used.
•Use the Fonts dropdown menu to determine font embedding options.
•Select either the Retain Page Layout or the Retain Flowing Text button as desired. Retain Page Layout adds a page break after each page and a line break to lines that are shorter than other lines within the same paragraph. Retain Flowing Text retains the text flow as a priority over the page layout and will allow text to wrap if there are multiple columns of text.
•Select the Use OCR to fix garbled text in output files box to use the OCR engine to recognize symbols, which may resolve garbled output text in cases of documents with invalid character encoding.
•Use the OCR Languages dropdown menu to determine the languages used for OCR.
•Select the Make invisible text visible in output document and Include Comments/Images/Links boxes as desired.
•Click Save Thumbnail to use the first page of the document as the document thumbnail/icon in Windows Explorer.
•Select the Restrict Editing with a Password box to restrict editing in output documents, then enter the desired password in the adjacent text box.
Click OK to export the document to (*.docx) format.
Click Export to Microsoft Excel to export documents into (*.xlsx) format, which is intended for use with Microsoft Excel:

Figure 5. Convert Tab, Export to Microsoft Excel Highlighted
The MS Excel File dialog box will open:
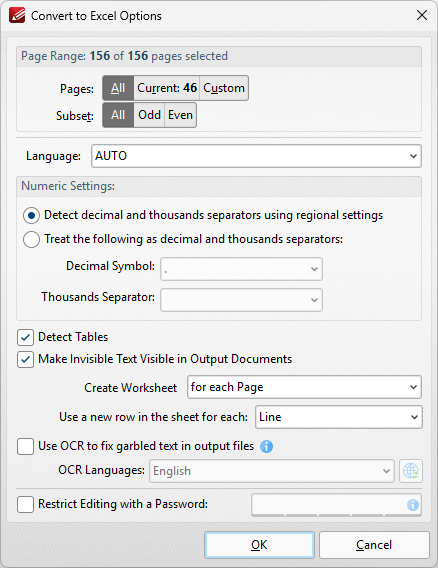
Figure 6. Convert to Excel Options Dialog Box
•Use the Pages option to determine the pages to be exported to (*.xlsx) format:
•Select All to export all pages.
•Select Current to export only the current page.
•Select Custom to export a custom page range, then enter the desired page range in the adjacent number box. Further information about how to specify custom page ranges is available here.
•Use the Subset options to specify a subset of selected pages. Select All, Odd or Even as desired.
•Use the Language dropdown menu to specify the language of the source document. This setting is necessary in cases where document text has the incorrect encoding and OCR is used to determine the correct unicode to use. AUTO is the default setting and the language is taken from the document properties when it is used.
•Select the Detect decimal and thousands separators using regional settings box to specify the use of regional settings to determine the thousands separator in exported documents. Alternatively, select the second radio button and then select the desired symbols in the dropdown menus.
•Select the Detect Tables box to detect and convert tables in converted documents.
•Select the Make invisible text visible in output document box as desired.
•Use the Create Worksheet dropdown box to determine whether a worksheet is created for the whole document or for each page of the document.
•Select an option in the Use a new row in the sheet for each dropdown menu to determine how rows are defined in the output document.
•Select the Use OCR to fix garbled text in output files box to use the OCR engine to recognize symbols, which may resolve garbled output text in cases of documents with invalid character encoding.
•Use the OCR Languages dropdown menu to determine the languages used for OCR.
•Select the Restrict Editing with a Password box to restrict editing in output documents, then enter the desired password in the adjacent text box.
Click OK to export the document to (*.xlsx) format.
Click Export to Microsoft Powerpoint Presentation to export documents into (*.pptx) format, which is intended for use with Microsoft Powerpoint:
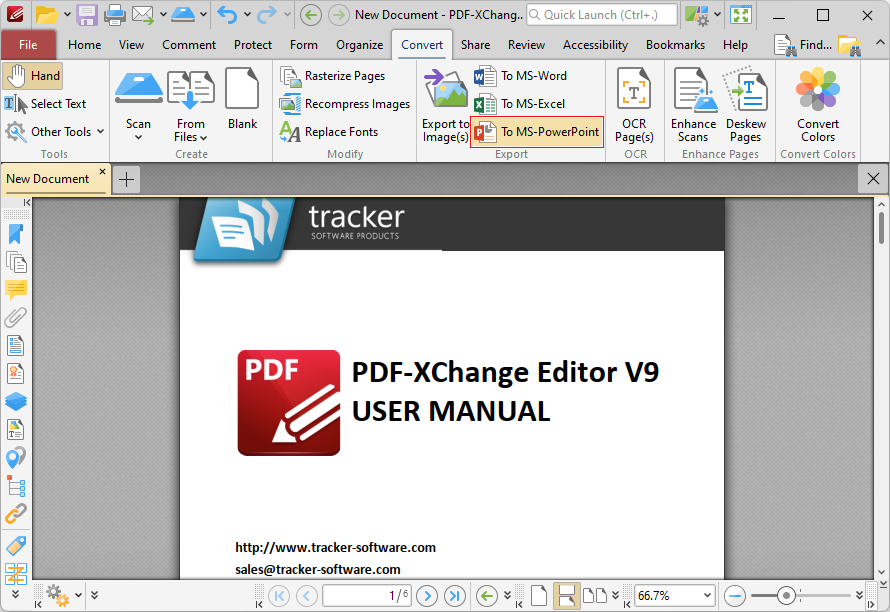
Figure 7. Convert Tab, Export to Microsoft PowerPoint Presentation Highlighted
The Convert to PowerPoint Options dialog box will open:
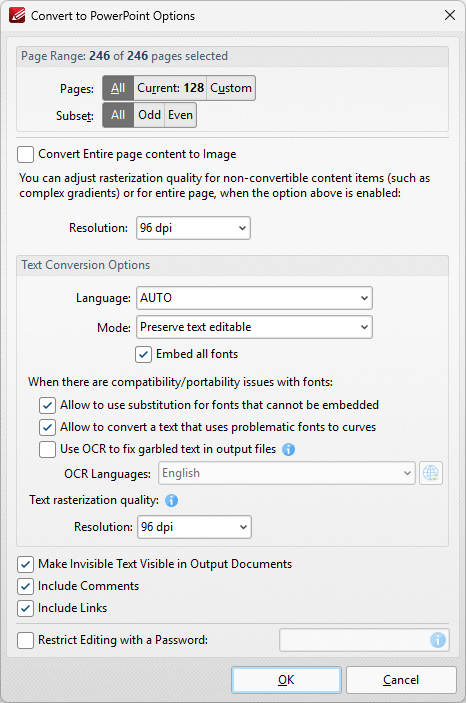
Figure 8. Convert to PowerPoint Options Dialog Box
•Use the Pages option to determine the pages to be exported to (*.pptx) format:
•Select All to export all pages.
•Select Current to export only the current page.
•Select Custom to export a custom page range, then enter the desired page range in the adjacent number box. Further information about how to specify custom page ranges is available here.
•Use the Subset options to specify a subset of selected pages. Select All, Odd or Even as desired.
•Select the Convert Entire page content to Image box to convert the entire document to image format in the output (*.pptx) document.
•Use the Resolution dropdown menu to determine the resolution of the image when the Convert Entire page content to Image option is used.
•Use the Language dropdown menu to specify the language of the source document. This setting is necessary in cases where document text has the incorrect encoding and OCR is used to determine the correct unicode to use. AUTO is the default setting and the language is taken from the document properties when it is used.
•Use the Mode dropdown menu to determine the text conversion mode.
•Select the Embed all fonts to embed all fonts in the source document into the output document.
•Select the Allow to use substitution for fonts that cannot be embedded to enable the substitution of fonts that cannot be embedded.
•Select the Allow to convert a text that uses problematic fonts to curves to enable the conversion of text to curves in cases of problematic fonts.
•Select the Use OCR to fix garbled text in output files box to use the OCR engine to recognize symbols, which may resolve garbled output text in cases of documents with invalid character encoding.
•Use the OCR Languages dropdown menu to determine the languages used for OCR.
•Use the Resolution dropdown menu to determine the resolution of rasterized text in cases where it cannot be converted according to the settings specified in the dialog box.
•Select the Make invisible text visible in output document and Include Comments/Links boxes as desired.
•Select the Restrict Editing with a Password box to restrict editing in output documents, then enter the desired password in the adjacent text box.
Click OK to export the document to (*.pptx) format.
Please note that MS Office must be installed on the local computer for this feature to operate, and Save As XPS functionality must be available in the version of MS Office being used. This functionality was added in MS Office 2007.