 Adding and Editing Document Text
A range of options are available for adding, editing and manipulating document text in PDF-XChange Editor:
•The Select Text Tool is used to select and manipulate base-content text.
•The Add Text feature is used to add base content text to documents.
•The Edit Text feature is used to edit base content text, and to group-select text blocks for editing purposes.
•The Edit Text Elements feature is used to select and edit text elements only.
Note that text can also be added to documents in comments and form fields. Please see the Text Box, Callout and Typewriter tools, and the Text Field tool, for further information on those options.
Select Text Tool
Click Select Text to enable this tool:
Figure 1. Home Tab, Select Text Tool
When the Select Text Tool is enabled, you can click and drag the pointer to select text. Double-click to select words, triple-click to select paragraphs and quadruple-click to select all text on the current page. Right-click selections for editing options, as detailed here. Note that the default setting of the Select Text Tool results in it selecting entire lines of text. If you instead want to select a custom area of text, such as text that is located over several lines at the center of a larger block of surrounding text, simply press and hold the Alt key and then select the desired text. Additionally, please note that when text is copied from PDF documents and pasted into applications/locations outside of PDF-XChange Editor (such as Microsoft Word) additional page breaks may appear. This is a recognized issue with PDF documents. The Edit Objects Tool should be used instead of the Select Text Tool in order to avoid this issue when copying text.
A range of features in PDF-XChange Editor depend on using the Select Text Tool to select text before they can be used, including:
•The basic text-editing features, which are used to perform operations such as copying, exporting, formatting and and changing the case of text.
•The text markup annotation features - Highlight Text Tool, Underline Text Tool and Strikeout Text Tool.
•The Spell Check, Replace Text, Create Bookmarks from Page Text and Read Out Loud tools.
Add Text Feature
The Add Text feature is used to add base content text to documents:

Figure 2. Home Tab, Add Dropdown Menu, Add Text
When this feature is selected the pointer will become a cross icon. Move the icon to the desired location and click to designate the location of the new text box. Text can then be entered as desired:
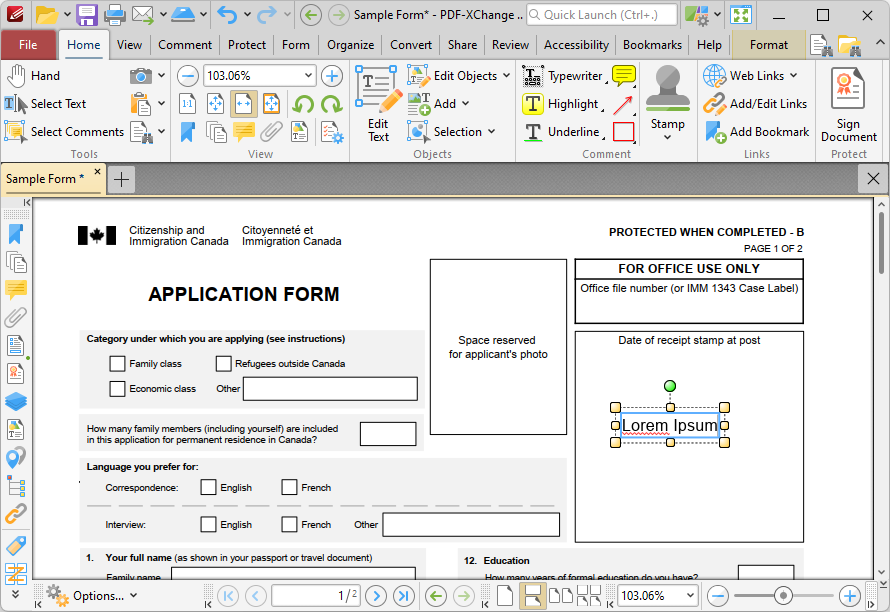
Figure 3. Add Text Tool Example
•Click and drag the central yellow control points on either side of text boxes to resize them horizontally. (Note that it is not possible to resize text boxes vertically until text has been entered into them).
•Click and drag the green control point to rotate text boxes. Hold down Shift to rotate at increments of fifteen degrees.
•Use the editing aids detailed here to assist in the precise placement of text boxes.
•Enter the desired text in the text box. Press Enter to start new lines. The options in the Format tab can be used to adjust the text style, as detailed above.
•Press Insert to enable/disable the 'overtype' feature, which enters text over existing text.
•Right-click selected text for further options:
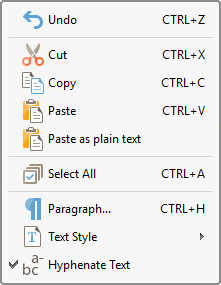
Figure 4. Editing Options
•Click Undo to reverse the most recent action.
•Click Cut to cut selected text to the clipboard.
•Click Copy to copy selected text to the clipboard.
•Click Paste to paste current clipboard text at the selected location.
•Click Paste as plain text to paste current clipboard text as plain text at the selected location.
•Click Select All to select all text in the selected area.
•Click Paragraph to edit paragraph settings, as detailed in (figure 5).
•Click Text Style to update the style of selected text. The following options are available:
•Bold
•Italic
•Underline
•Superscript transforms selected text into superscript, which is used for specific purposes such as detailing chemical compounds.
•Subscript transforms selected text into subscript, which is used for specific purposes such as detailing mathematical formulae.
•Hover over Change Case to view/select options for changing the case of selected text.
•Clear Text Formatting clears formatting from selected text.
•Make Current Text format Default sets the format of selected text as the default format for subsequent text.
•Apply Default Text Format applies the default text format to selected text.
•Select Hyphenate Text to hyphenate text automatically when it crosses line endings.
•Click Properties to view properties for selected text, as detailed here.
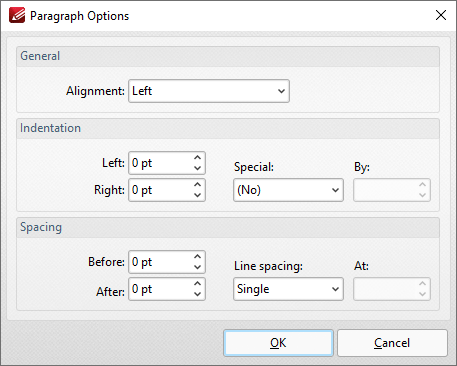
Figure 5. Paragraph Options
•Use the Alignment menu to determine the alignment of paragraphs.
•Use the Indentation number boxes to determine the indentation from the left and right margins, and the Special and By menus to determine hanging options.
•Use the Spacing options to determine line spacing.
Click OK to save paragraph settings.
Edit Text Feature
The Edit Text feature is used to edit base content text, and to group-select text blocks for editing purposes:

Figure 6. Home Tab, Edit Text
Click to enable the tool, then click the text that you want to edit:
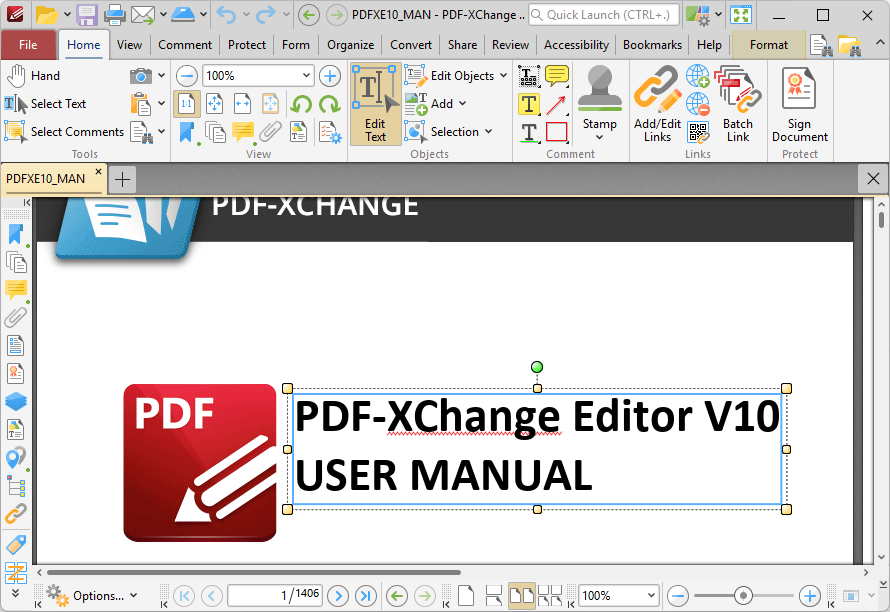
Figure 7. Active Edit Text Tool
The editing options with this tool are the same as those detailed with the Add Text tool, detailed above.
Format Tab for Text
You can use the format tab to edit selected text:
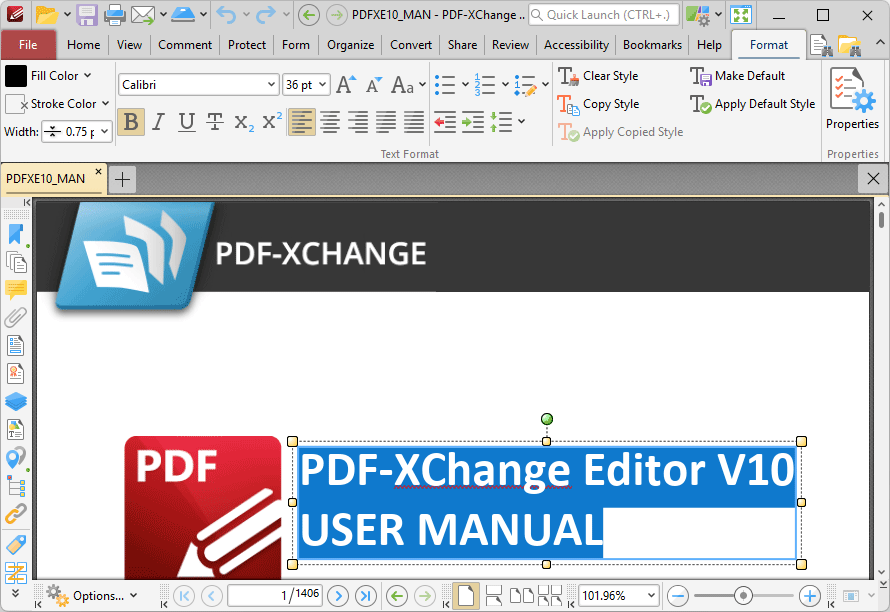
Figure 6. Format Tab for Text
•Use the Fill Color dropdown menu to determine the color of the text.
•Use the Stroke Color dropdown menu to determine the border color of the text.
•Use the Width dropdown menu to determine the width of the Stroke Color.
•Use the Opacity and Stroke Opacity dropdown menus to determine the level of transparency of the Fill Color and Stroke Color respectively.
•Use the Font and Font Size settings to determine the font used and the size of the font.
•Use the Bold, Italic and Alignment options to enable/disable bold and italic and/or adjust the alignment of text as desired.
•Use the Grow Font and Shrink Font options to increase/decrease the size of the font.
•Use the Change Case dropdown menu to change the case of selected text.
•Use the Bullet List and Numbering dropdown menus to convert text into bullet/numbered lists, and the Format dropdown menu to format selected lists.
•Use the Increase/Decrease Indent buttons to increase/decrease indents as desired.
•Use the Line Spacing Presets dropdown to determine line spacing presets.
•Click Clear Style to revert text to the default style for the current tool.
•Click Make Default to set the current style as the default style for the current tool.
•Click Copy Style to copy the style properties of selected text. Use the Apply Copied Style feature detailed below to apply copied styles to text.
•Click Apply Default Style to apply the default text style for the current tool to selected text.
•Click Properties to view/edit the properties of selected text.
Edit Text Elements
This feature is used to select and edit text elements only:
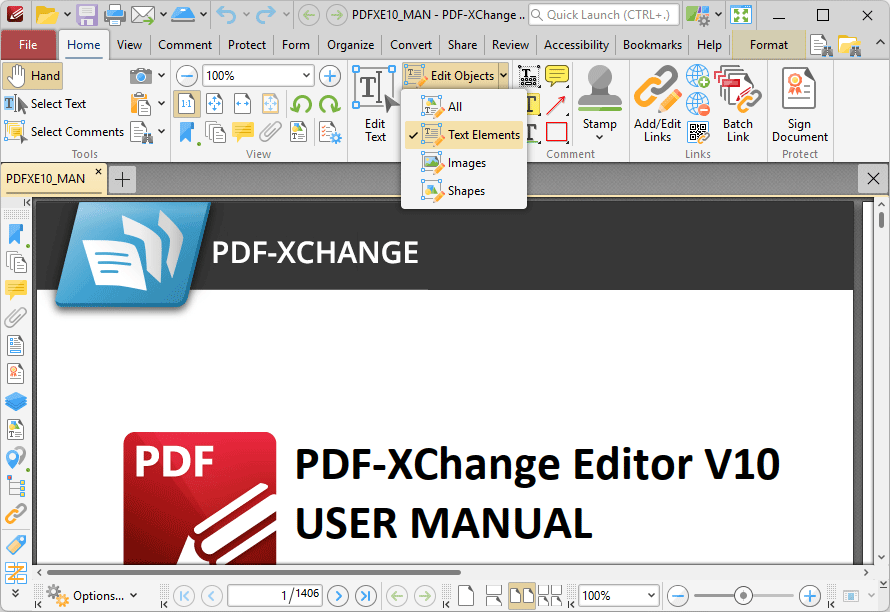
Figure 8. Home Tab, Edit Text Elements
When this feature is enabled, click to edit text elements:
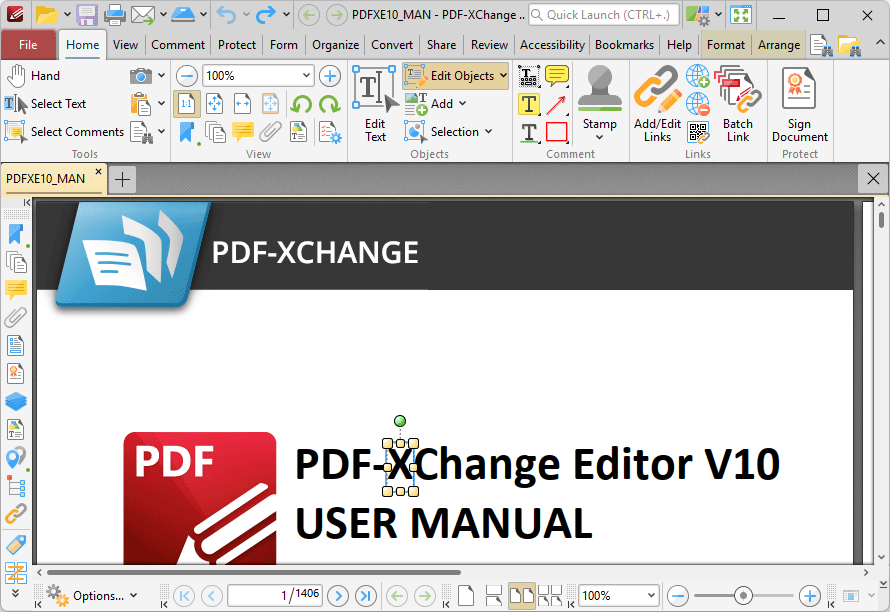
Figure 9. Active Edit Text Elements Tool
•Click and drag the central yellow control points on either side of text elements to resize them horizontally.
•Click and drag the green control point to rotate text elements. Hold down Shift to rotate at increments of fifteen degrees.
•Use the editing aids detailed here to assist in the precise placement of text elements.